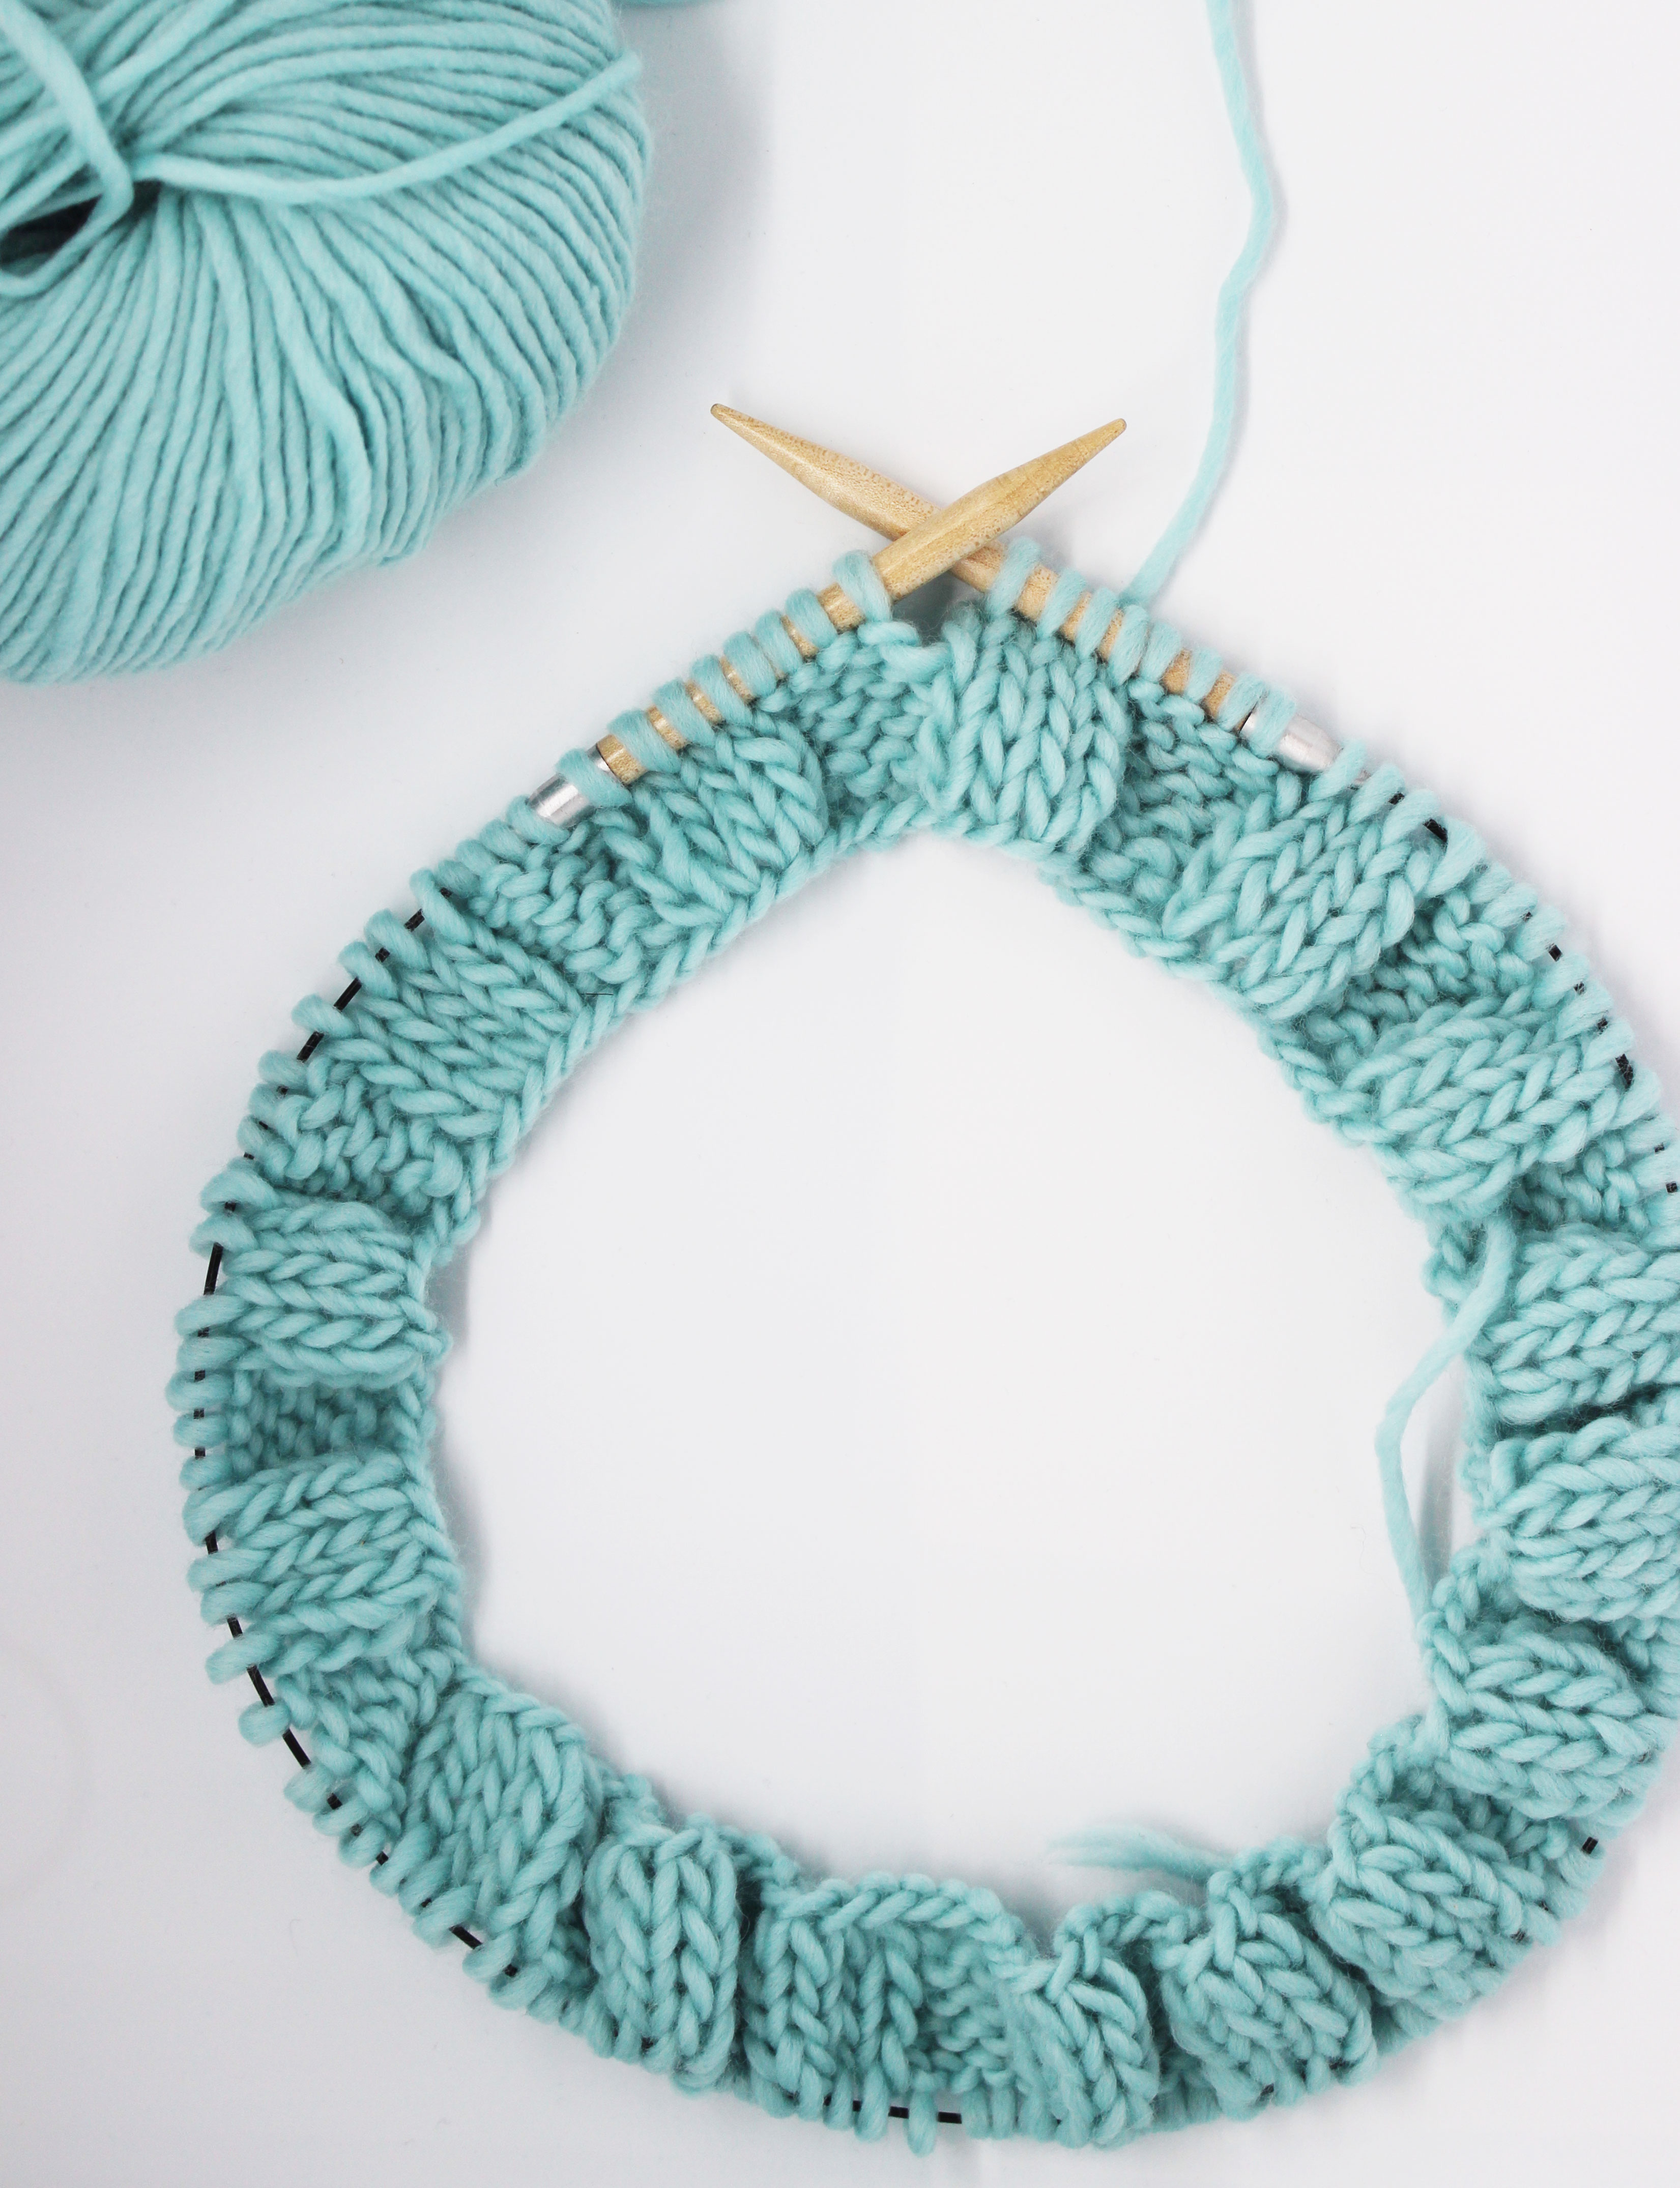
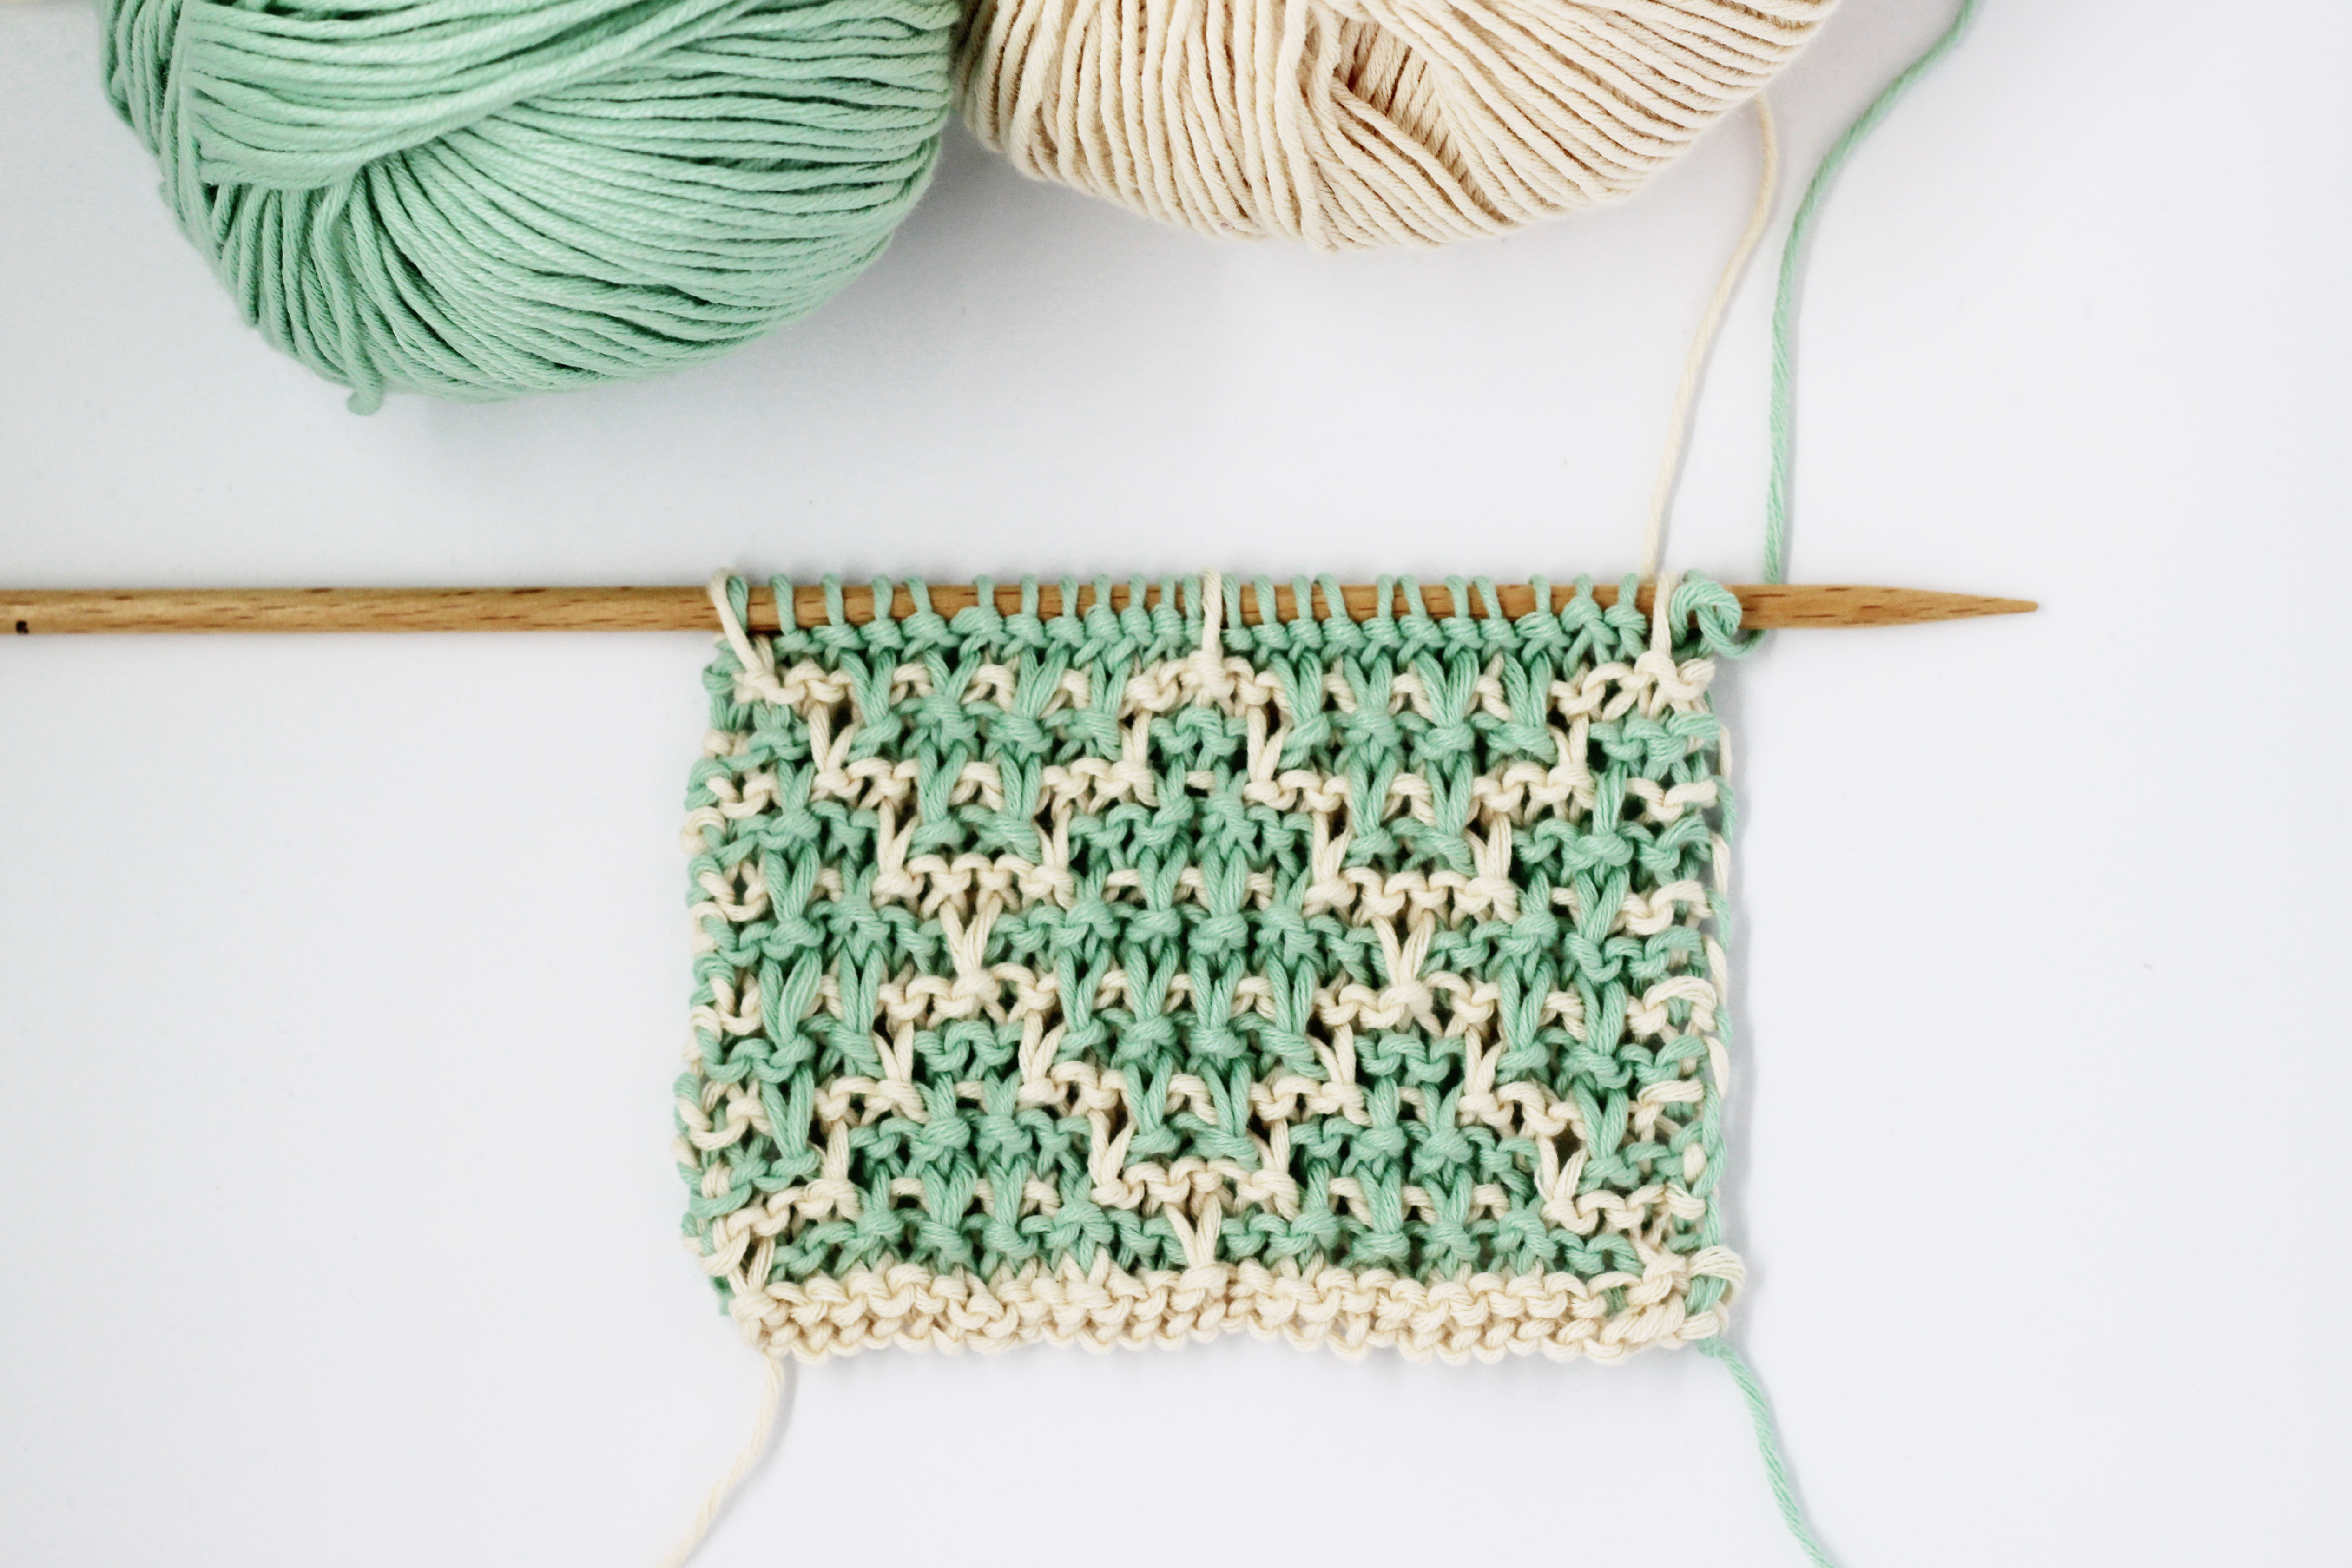
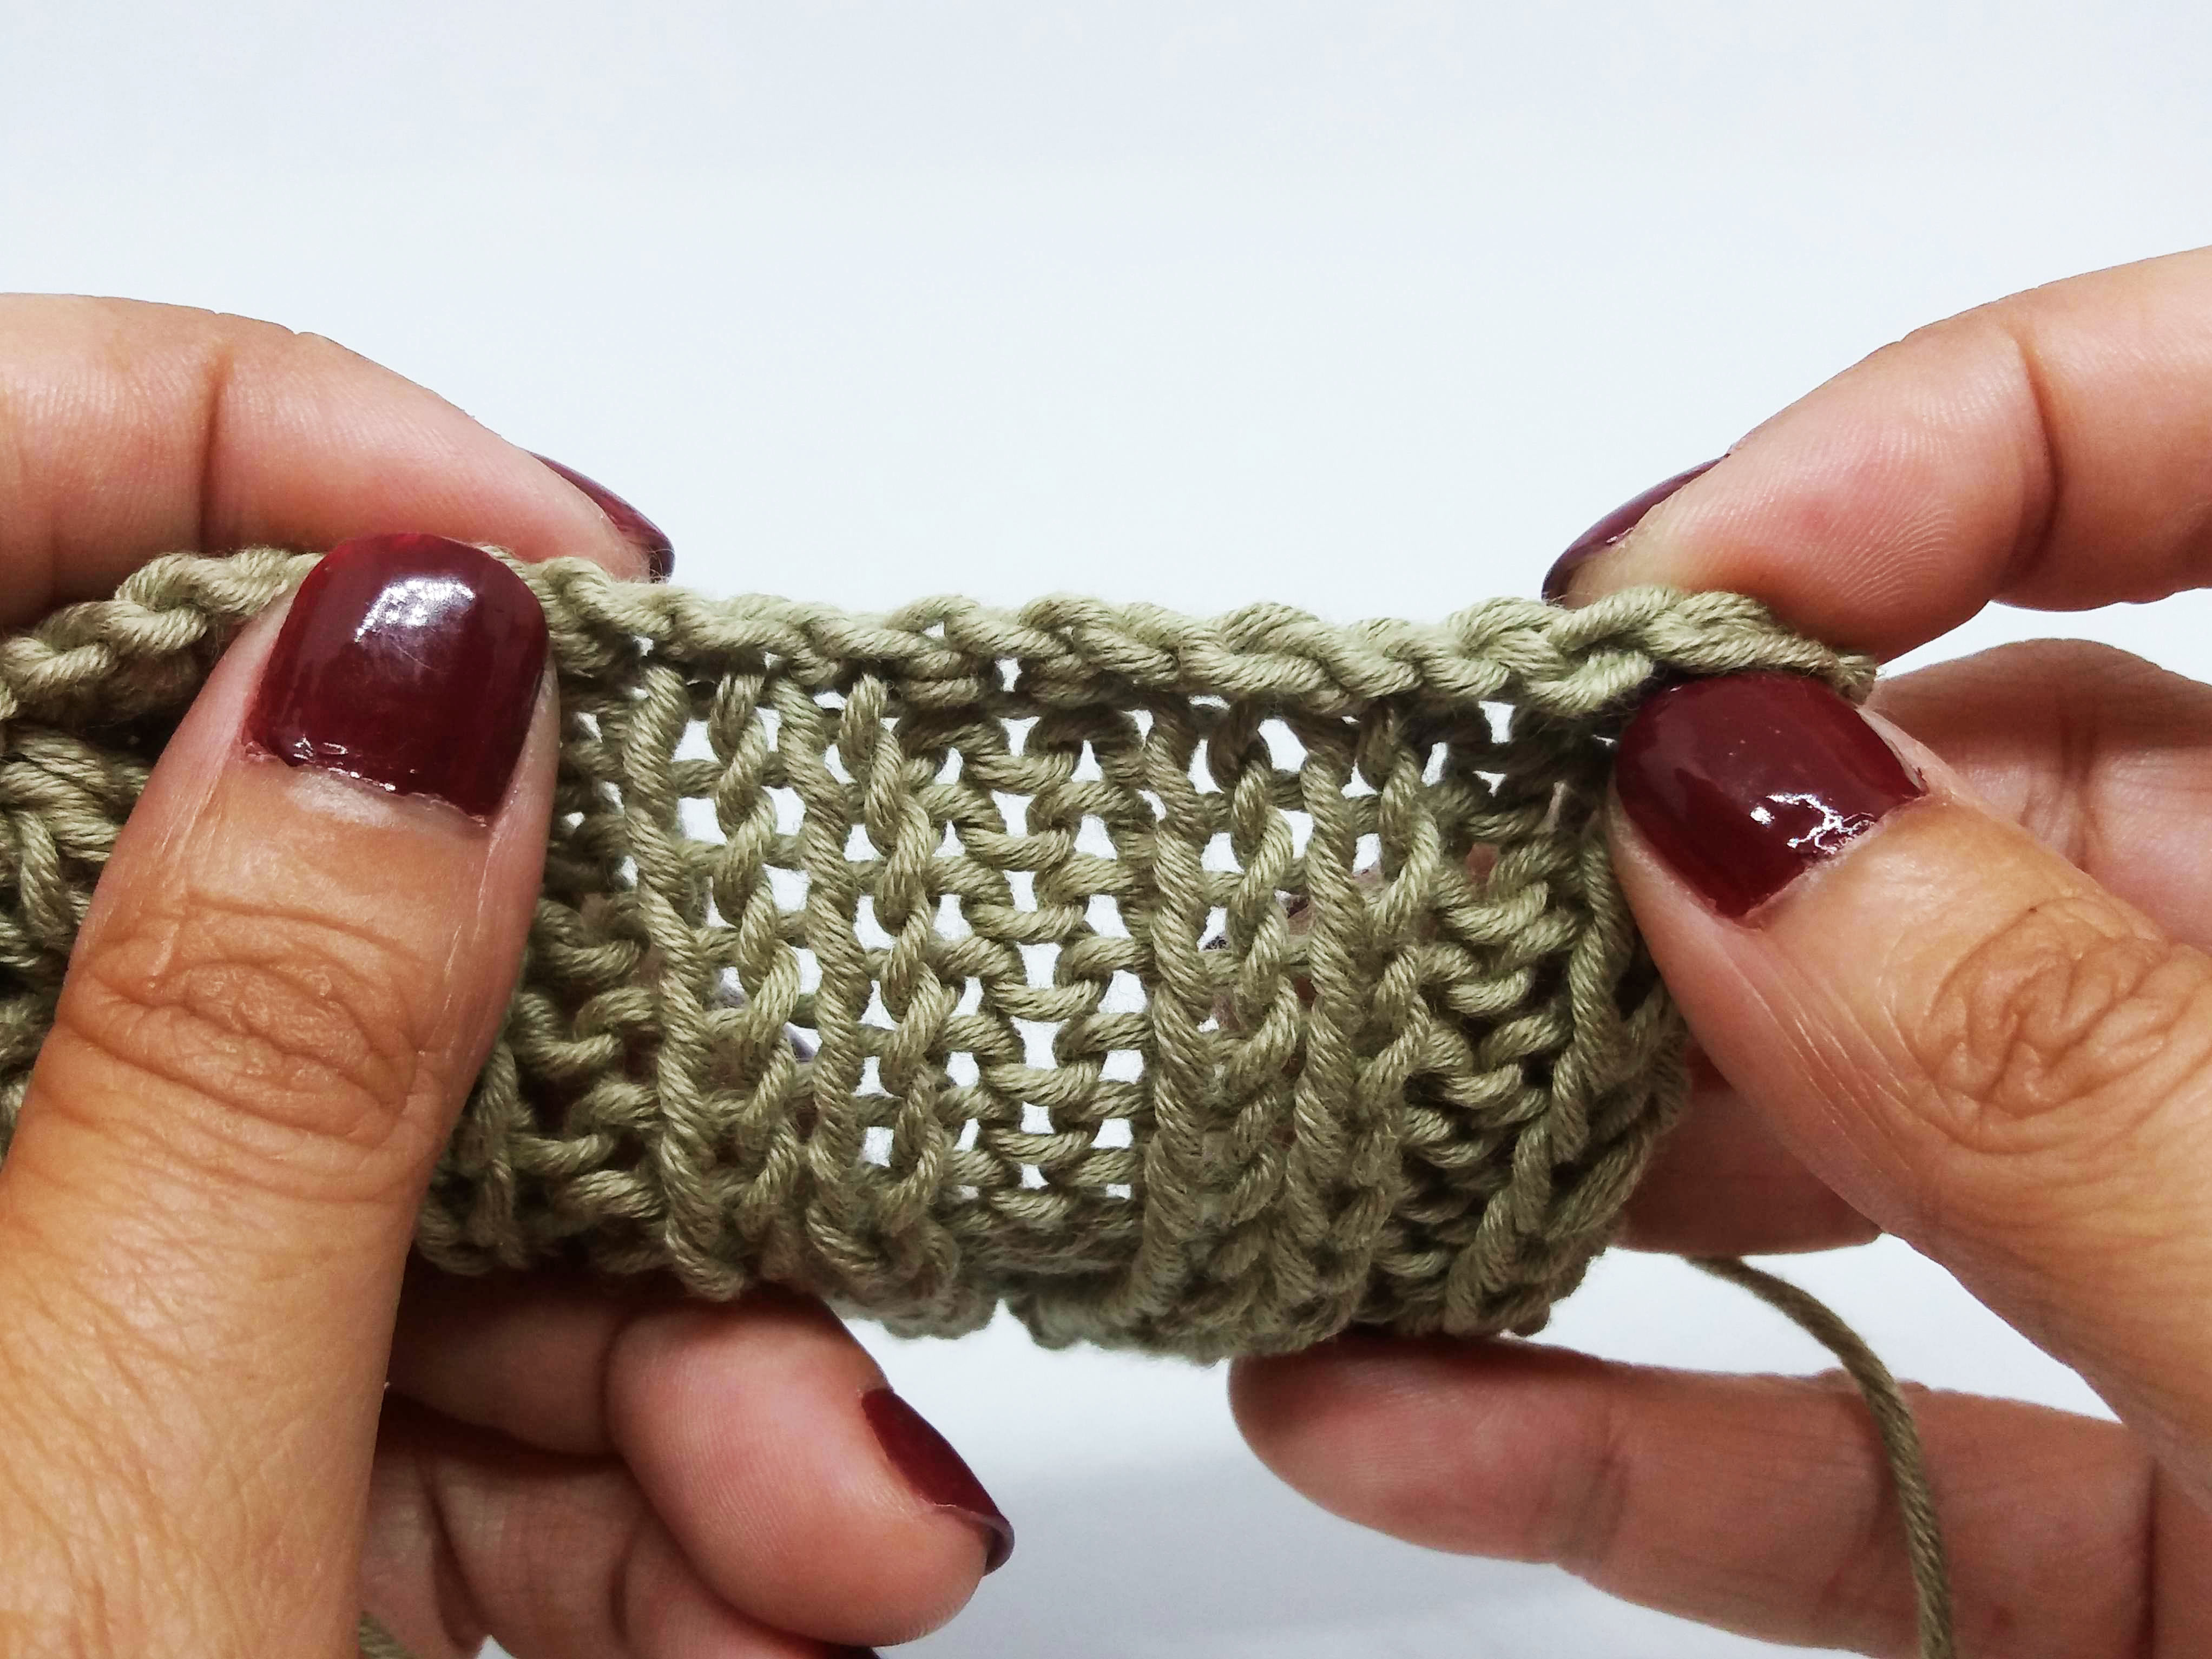
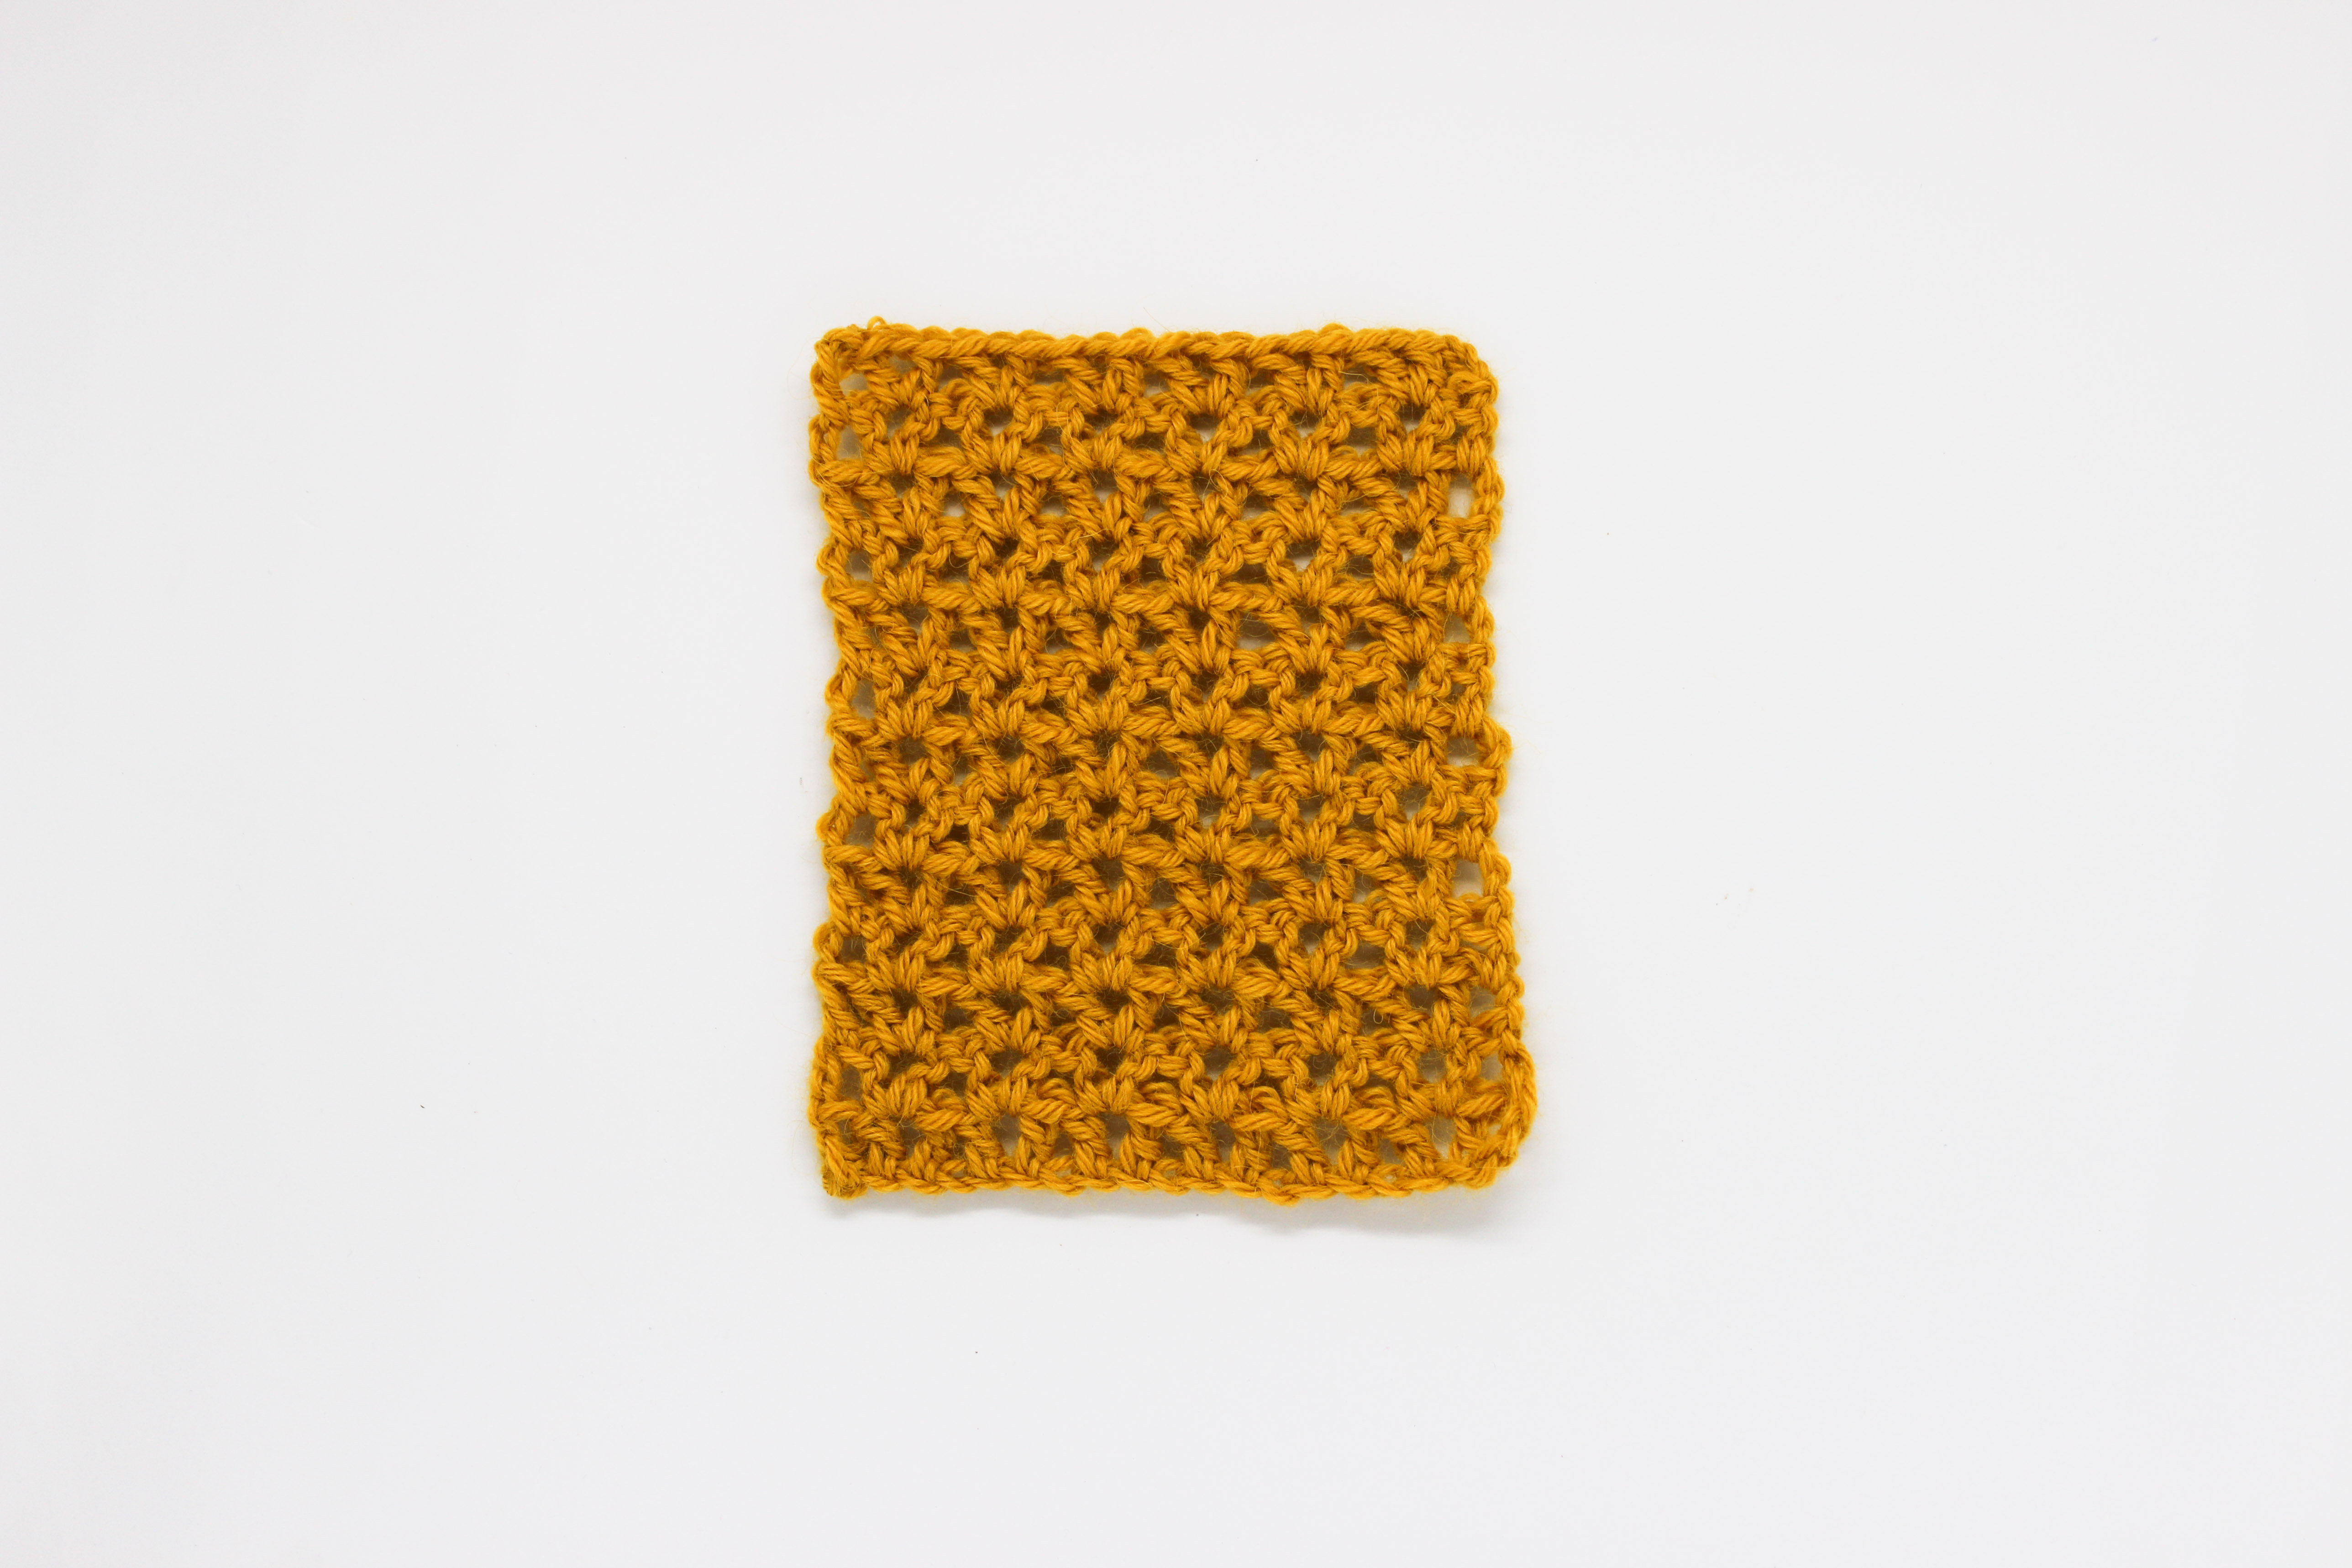
The stitch we are going to show you today is directed to beginner knitters who want to venture into new stitch combinations, as well as to those more experienced knitters that want to knit one of those simple combinations that create surprising texture, to give an original touch to any project. We present the zigzag stitch 🙂

For this tutorial, we used a skein of our fine wool and a pair of size 11 (8 mm) knitting needles.

To knit this stitch you have to cast on a multiple of 10 stitches + 1.

Row 1 (right side): knit 1. * Continue working [knit 1, purl 1], work the stitches in brackets 2 more times, knit 4 *. Repeat from * to * until the end of the row.

Row 2 (wrong side): * purl 4, now work [knit 1, purl 1], work the stitches in brackets 2 more times *. Continue the row by repeating from * to * until there is 1 stitch left on the needle, purl 1.

Row 3 (right side): start the row by knitting 3 stitches. * Now work [purl 1, knit 1], work the stitches in brackets 2 more times, continue working 4 knit stitches *. Repeat from * to * until there are 8 stitches left on the needle. End the row by working [purl 1, knit 1], repeat the stitches in brackets 2 more times, knit the last 2 stitches.

Row 4 (wrong side): start the row by purling 2 stitches. *Now continue working [knit 1, purl 1], repeat the stitches in brackets 2 more times, continue purling 4 stitches*. Repeat from * to * until there are 9 stitches left. End the row by working [knit 1, purl 1], repeat the stitches in brackets 2 more times, purl the last 3 stitches.

Row 5 (right side): knit 5. * Continue the row by working [purl 1, knit 1], repeat the stitches in brackets 2 more times, knit 4 *. Repeat from * to * until there are 6 stitches left on the needle, work these stitches as follows: [purl 1, knit 1], repeat the stitches in brackets 2 more times.

Row 6 (wrong side): start the row by purling 2 stitches. *Now continue working [knit 1, purl 1], repeat the stitches in brackets 2 more times, continue purling 4 stitches*. Repeat from * to * until there are 9 stitches left on the needle. End the row by working [knit 1, purl 1], repeat the stitches in brackets 2 more times, purl the last 3 stitches.

Row 7 (right side): start the row by knitting 3 stitches. * Now work [purl 1, knit 1], work the stitches in brackets 2 more times, continue knitting 4 stitches*. Repeat from * to * until there are 8 stitches left on the needle. End the row by working [purl 1, knit 1], repeat the stitches in brackets 2 more times, knit the last 2 stitches.

Row 8 (wrong side): * purl 4, now work [knit 1, purl 1], work the stitches in brackets 2 more times *. Continue the row by repeating from * to * until there is 1 stitch left on the needle, purl 1.

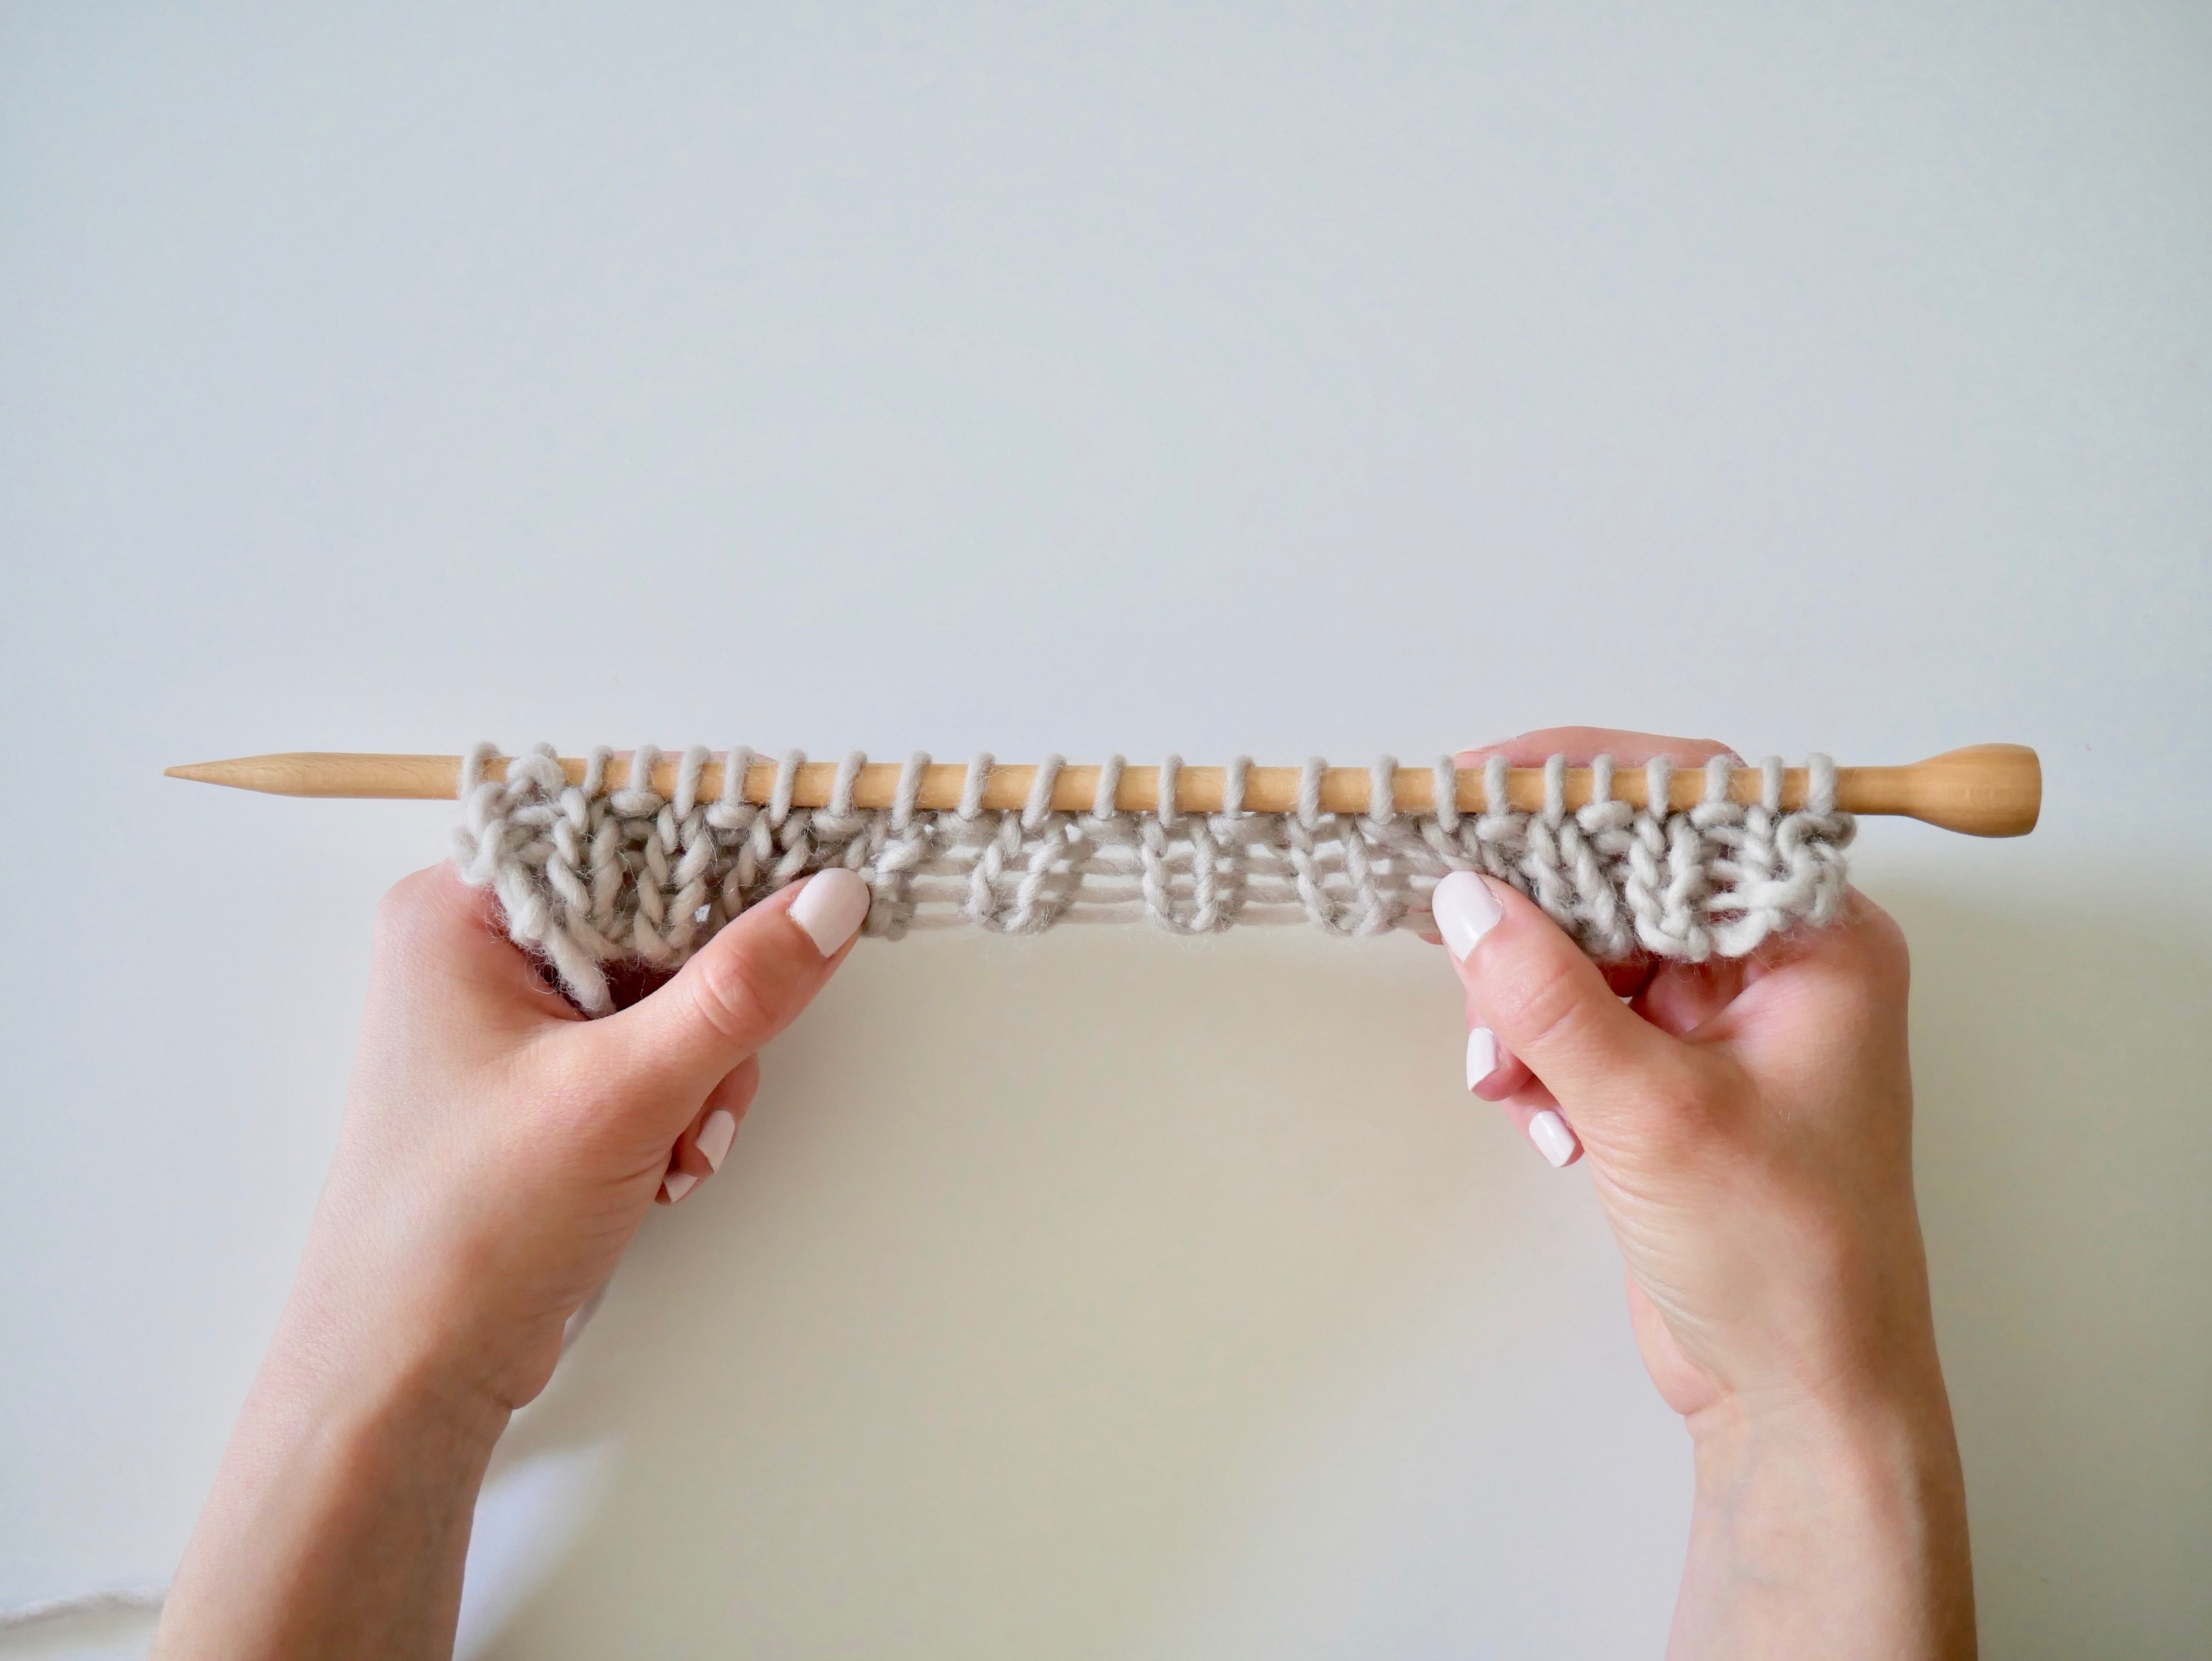
Continue rows 1 to 8 in zigzag stitch until you reach the desired length.

We hope you enjoyed this step-by-step tutorial and we hope you share your projects using this stitch on social media using the hashtag #weareknitters There are lots of ways to use it!