Today we are teaching you a new technique to cast on stitches: the Cable Cast on. It works specially good for pieces that start with ribbing, because the cast on integrates perfectly to the work, with the line that usually forms from the cast on being noticeable. Next we will explain to you how to do it.

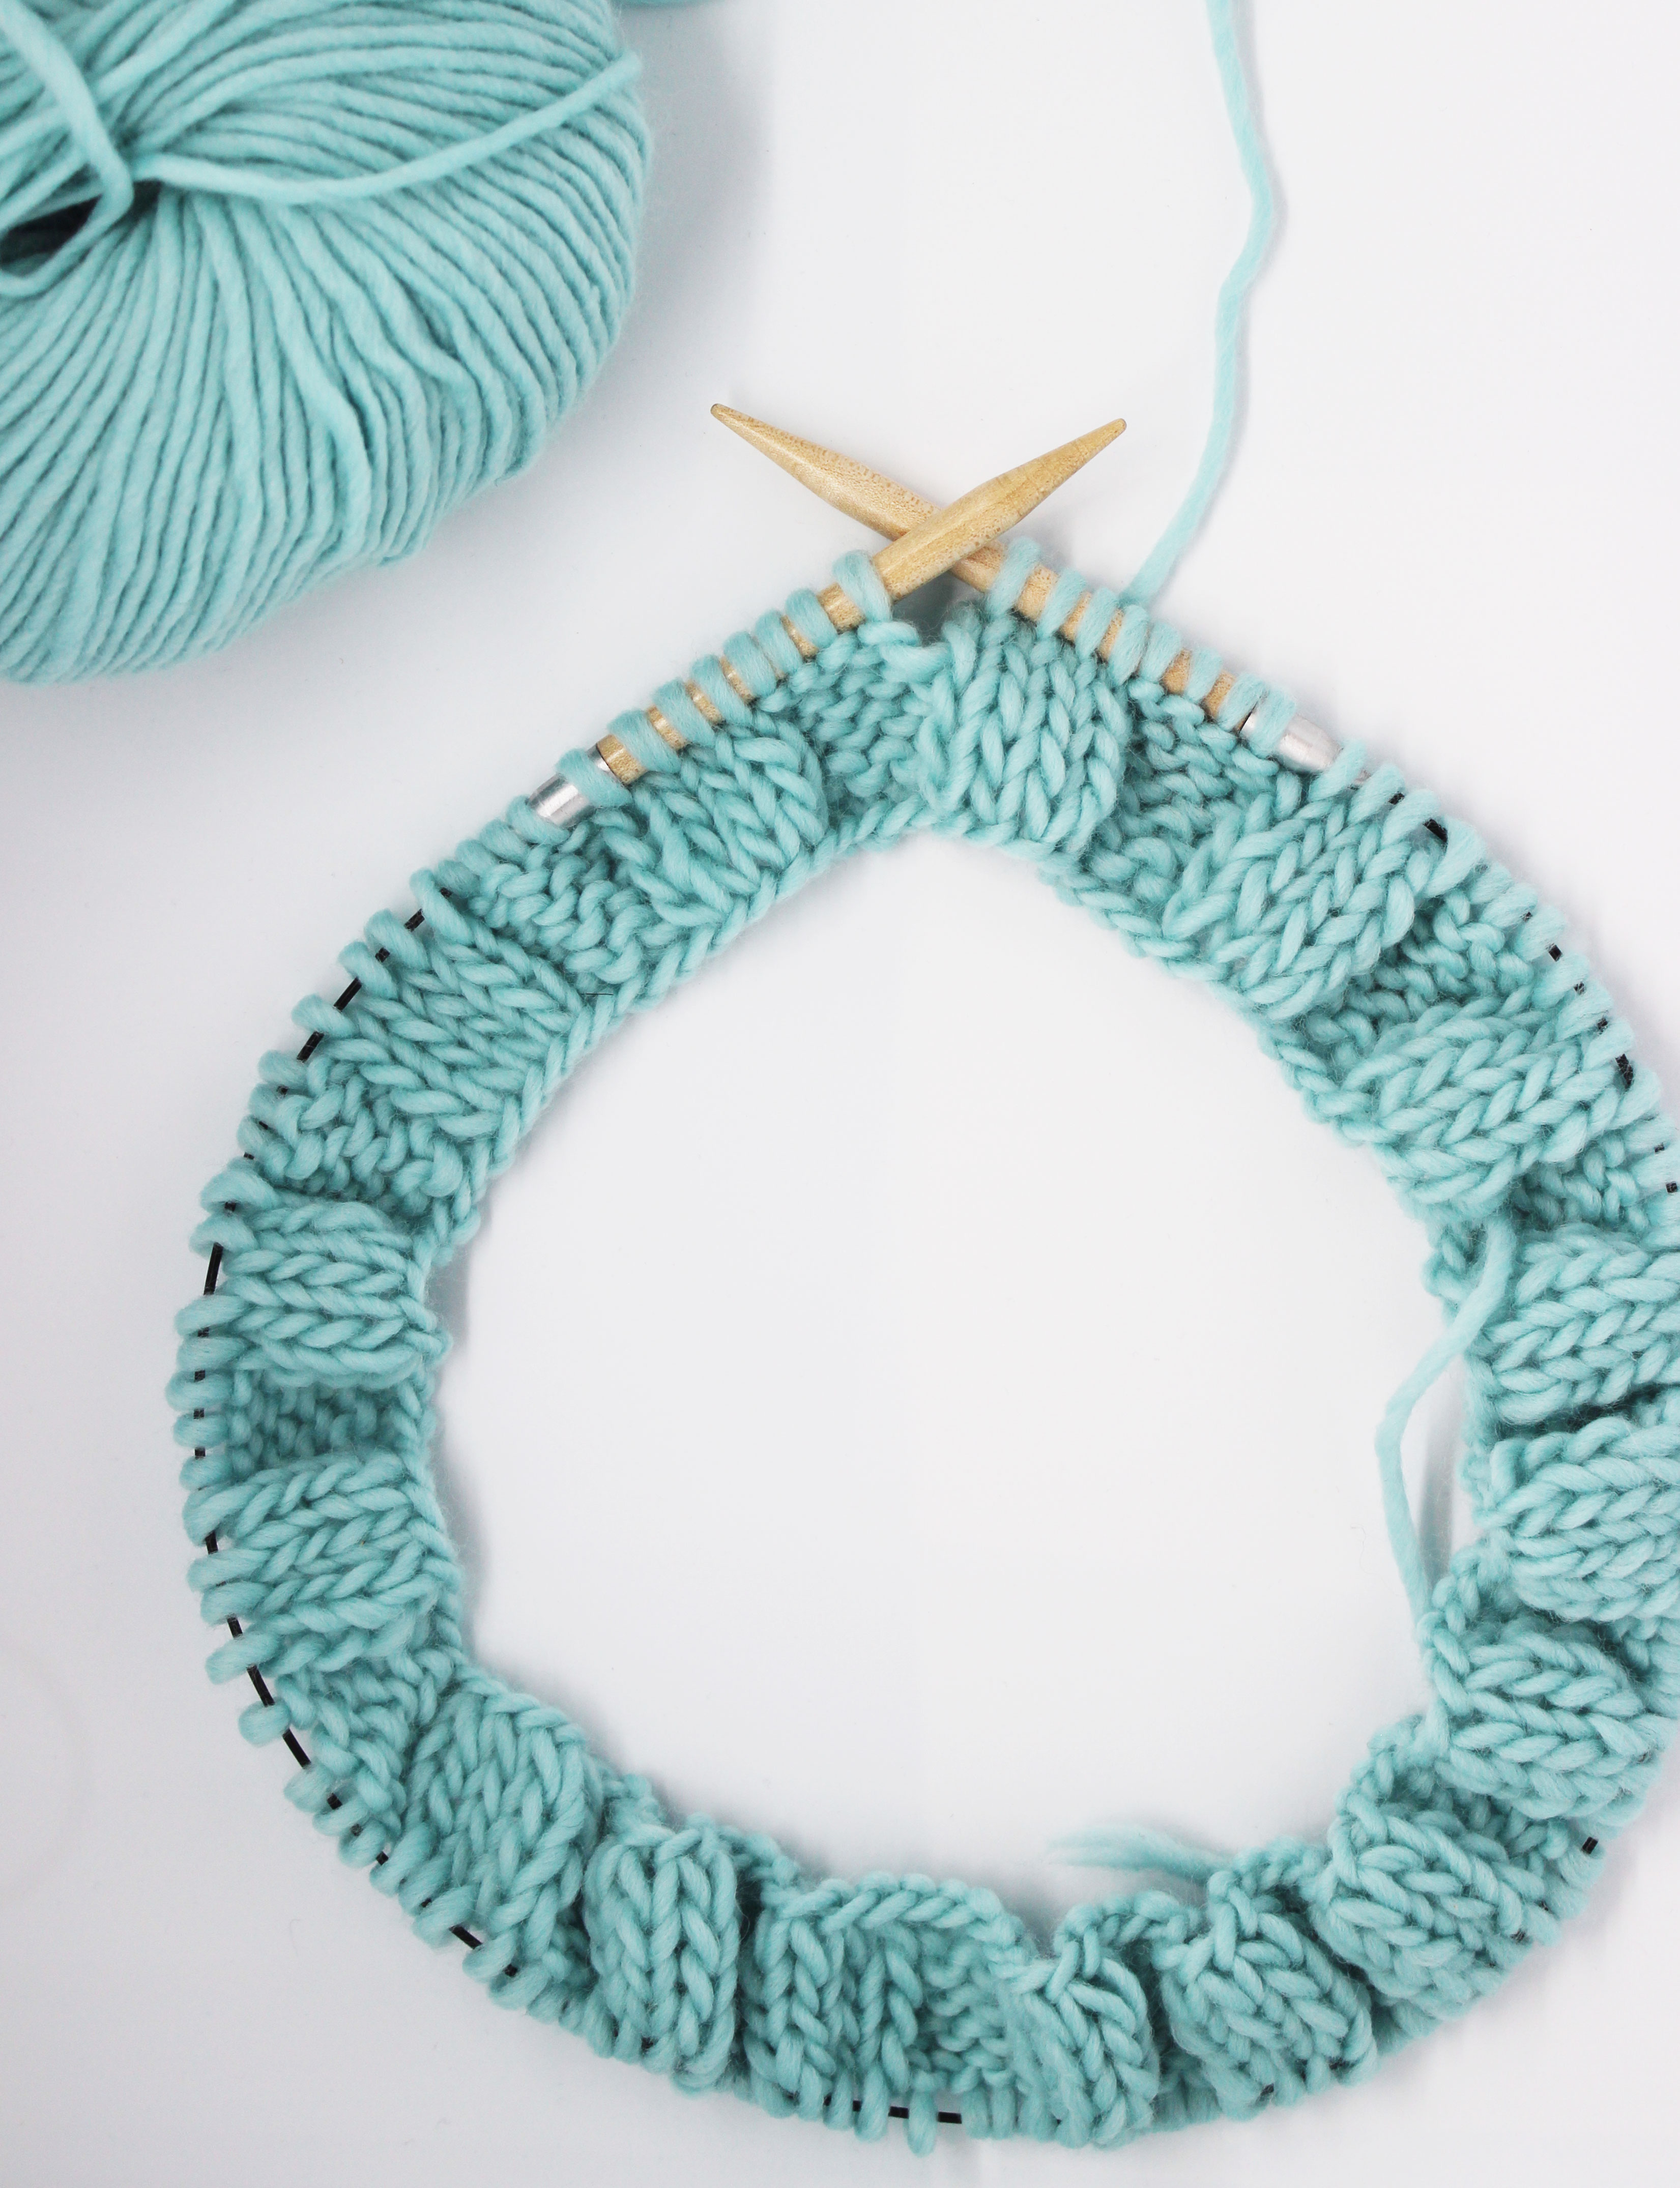
For this tutorial we have used our pima cotton skeins and our size US 8 (5mm) knitting needles.

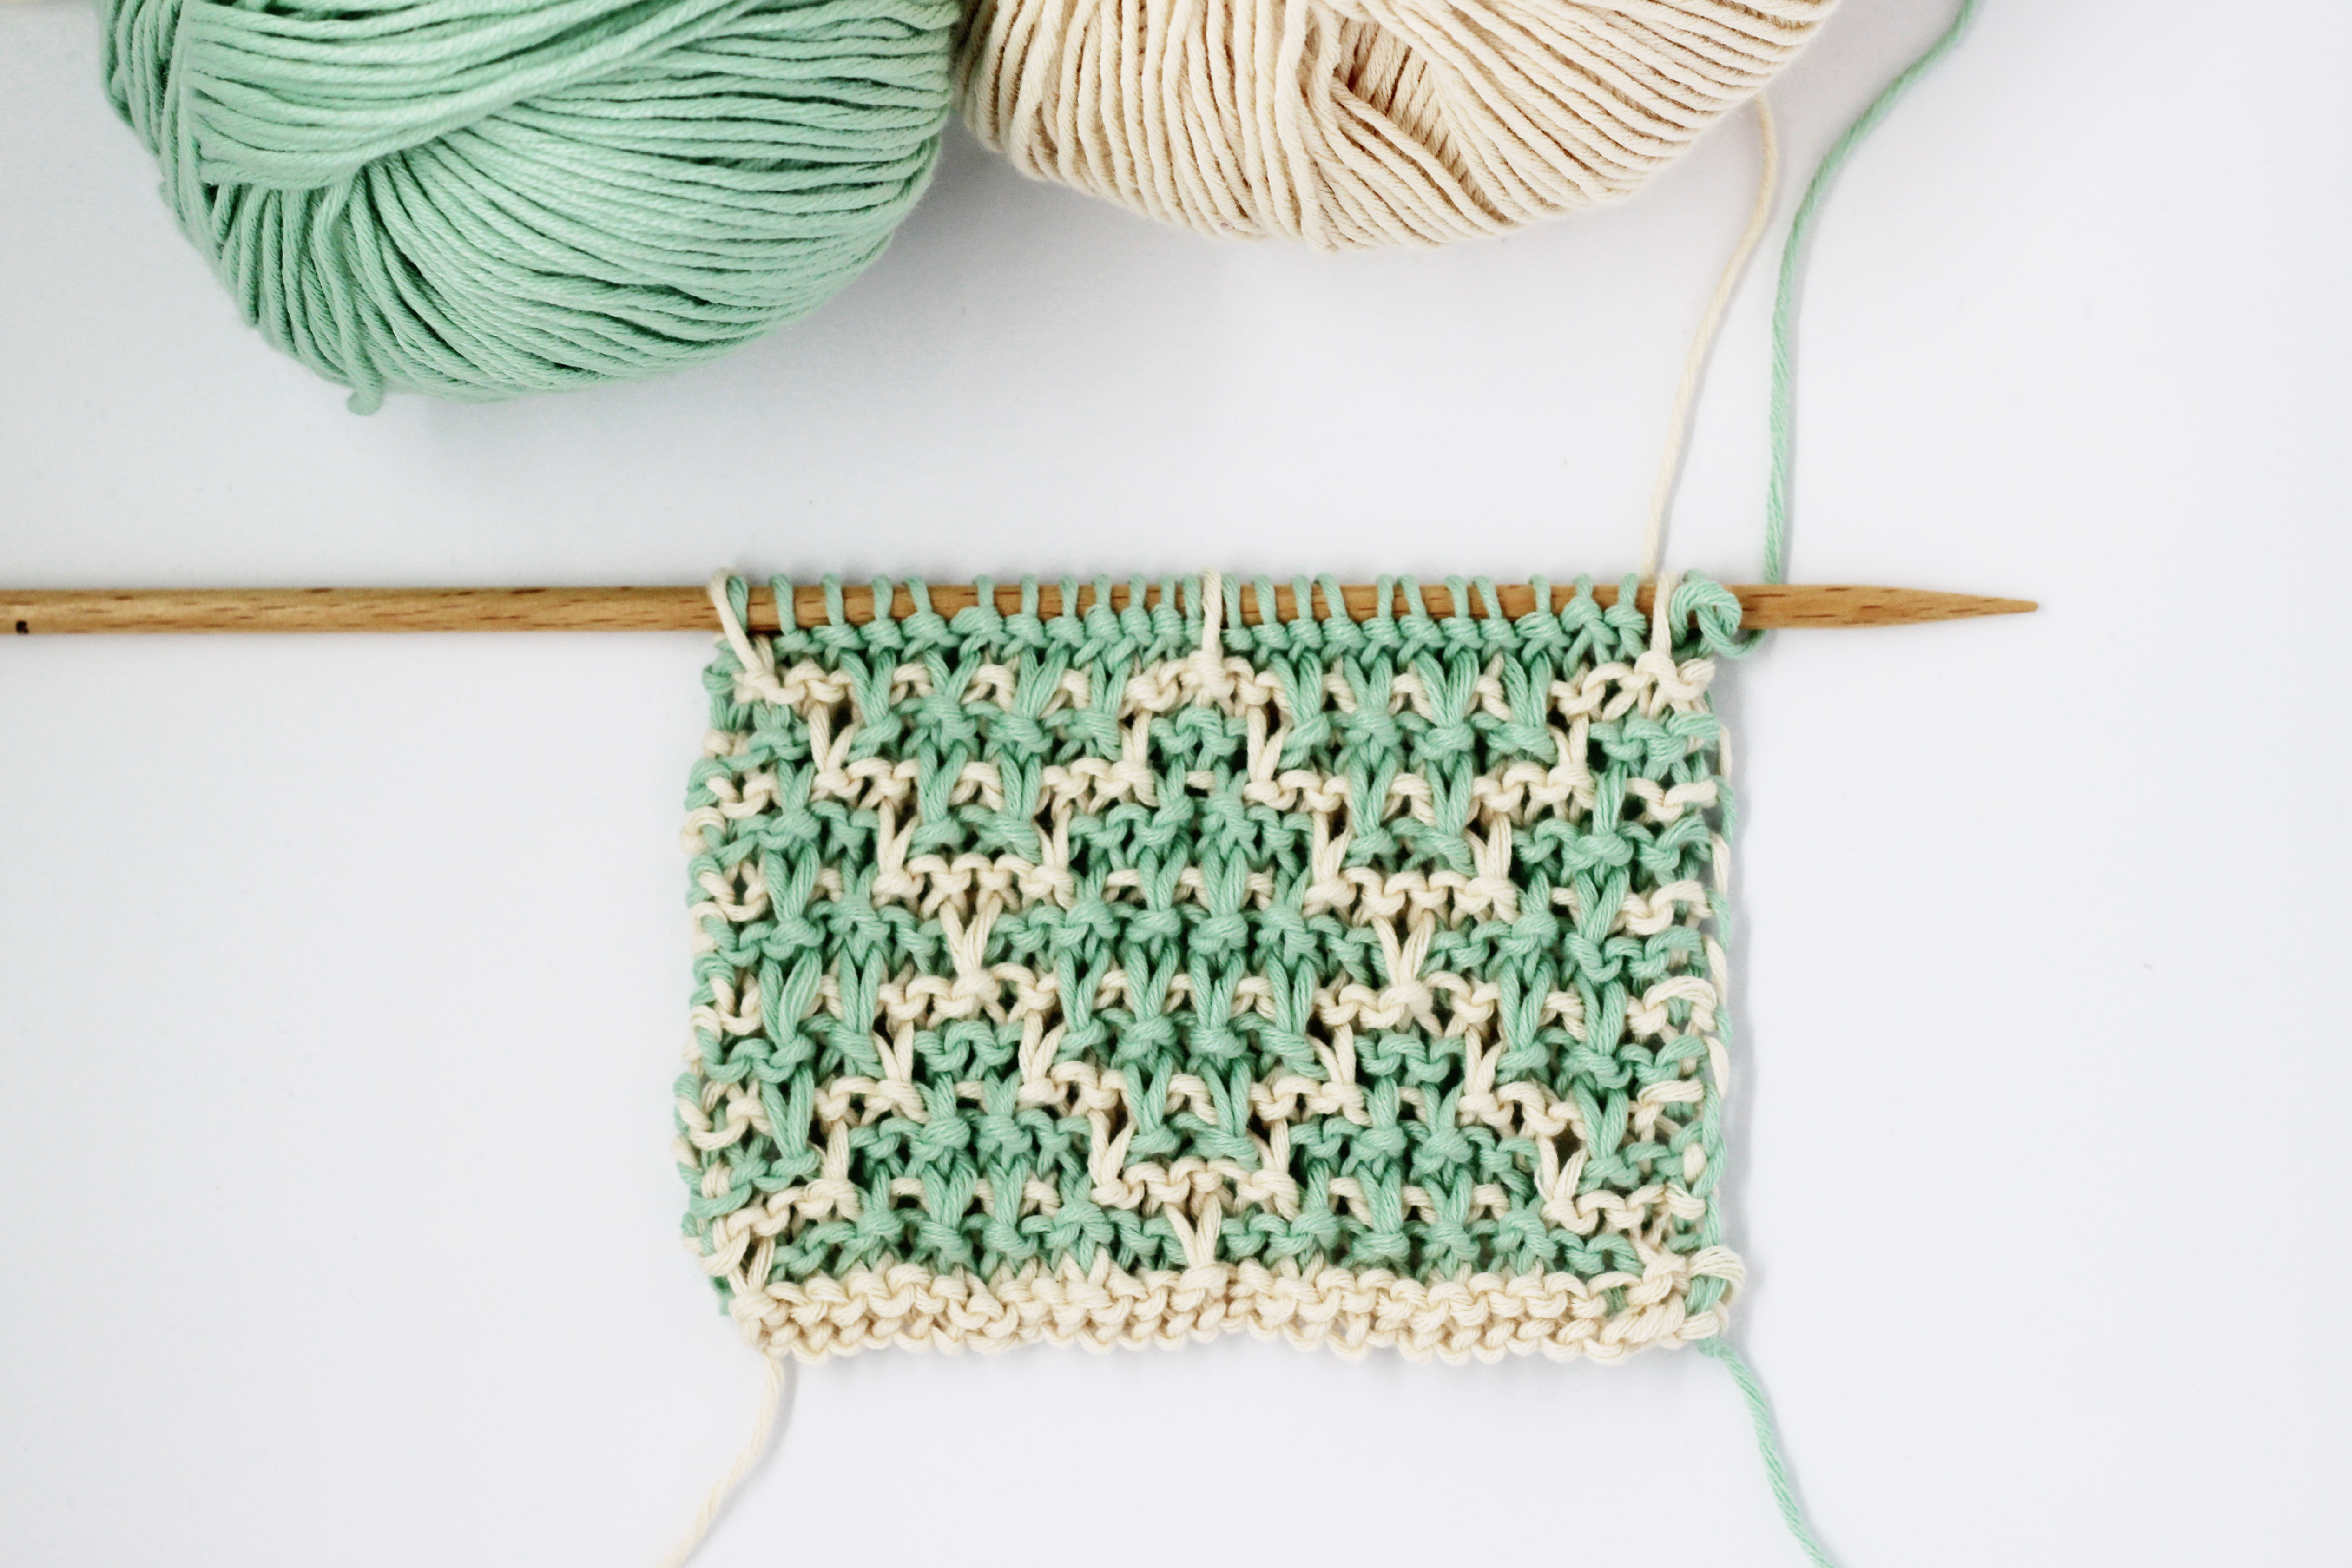
First we will begin by checking how ribbing looks when starting from regular cast on (here’s the link for the video on how to cast on stitches). If you notice the bottom part, you can clearly see the line that has been formed under the work as a result of this type of cast on. Next you will see how the Cable Cast On perfectly integrates to the work without being noticeable.
STEP-BY-STEP
The particularity of this technique is that we will cast on the stitches we need, identifying if later we need to knit them or purl them once we begin knitting the rib.

We will start by making a slip knot.

We place the slip knot on the left-hand needle, adjusting it slowly. It must be adjusted, but not too tightly. This is our first stitch, and it will be considered as a purl stitch.
Now we leave the video on how to do the cable cast on step-by-step:
Key steps you must keep in mind:

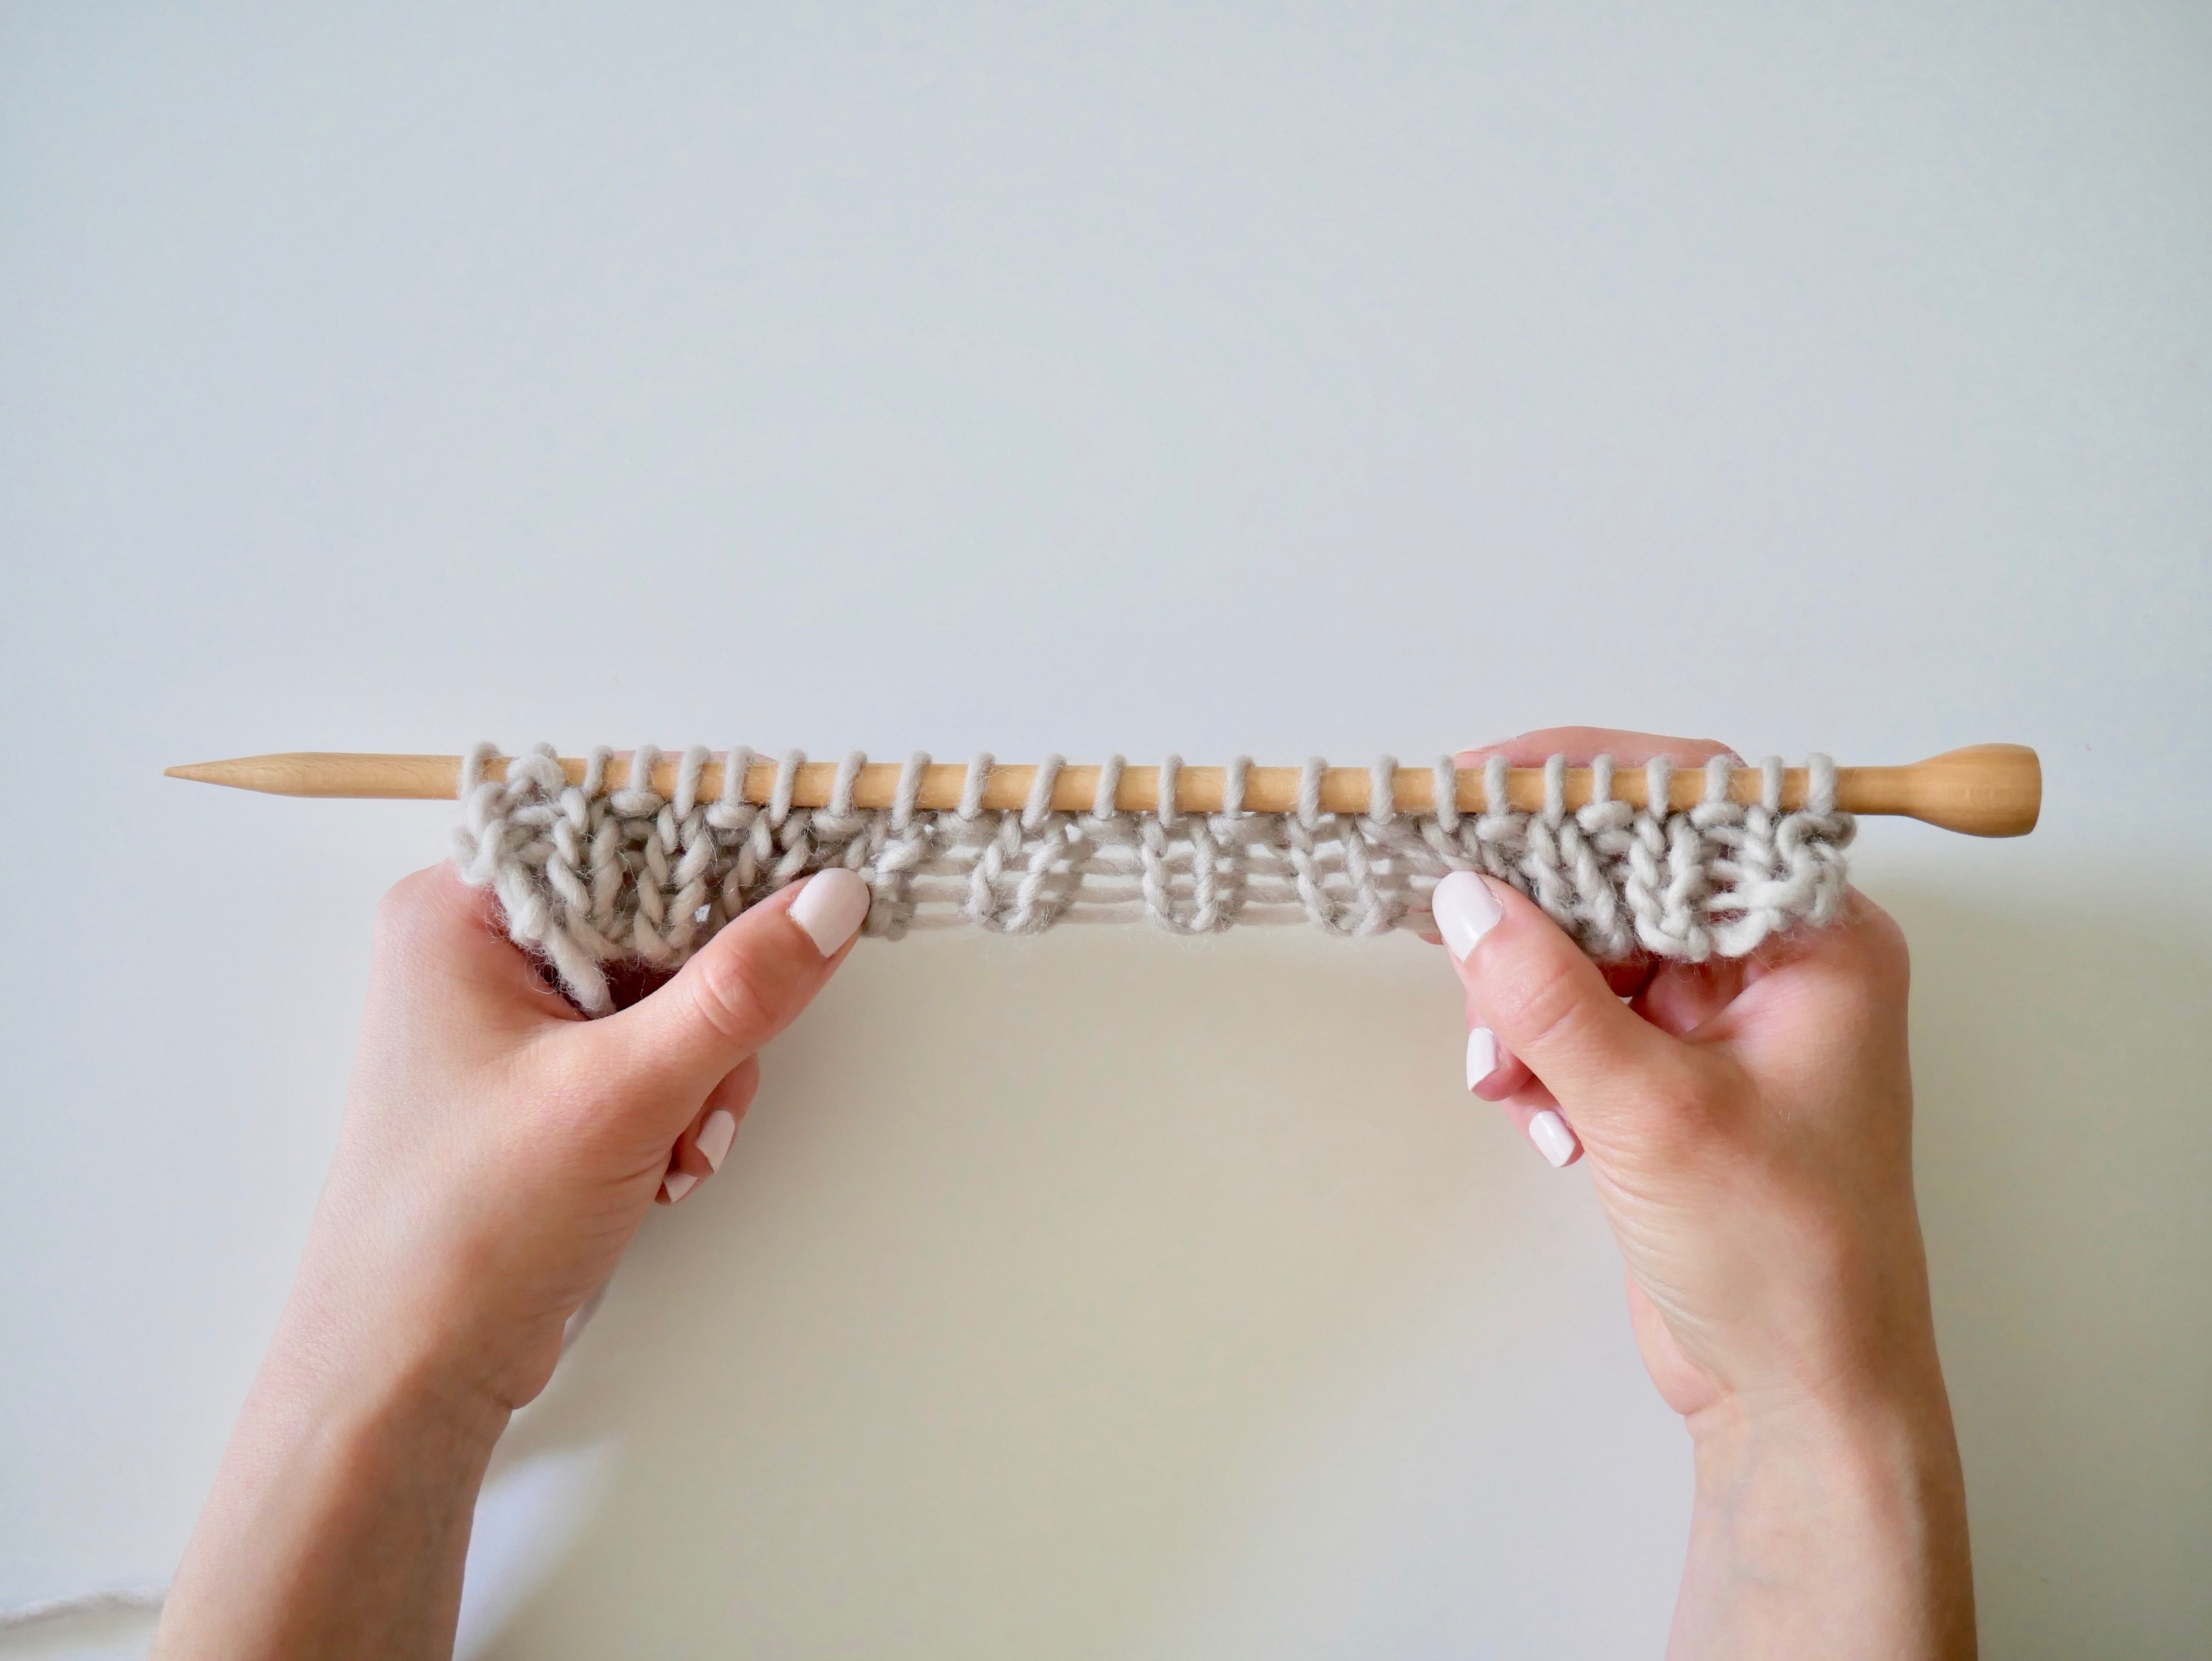
When beginning the cast on, on the first stitch, you must insert the needle in the middle of it.

For the remaining stitches, the needle is inserted in between the last and the second to last stitches you casted on.
- If the stitch you’re working on is a knit stitch on the rib, insert the needle in front of the two stitches and with the yarn in the back of the needle (as when you knit a stitch).
- If the stitch you’re working on is a purl stitch on the rib, insert the needle from back to front of the two stitches with the yarn in the back of the needle (as when you purl a stitch).
Remember that when inserting the left-hand needle in the first stitch, you will do it from back to front.

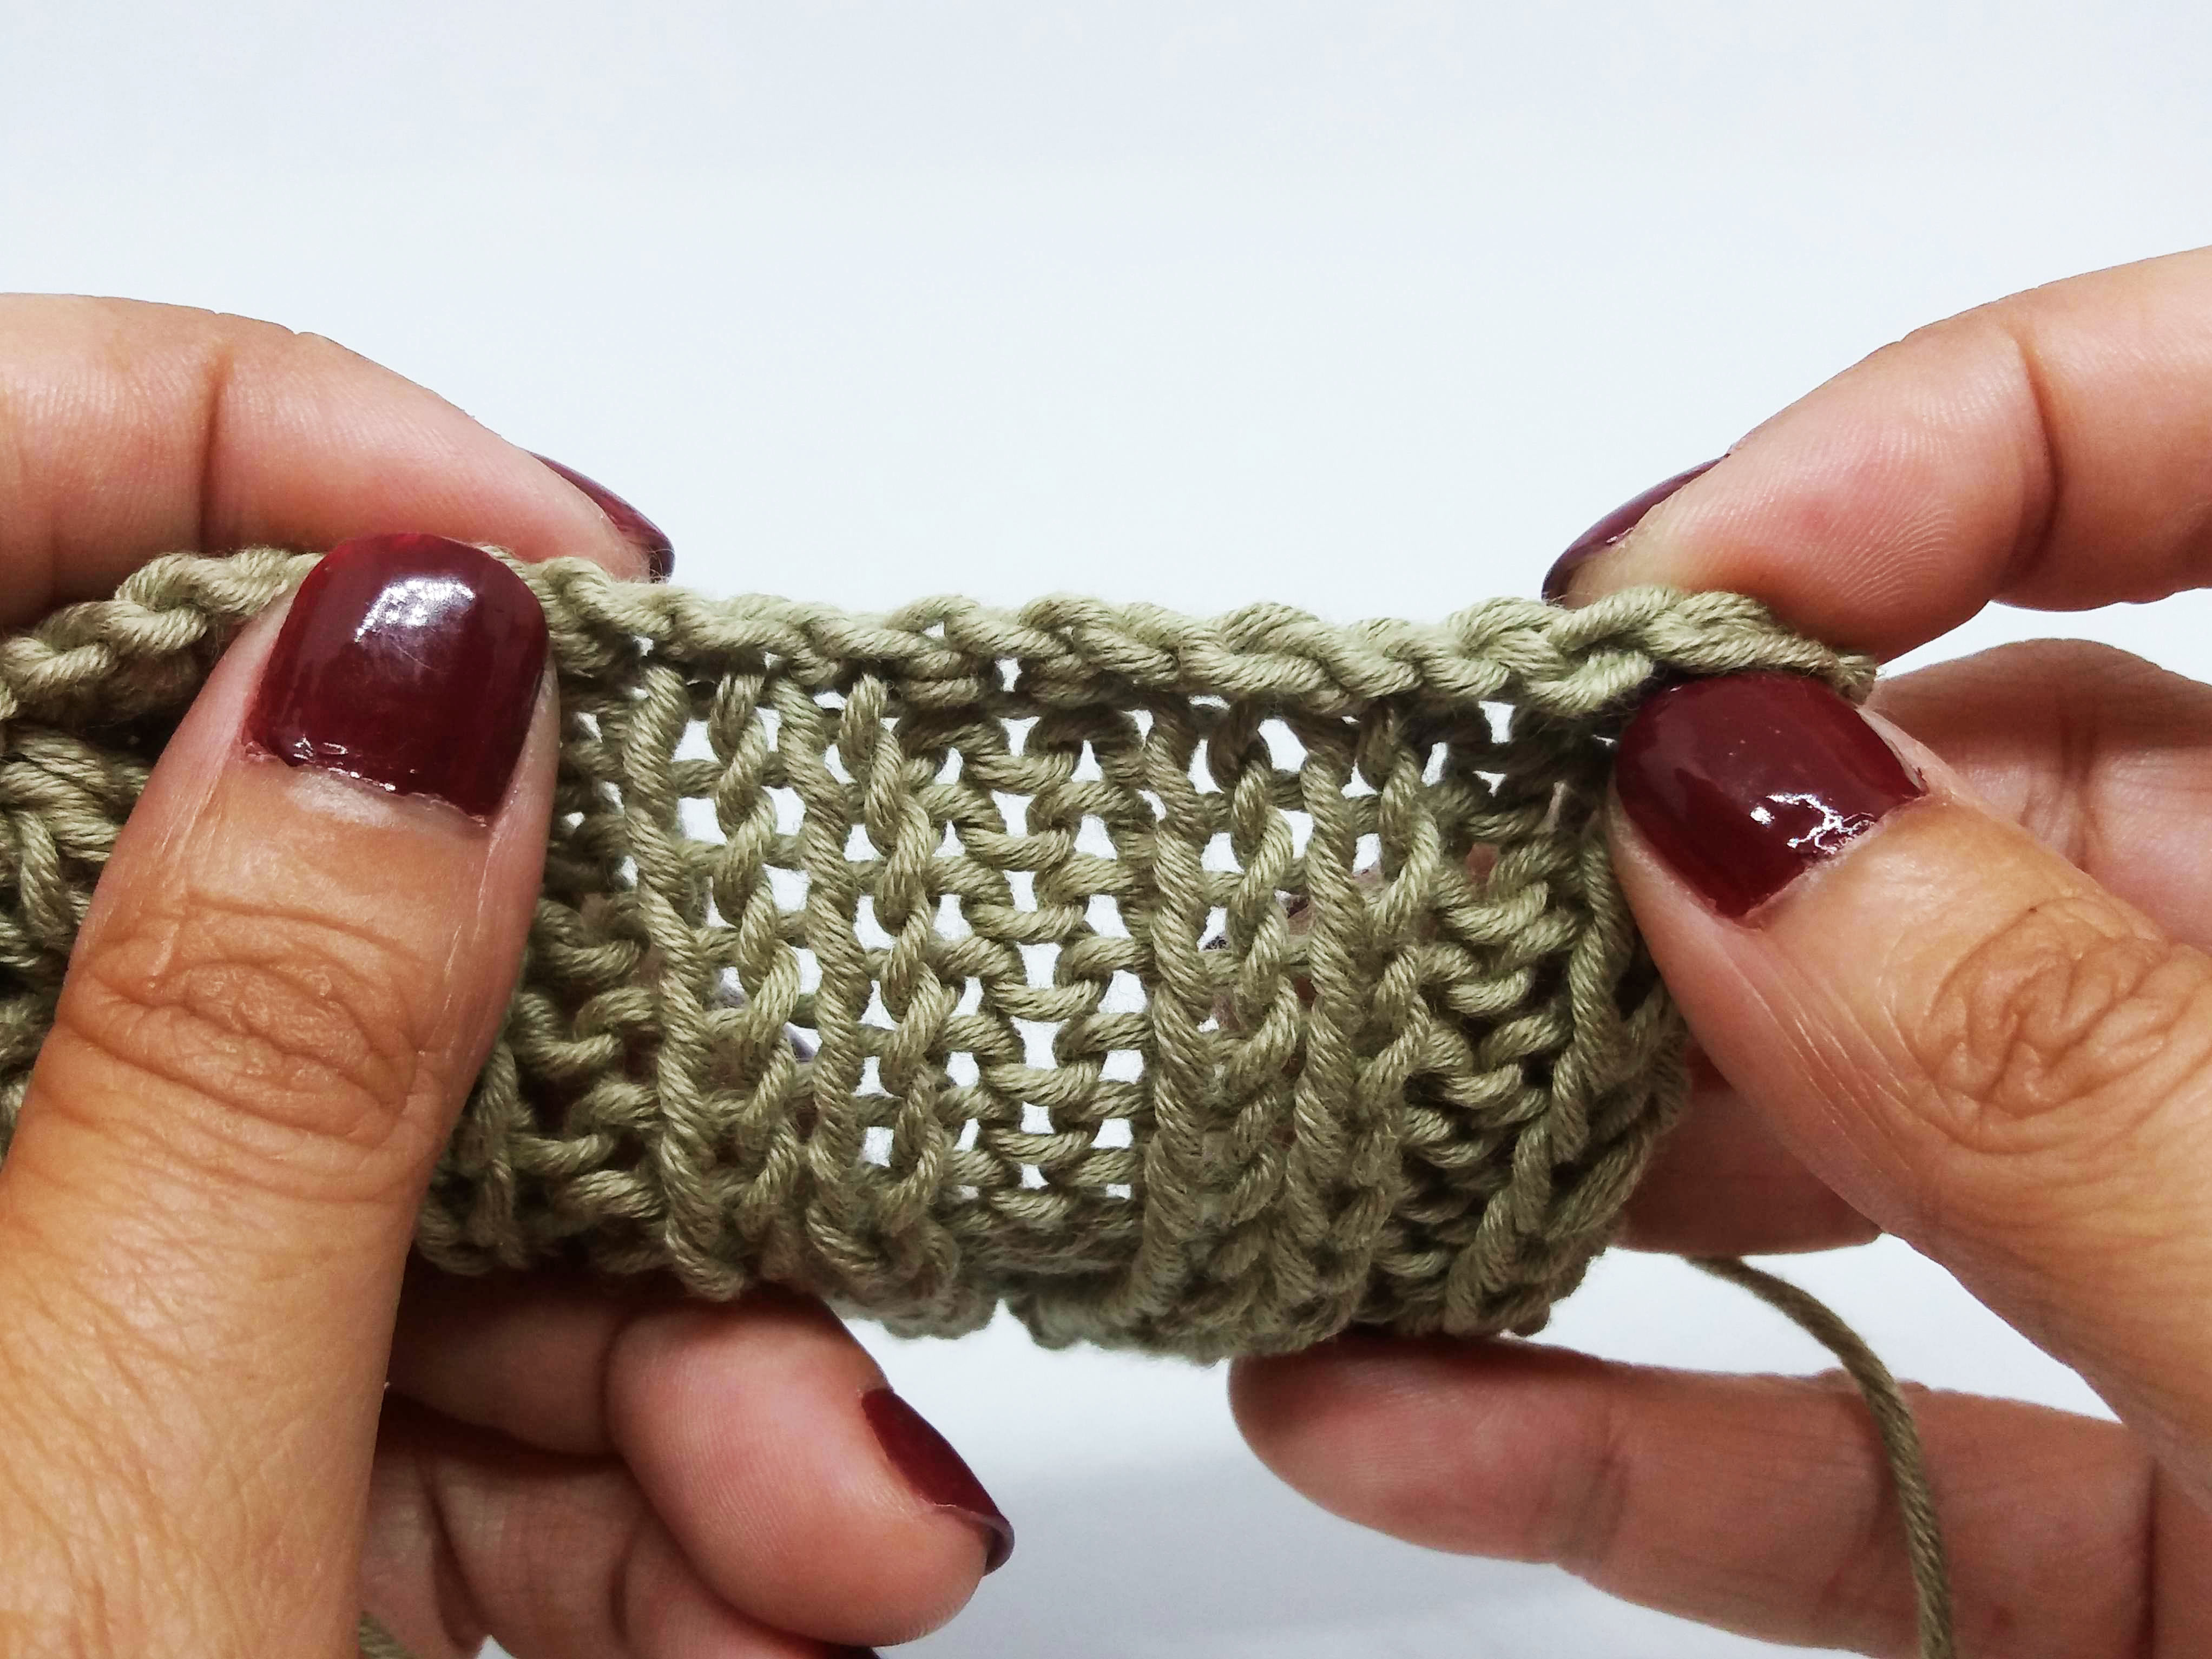
This is how our ribbing looks like once we have finished the cast on.

Once you begin knitting you will see that no line is noticeable, and that the cast on is completely hidden. The way in which you work the rib stitches will follow the order you followed when casting on. In our case it’s a 1×1 rib (knit 1, purl 1) and we followed that sequence for the cast on.
We hope this new technique is very useful and that you apply it to many of your projects. We are eager to see what new ideas you come up with, and for you to share them with our community on social networks with the hashtag #weareknitters.