Fibers that come in hanks have a special charm. This is the perfect format for yarns since it allows the fiber to be kept without distorting its shape, preserving its fluffiness and elasticity for much longer. If you don’t have a swift to transform the hank into a ball, today we give you some simple tricks to do this process quickly and without the hank getting tangled :-)

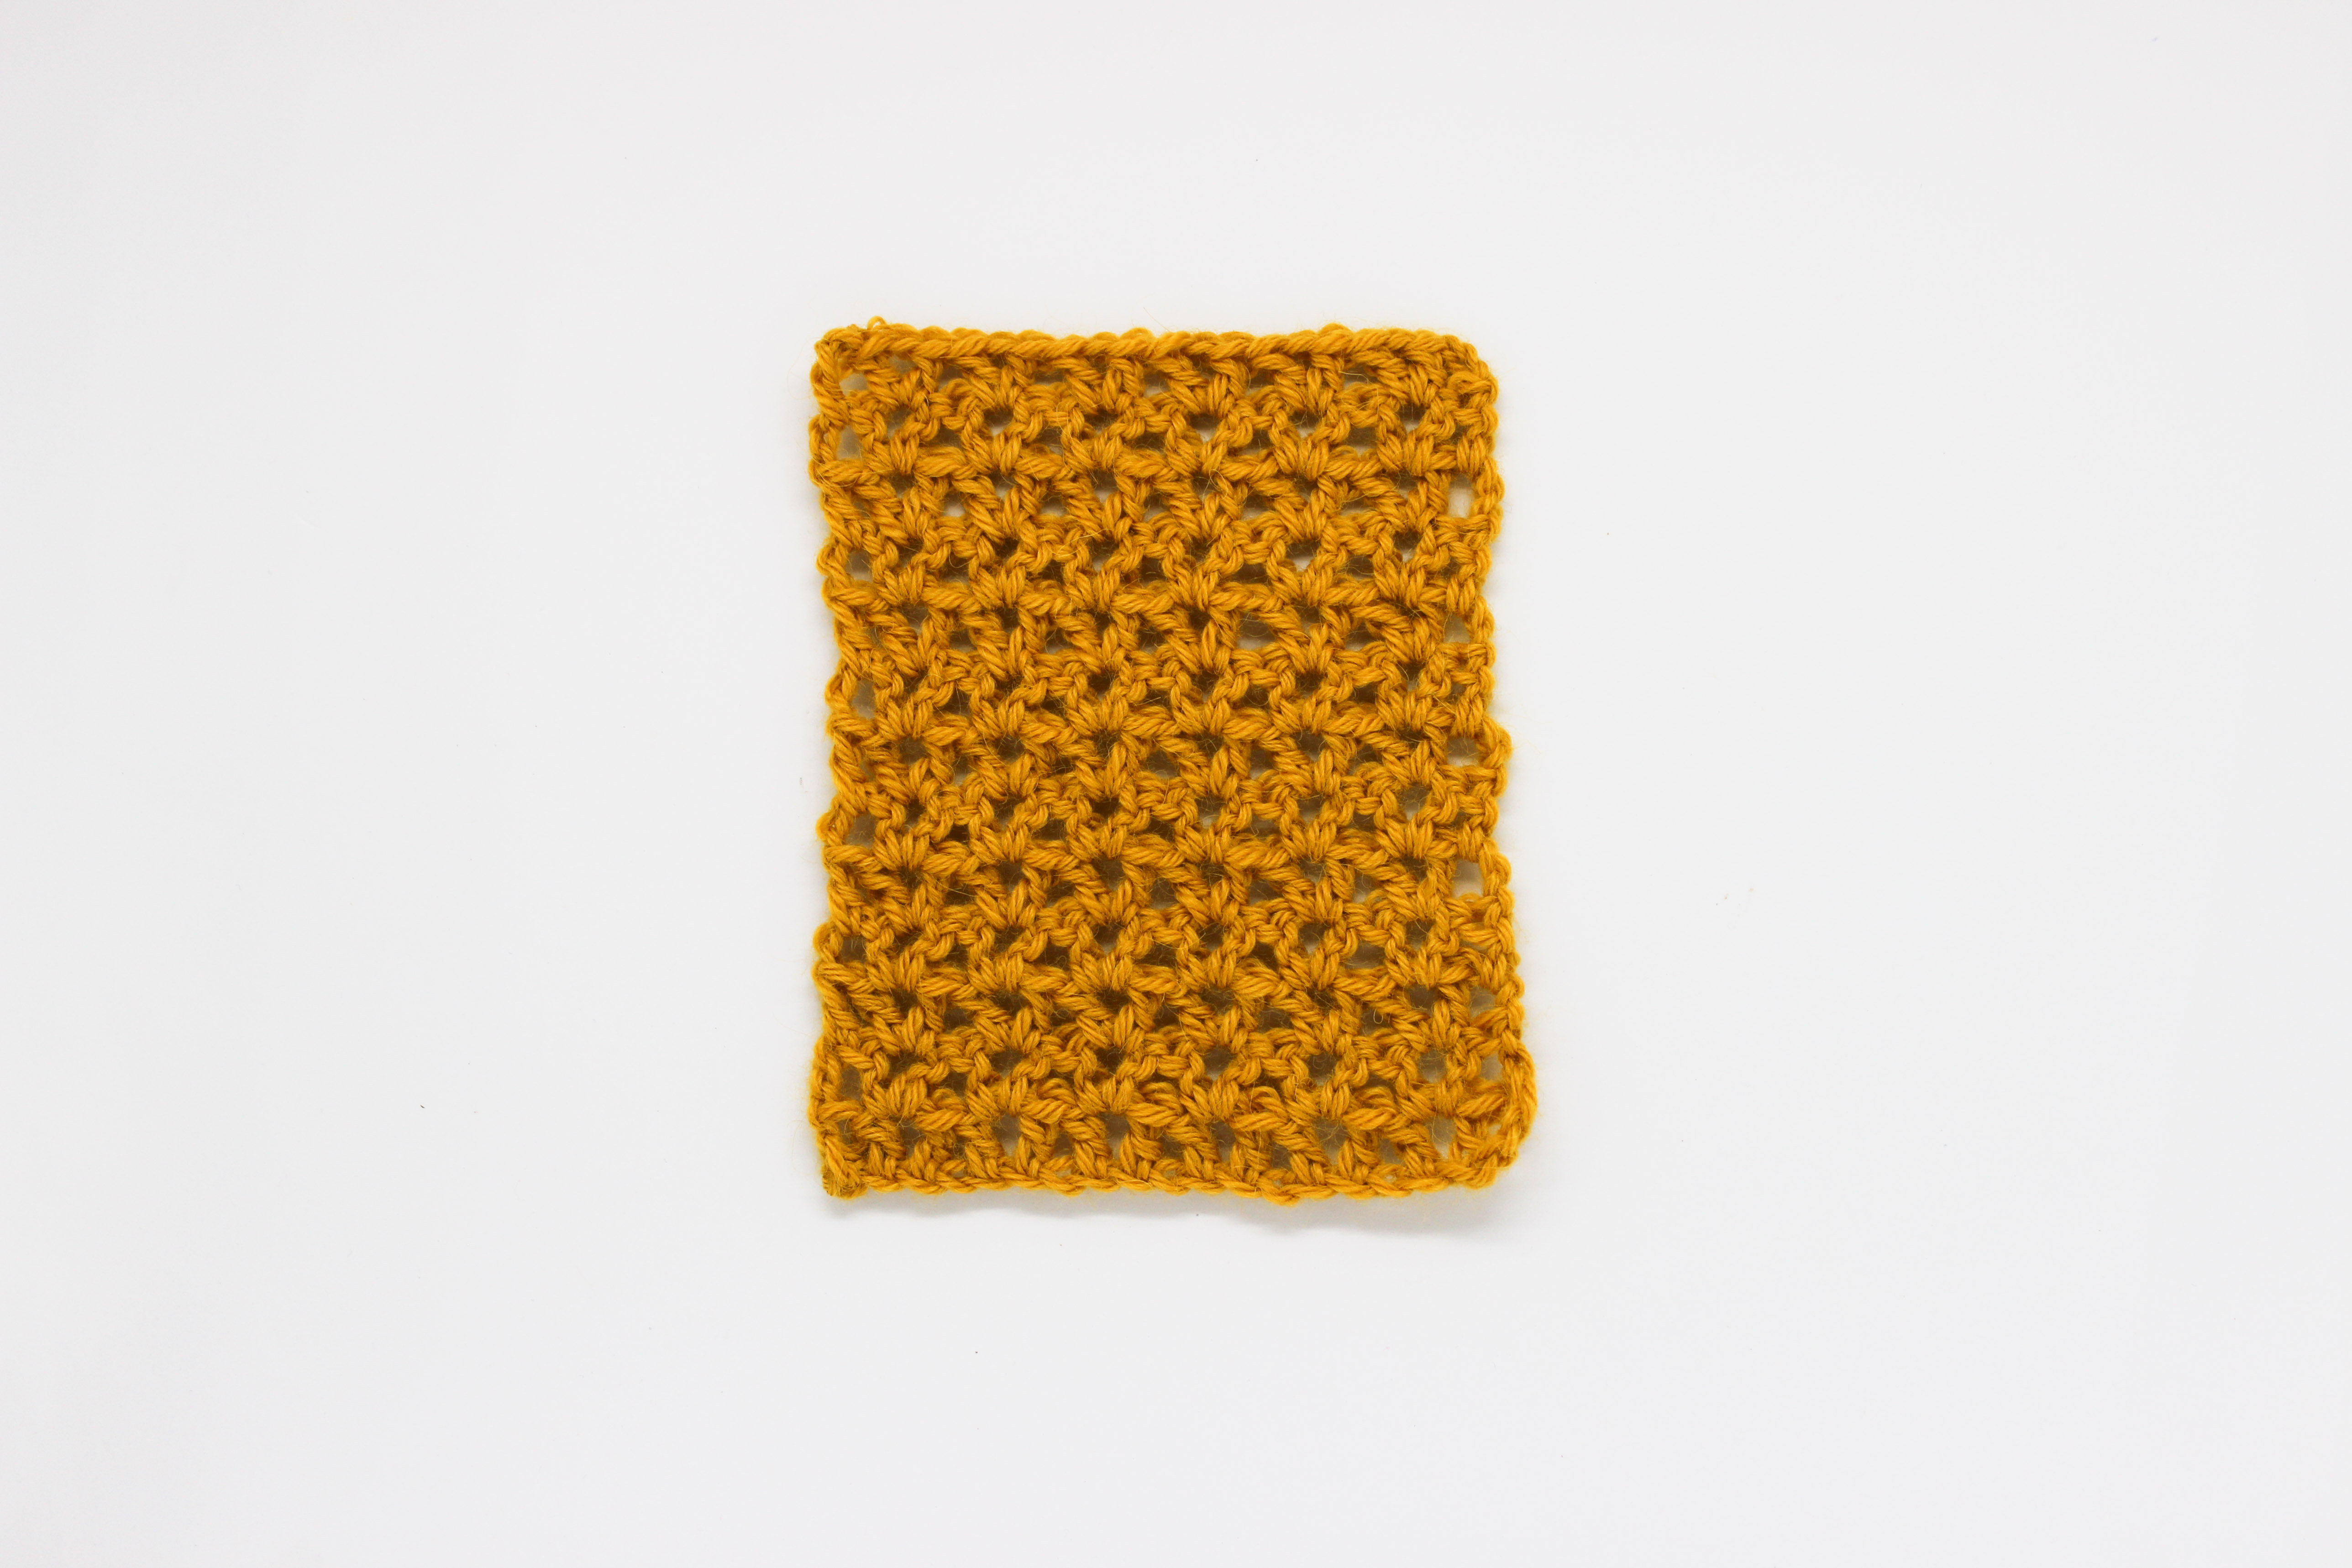
For this tutorial we used one of our new hanks of yarn The Twist and Shout Yarn in the color ochre.

The first thing we will do is remove the label and unfold the yarn, being careful not to tangle it.

We will look for a place at home where we can place the extended skein. you can use the back of a chair.

Or on the edge of a table. The hank should be secured and as extended as possible while winding the ball so that the fiber does not get knotted.

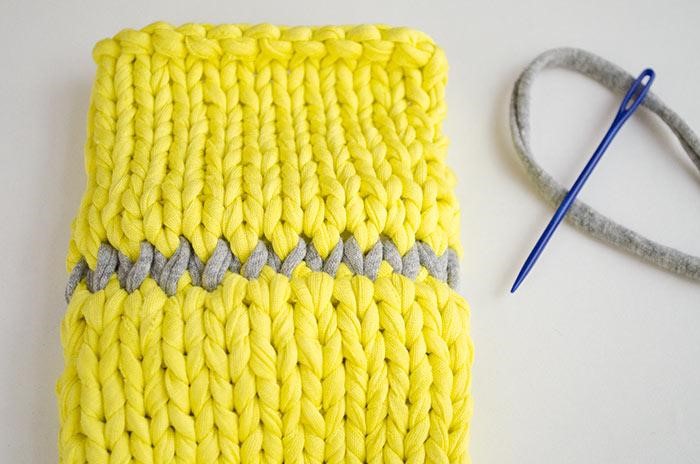
Once the previous step has been solved, we are going to look, inside the hank, for some threads of a different fiber whose purpose is to secure the ends of the yarn together, as well as keeping it from getting tangled.

We are going to cut those threads being very careful not to cut, or harm, the yarn. One of those threads will be tied to the ends of the hank. As you can see in the image above.

Look over the hank to make sure you have removed all of the threads, and then choose one end to start your ball, it doesn’t matter which end you choose.

We’ll start our ball by wrapping the yarn around the fingers of one hand to make a mini hank.

Once it has a little volume, we will remove it from our fingers.

We will continue wrapping the yarn around half of the mini-hank.

Once the previous step is done, we can continue winding the fiber in different directions to form our ball.

You will quickly have your ball ready to start knitting with :-)
We hope this step-by-step tutorial was useful to you and that you share how your experience and process has been to turn your hanks into balls with us on social networks using the hashtag #weareknitters. Until next time!