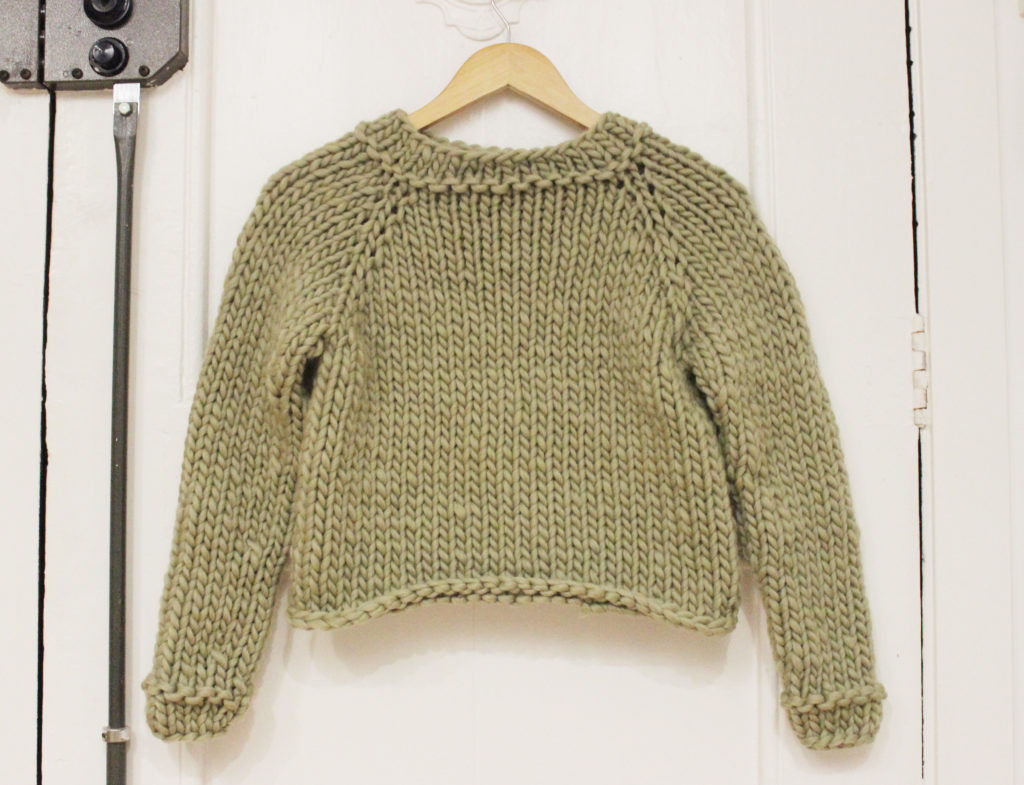
If you are one of those knitters who hates to seam after finishing your sweaters and work the whole thing piece-by-piece, today we bring you a step by step in which we show you how to knit using the top-down technique—seamlessly and all in one piece. As the name of this technique indicates, we start knitting from the top (at the neck) and work our way down to the hem.
Materials
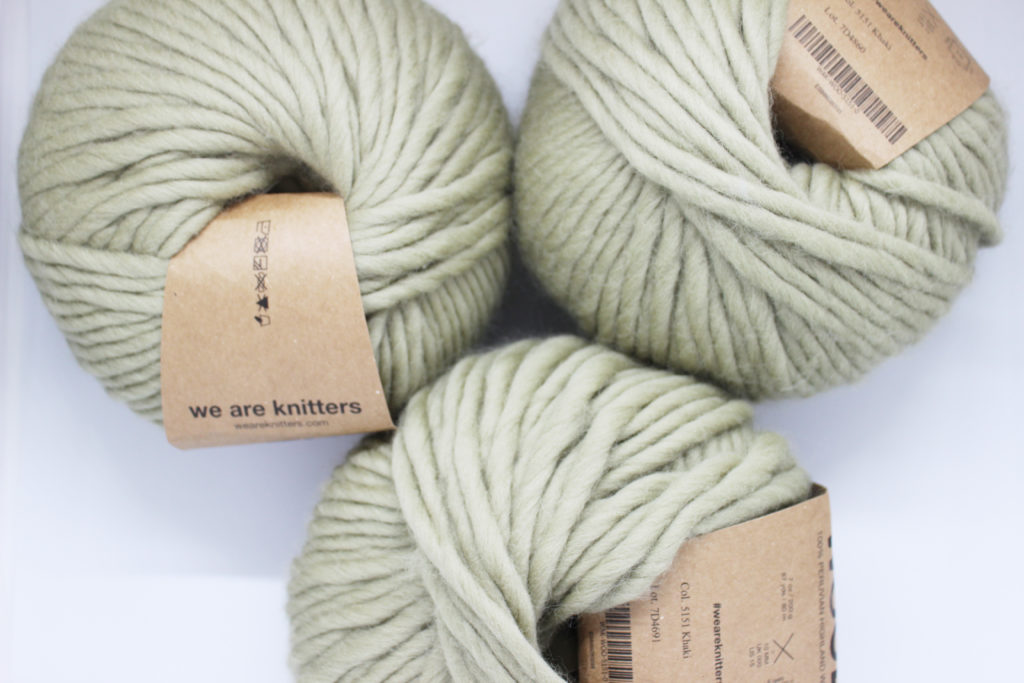
To make this sweater, we’re going to need 3 skeins of The Wool in whichever color you prefer.
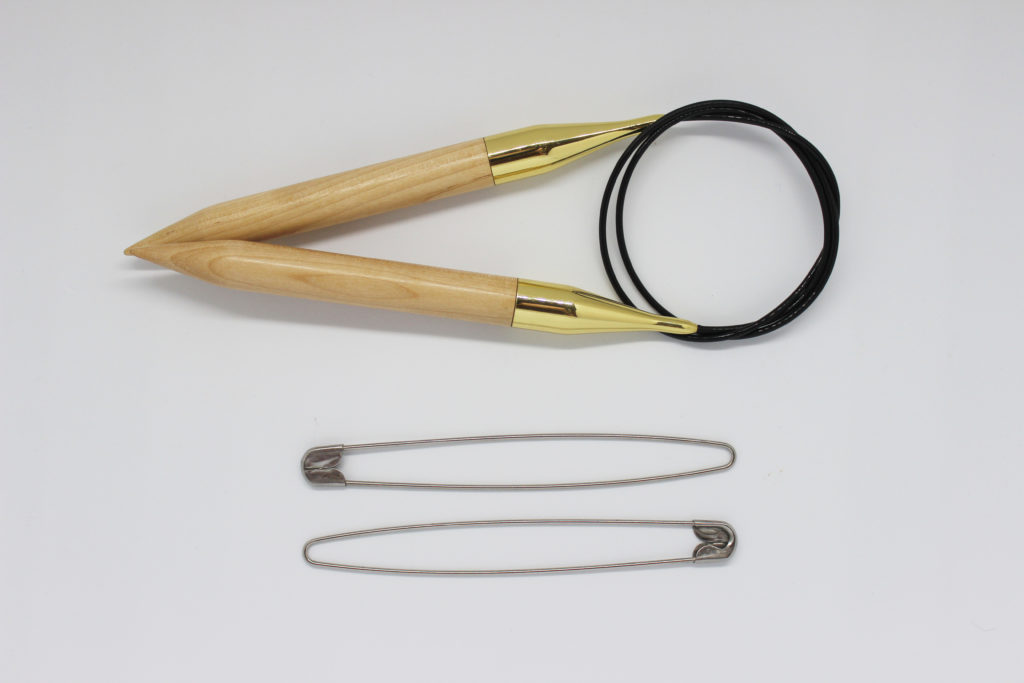
You will also need one of our 15 mm circular knitting needles and stitch holders (the kind you see in the photo or another) to place stitches on hold when necessary. If you don’t have a stitch holder or don’t want to invest in one without knowing if you’ll take advantage of it, don’t worry. We’ll show you a little trick so that you can easily get by without them.
Techniques to know before beginning
Before getting started, as always, here’s a list of stitches and techniques that you should be familiar with:
- How to knit in the round
- How to knit in the round using the “Magic loop”
- Knit stitch
- Yarn over
- Knit through the back loop
The Top-Down technique step by step
Begin at the neck
When knitting top-down, we always begin at the neck:
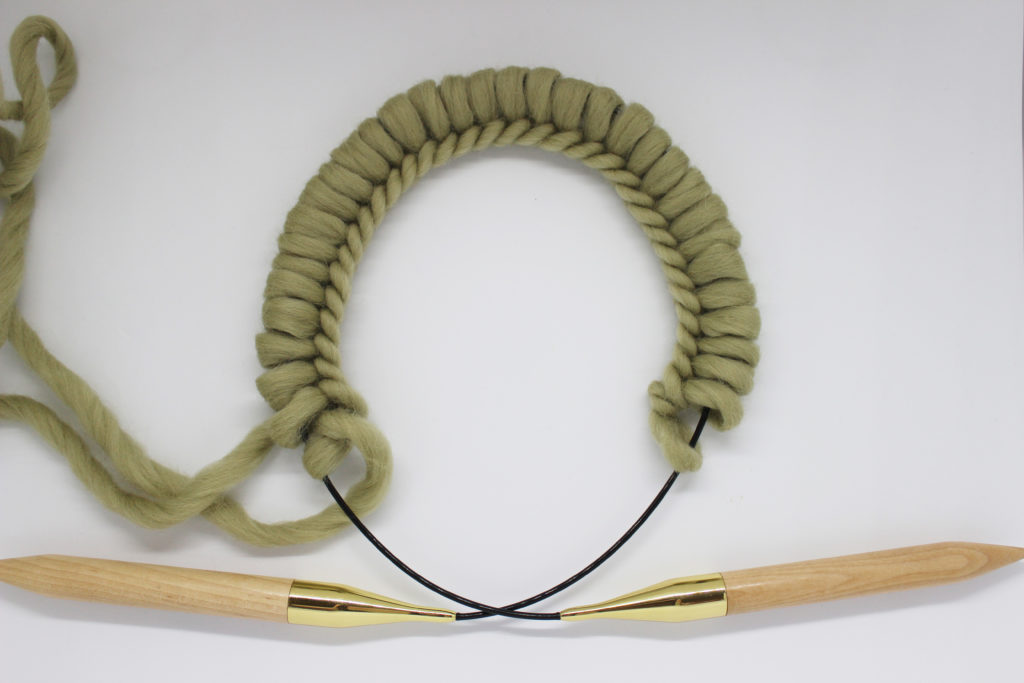
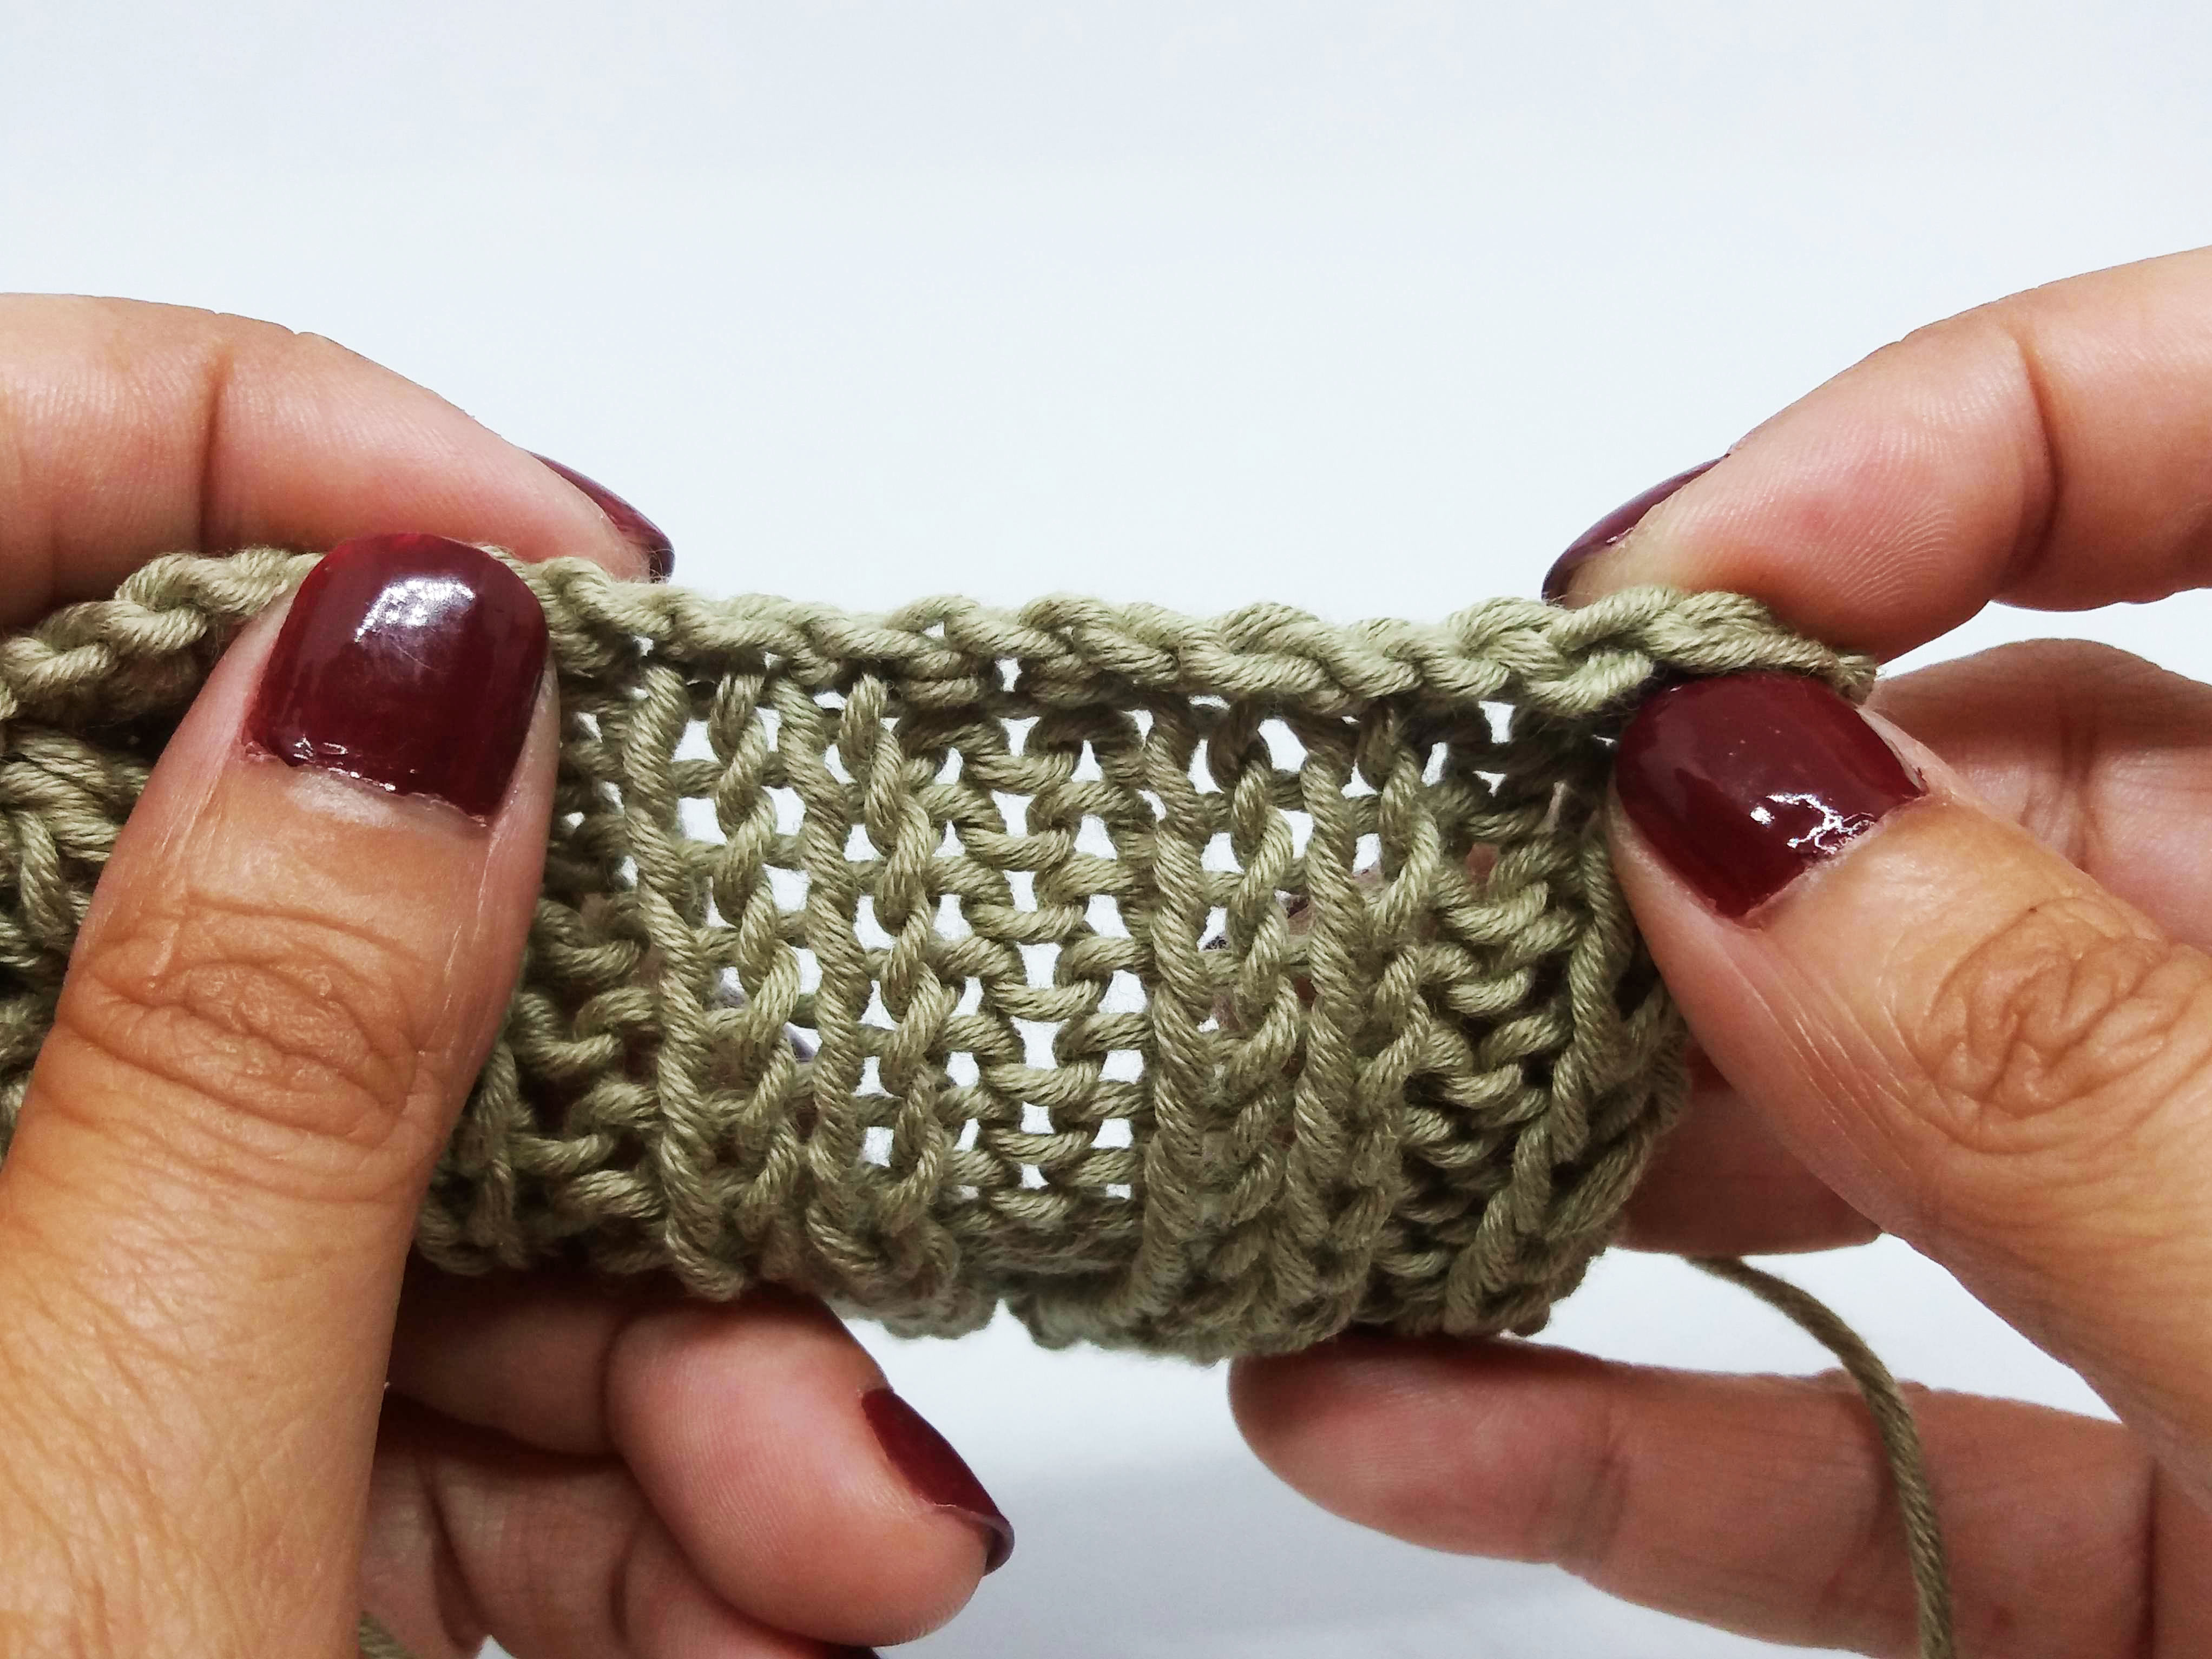
Let’s cast on the number of stitches indicated in the pattern, taking care to make sure the stitches don’t twist around the cable and are in the same direction. We’ll start knitting, joining the stitches at either end. At this point, our work is a bit too small and the stitches will not wrap around the cable, so we’ll have to use this “Magic Loop” method.
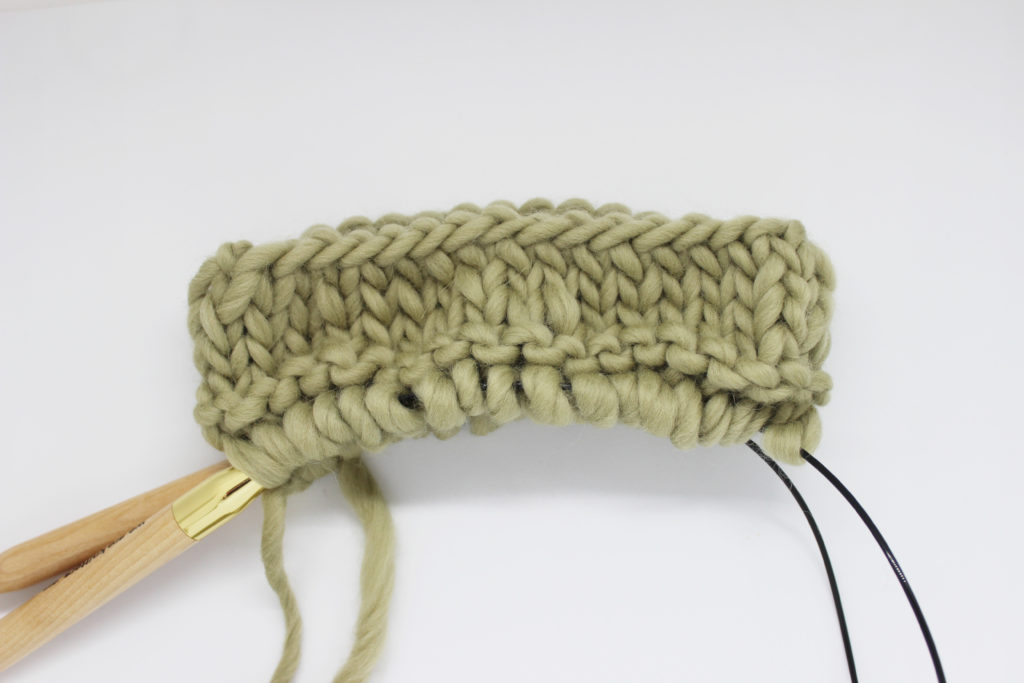
As you can see in the image above, we’ve got the neck of our garment.
Increase for the sleeves and body
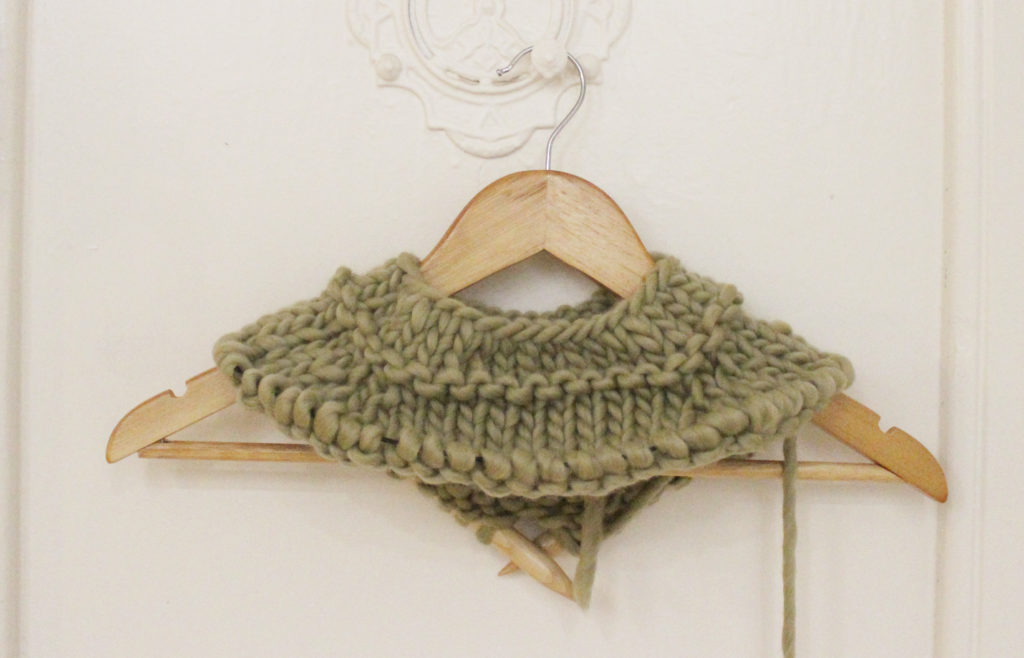
After working the neck, we’ll move on to working the rest of our garment. Now we’ll create the upper part of the sweater and begin working the increases that form the sleeves, the front, and the back. We’ll knit them all together. As you increase stitches, you will fill up the cable of your circular needle and eventually you’ll be able to stop using the “Magic Loop” technique.
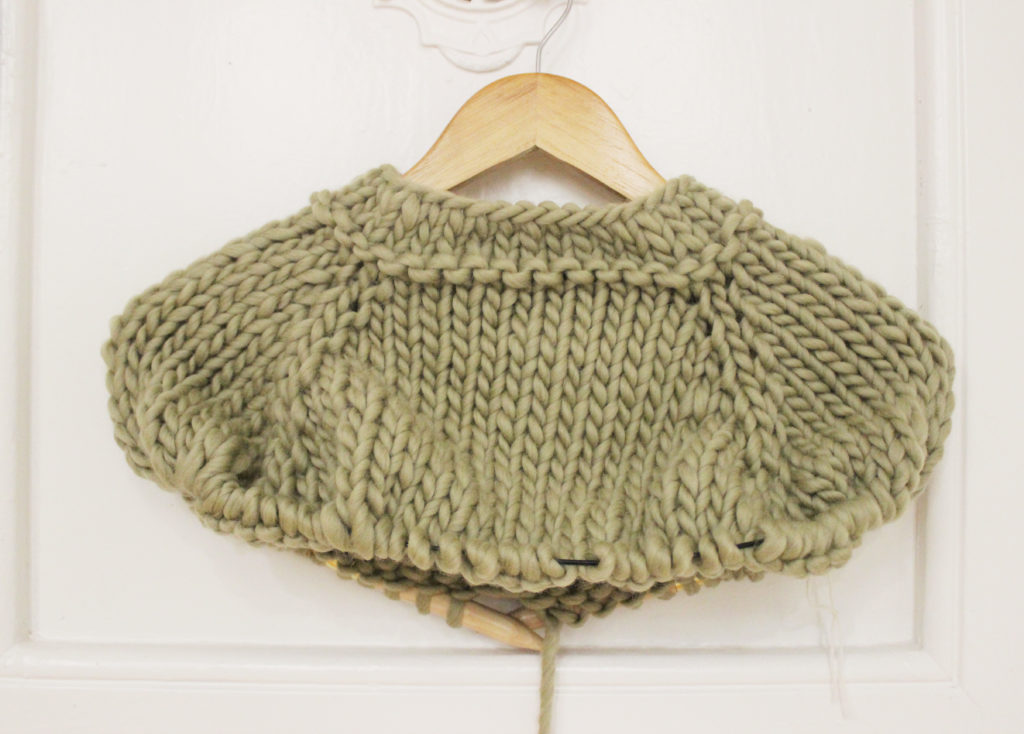
In the image above, you can see how the garment will look after this phase.
Separate the sleeves and the body
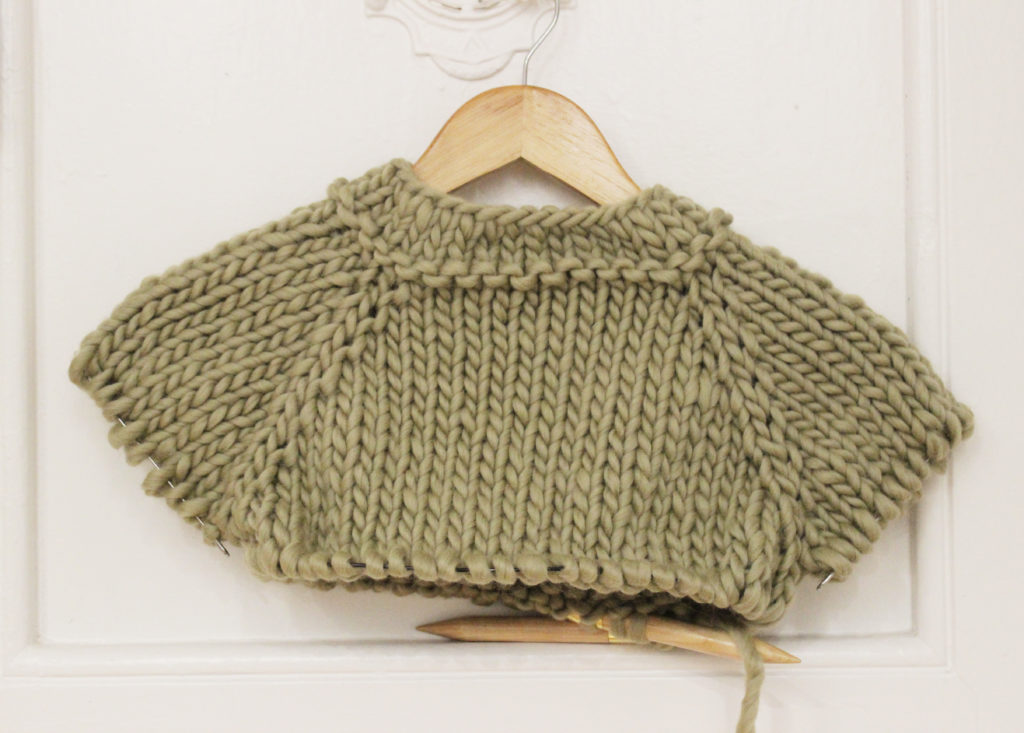
After finishing the previous phase, we must separate the stitches that make up each of the sleeves from those that make up the body. This is done as follows:
Just as you saw in the video, we begin knitting the stitches from the front of the garment, then leave the stitches from the first sleeve on hole, before working the stitches from the back, and finally placing the stitches from the second sleeve on hold.
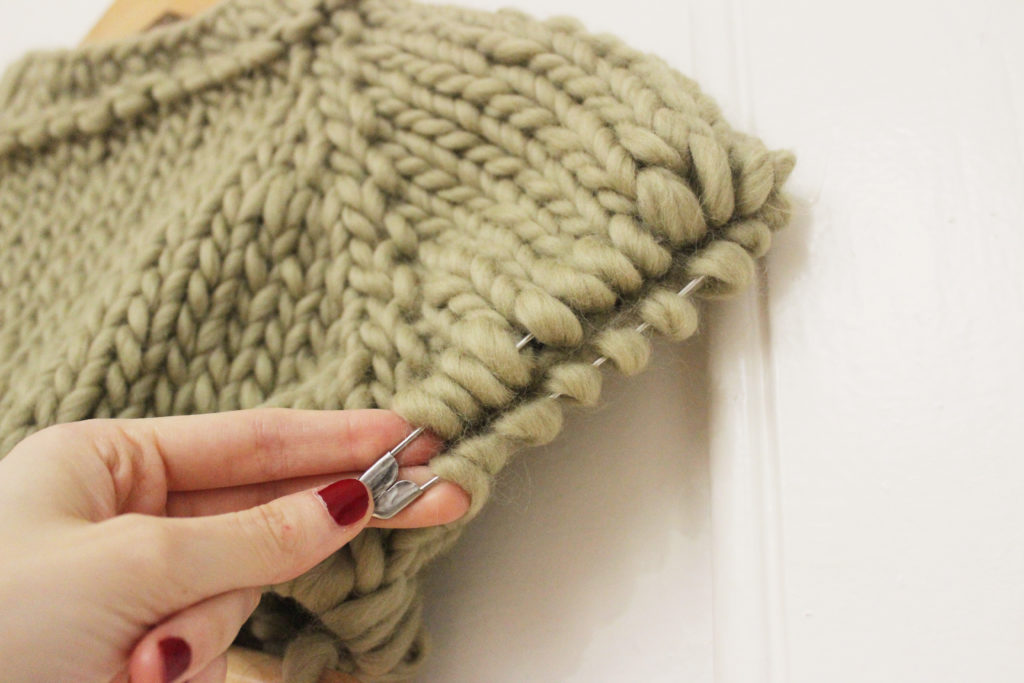
When we say to “leave stitches on hold,” we mean that we are setting these stitches apart on a stitch holder like the one you saw in the materials section of this tutorial. If you don’t have one on hand, you can use a tapestry needle, stranded with a bit of yarn in another color. Slip the stiches onto the tapestry needle and yarn, and once you have slipped all the stitches, make a knot at either end of the sting so that stitches won’t come loose and you can knit comfortably.
Knit the body
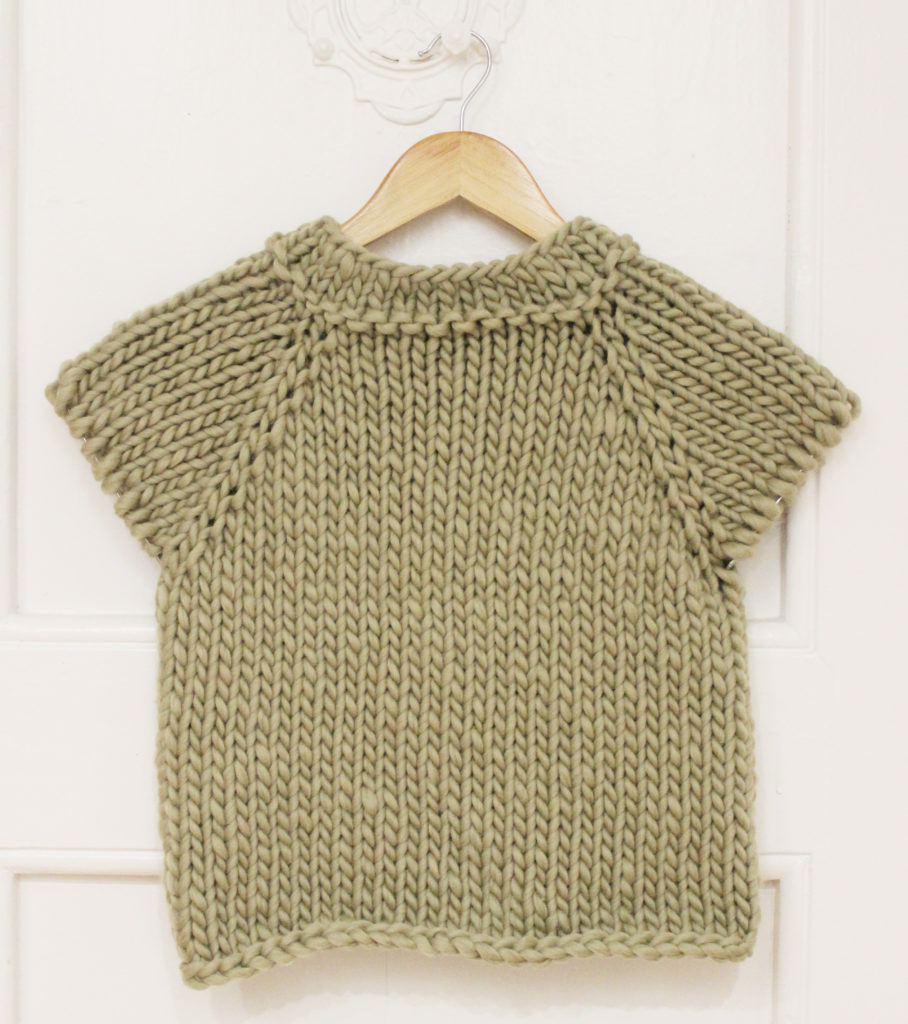
After the previous step, you will only have the body stitches left on your circular needle. In this step, all you have to do is knit these stitches until you reach the measurement indicated in the pattern or until your garment is the length you want.
Knit the sleeves
Now let’s pick up the sleeves that we left on hold to knit each of the sleeves.
As you saw in the video, you’ll open the stitch holder or cut the yarn on which you left your stitches, and beginning in the armpit area, pass them back onto the needle. When you reach the center, push the stitches down to the cable and finish slipping the remaining stitches.
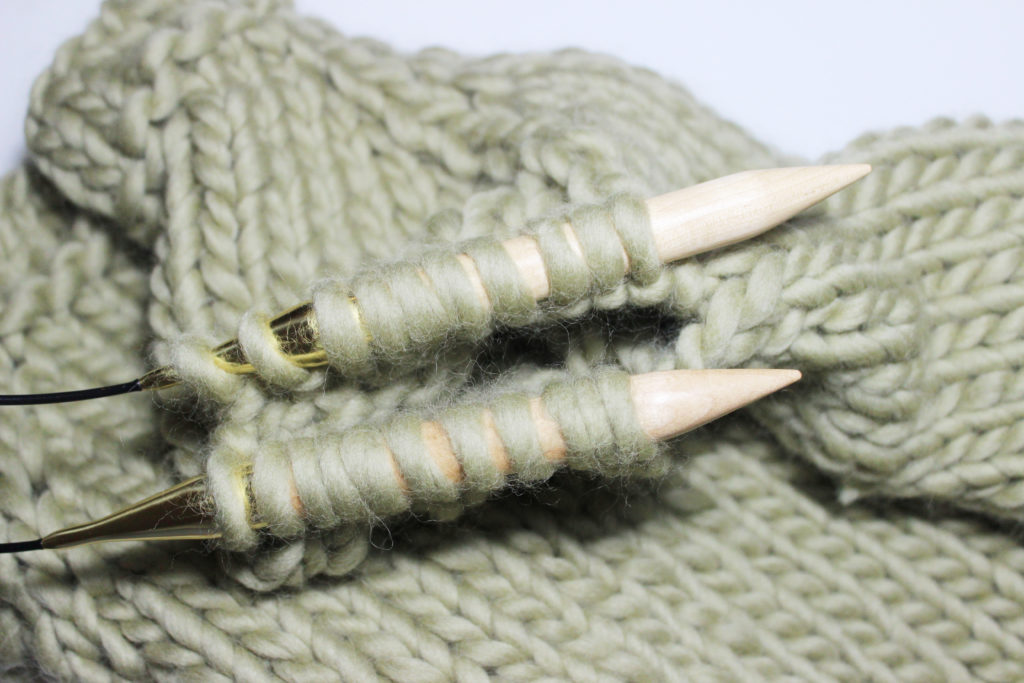
The stitches are now ready to be knitted, as you can see in the image above. The rows should begin at the armpit area of the garment.
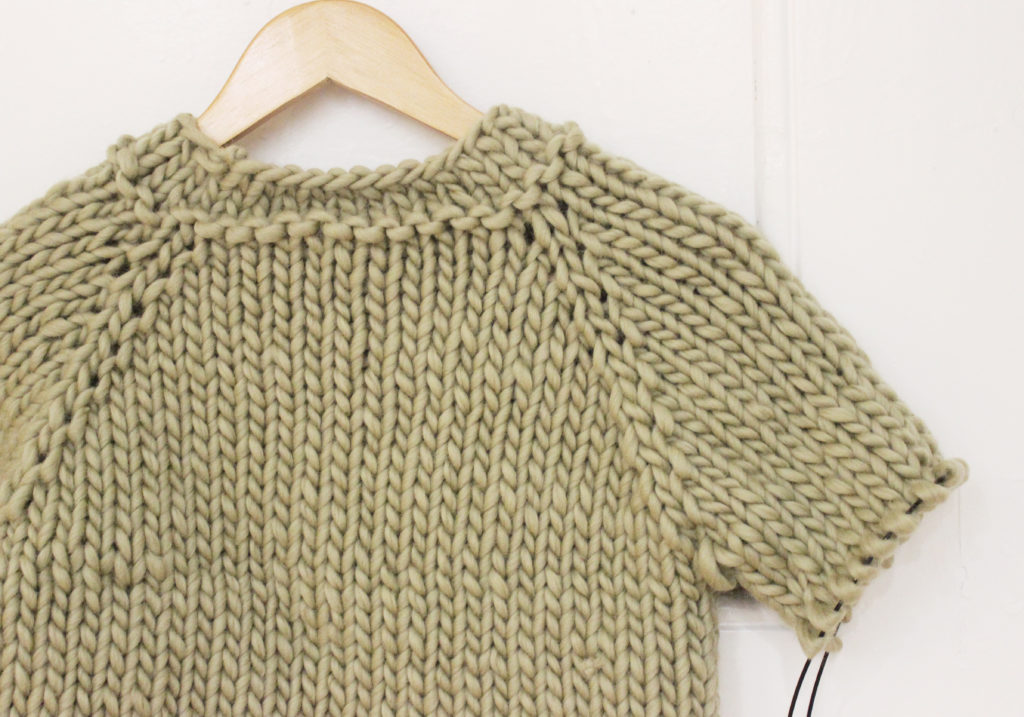
Now use the “Magic Loop” to begin knitting these sleeve stitches.
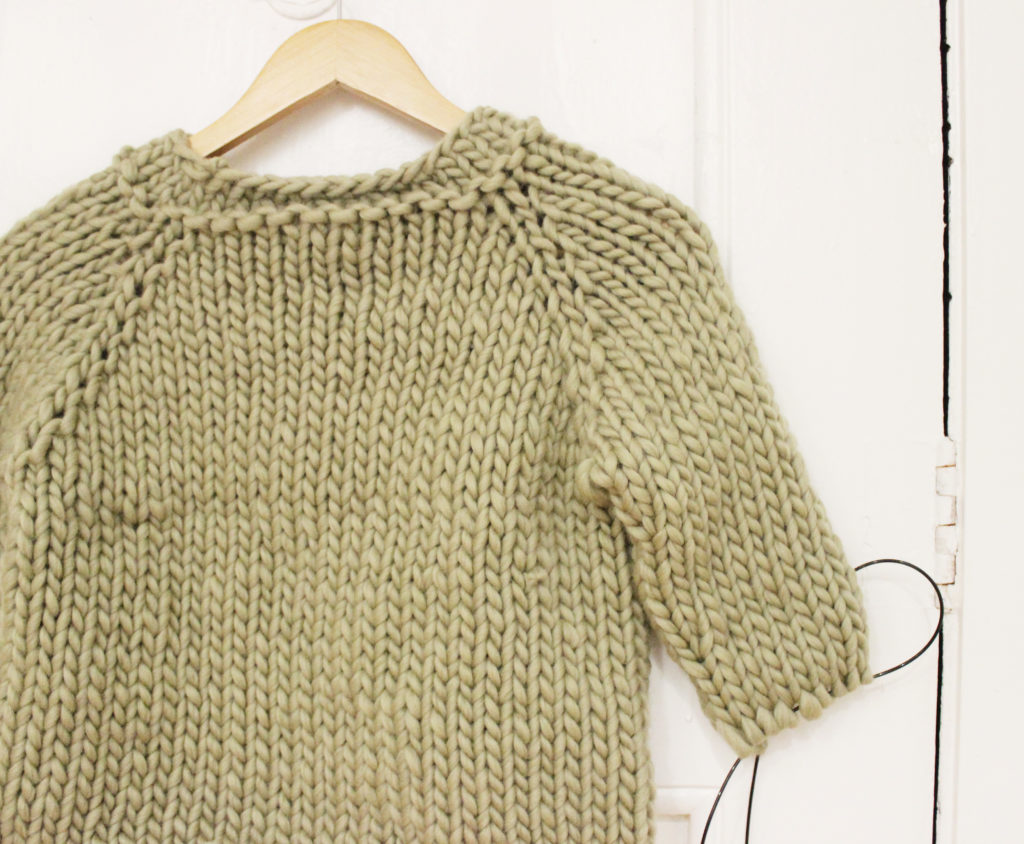
As you’re working the sleeve, if you want to give it some shape, you’ll need to work the corresponding decreases.
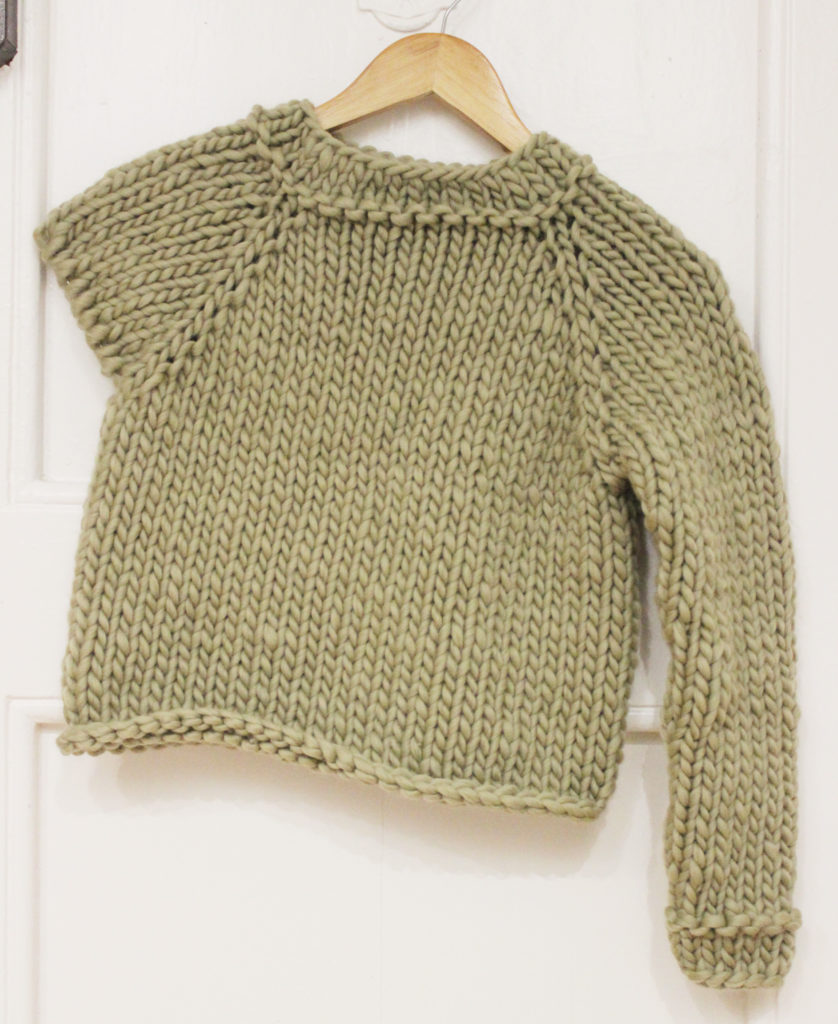
After casting off the first sleeve, repeat the process in exactly the same way to make the second.
Tip: how to hide the holes at the armpits
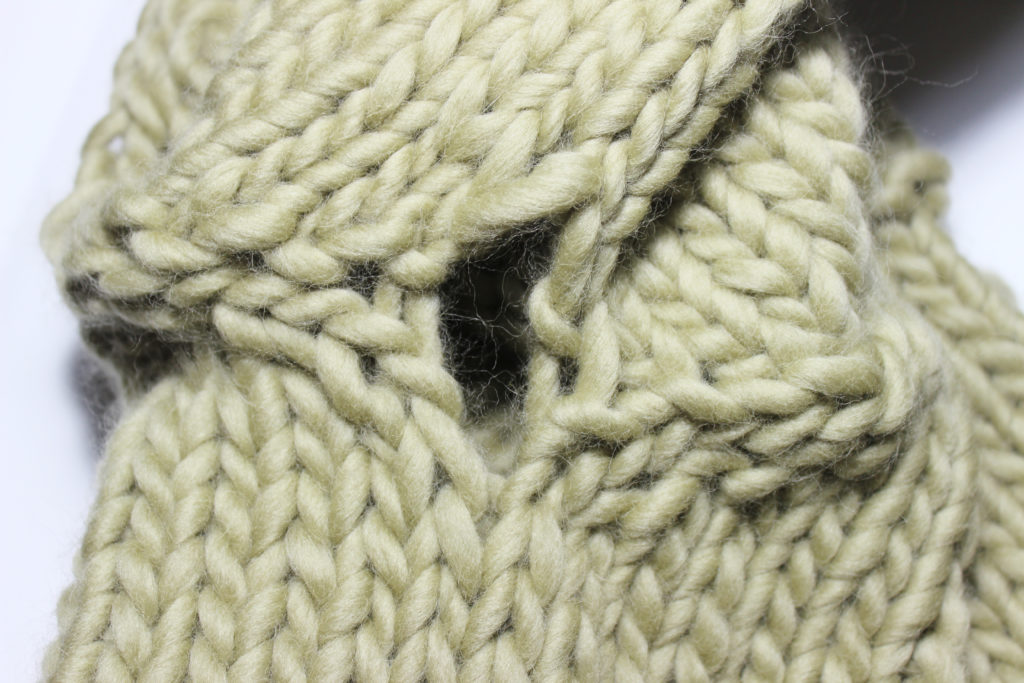
It’s totally normal to find small holes at the armholes of your garment as you’re finishing up.
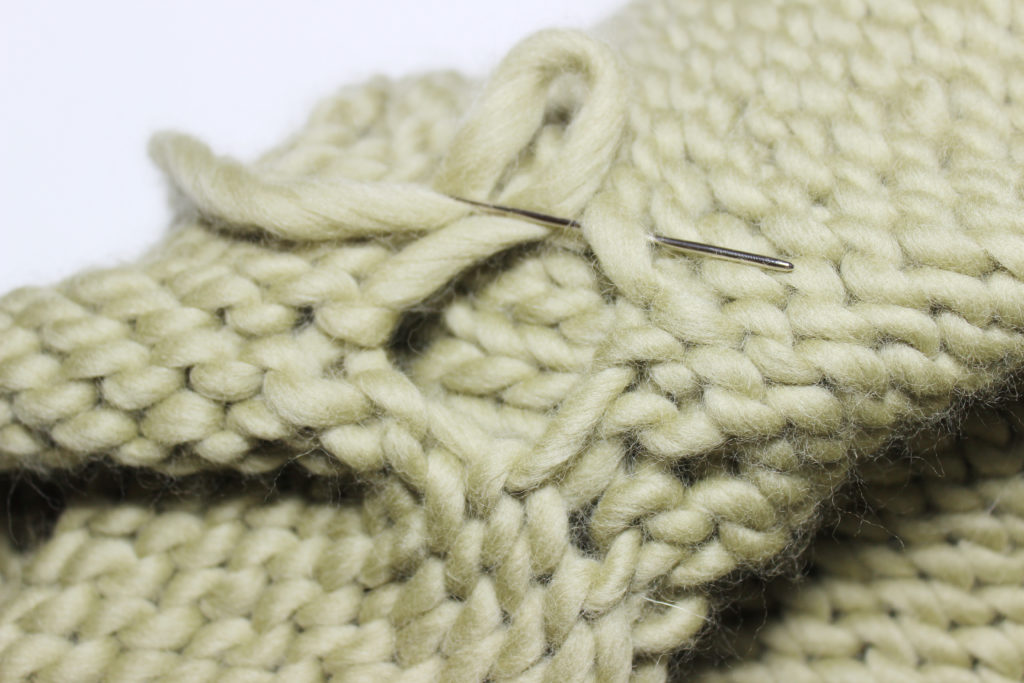
Don’t worry! Turn your garment inside out and, with a threaded tapestry needle and a bit of the yarn used in your project, make a couple small stitches to close the hole. Be sure to make them as hidden as possible so that you can’t see them on the right side of the piece.
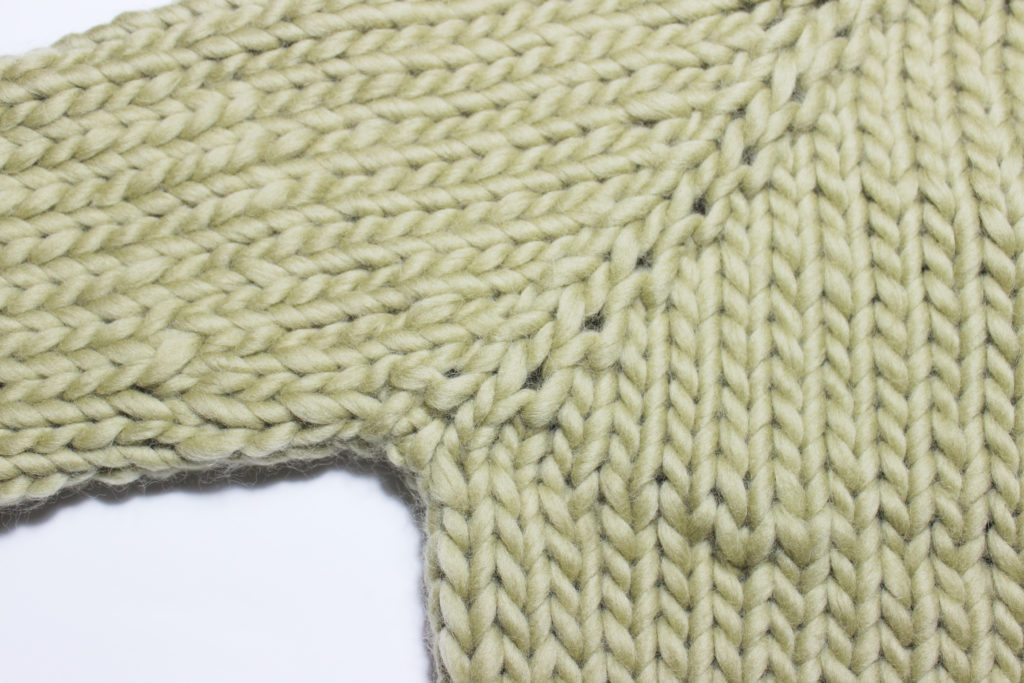
This is how it will look with no sign of the hole, right?
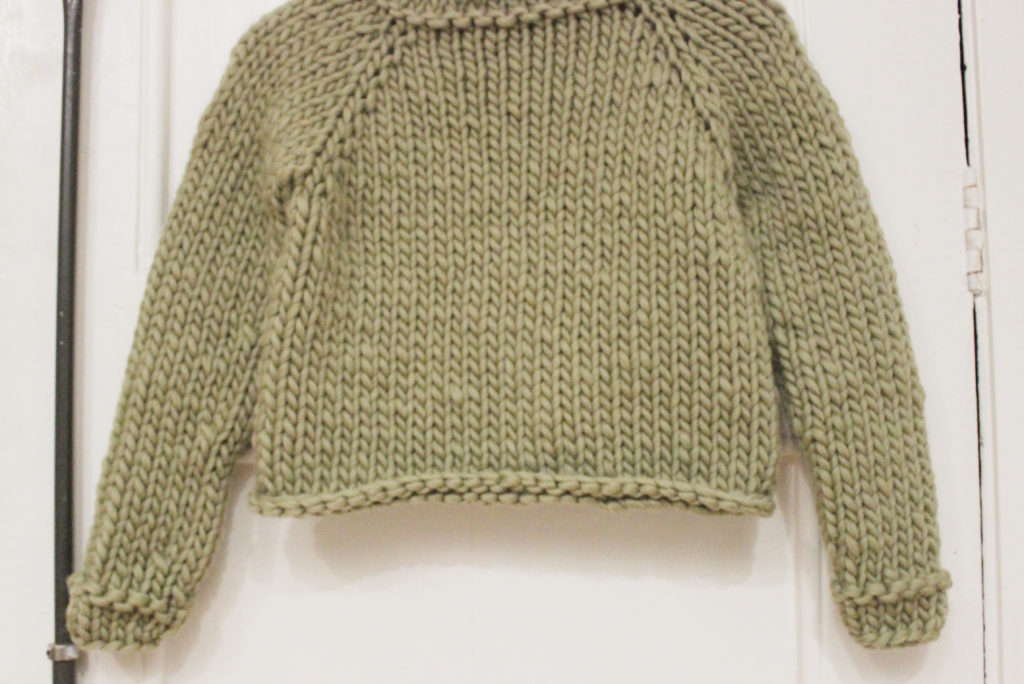
After finishing the sleeves and giving it the final touches, our garment is ready to wear. We hope this step by step will be useful for knitting your next winter sweater seamlessly 🙂 Remember that we love seeing you share your projects on social media with the hashtag #weareknitters. Until next time!

