Sometimes, we come across a stitch that is especially difficult to master. To keep your spirits high when you encounter one, we’re here to help.
This time, we’ll show how to make a right-leaning double decrease in two different ways, so you can choose which one is more comfortable or simple for you to do. They’re not exactly the same. In the first decrease, all the stitches will lean to the right. While in the second, the stitch on the right will lean towards the center stitch, and the stitch on the left, will lean towards the other two. Let’s see how they’re done.
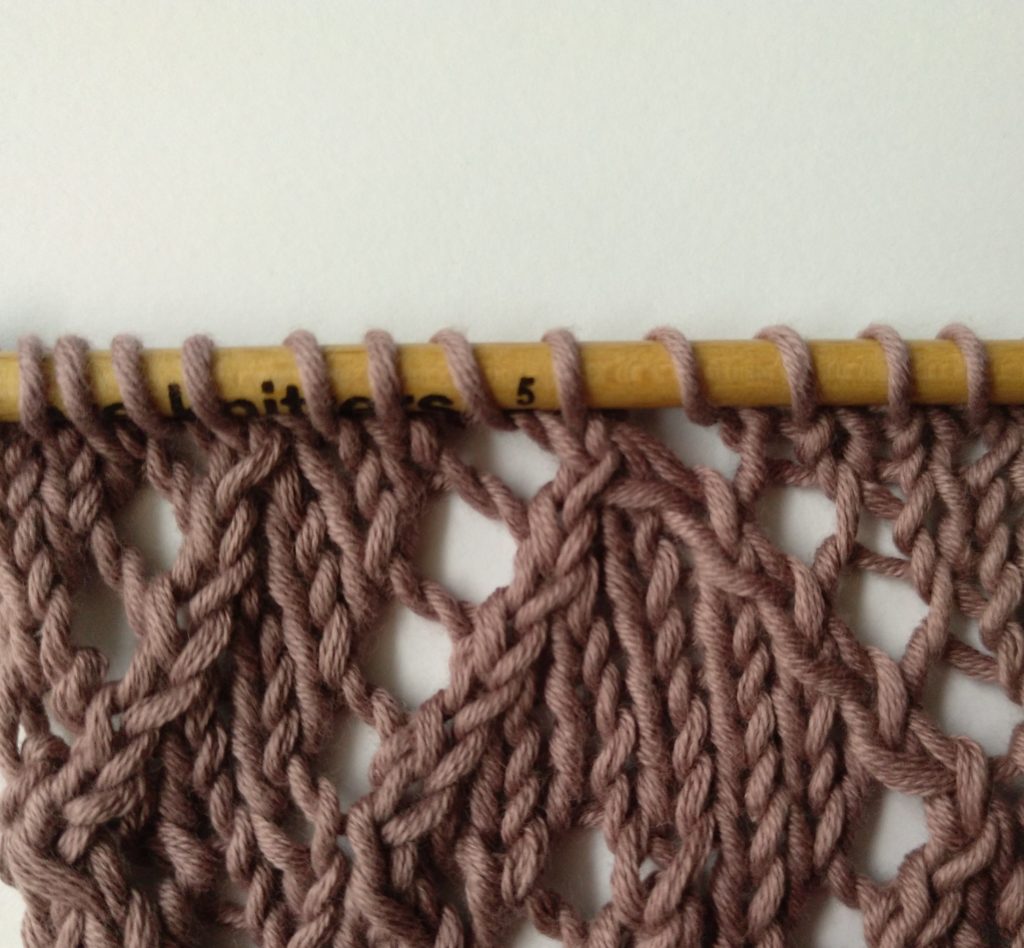
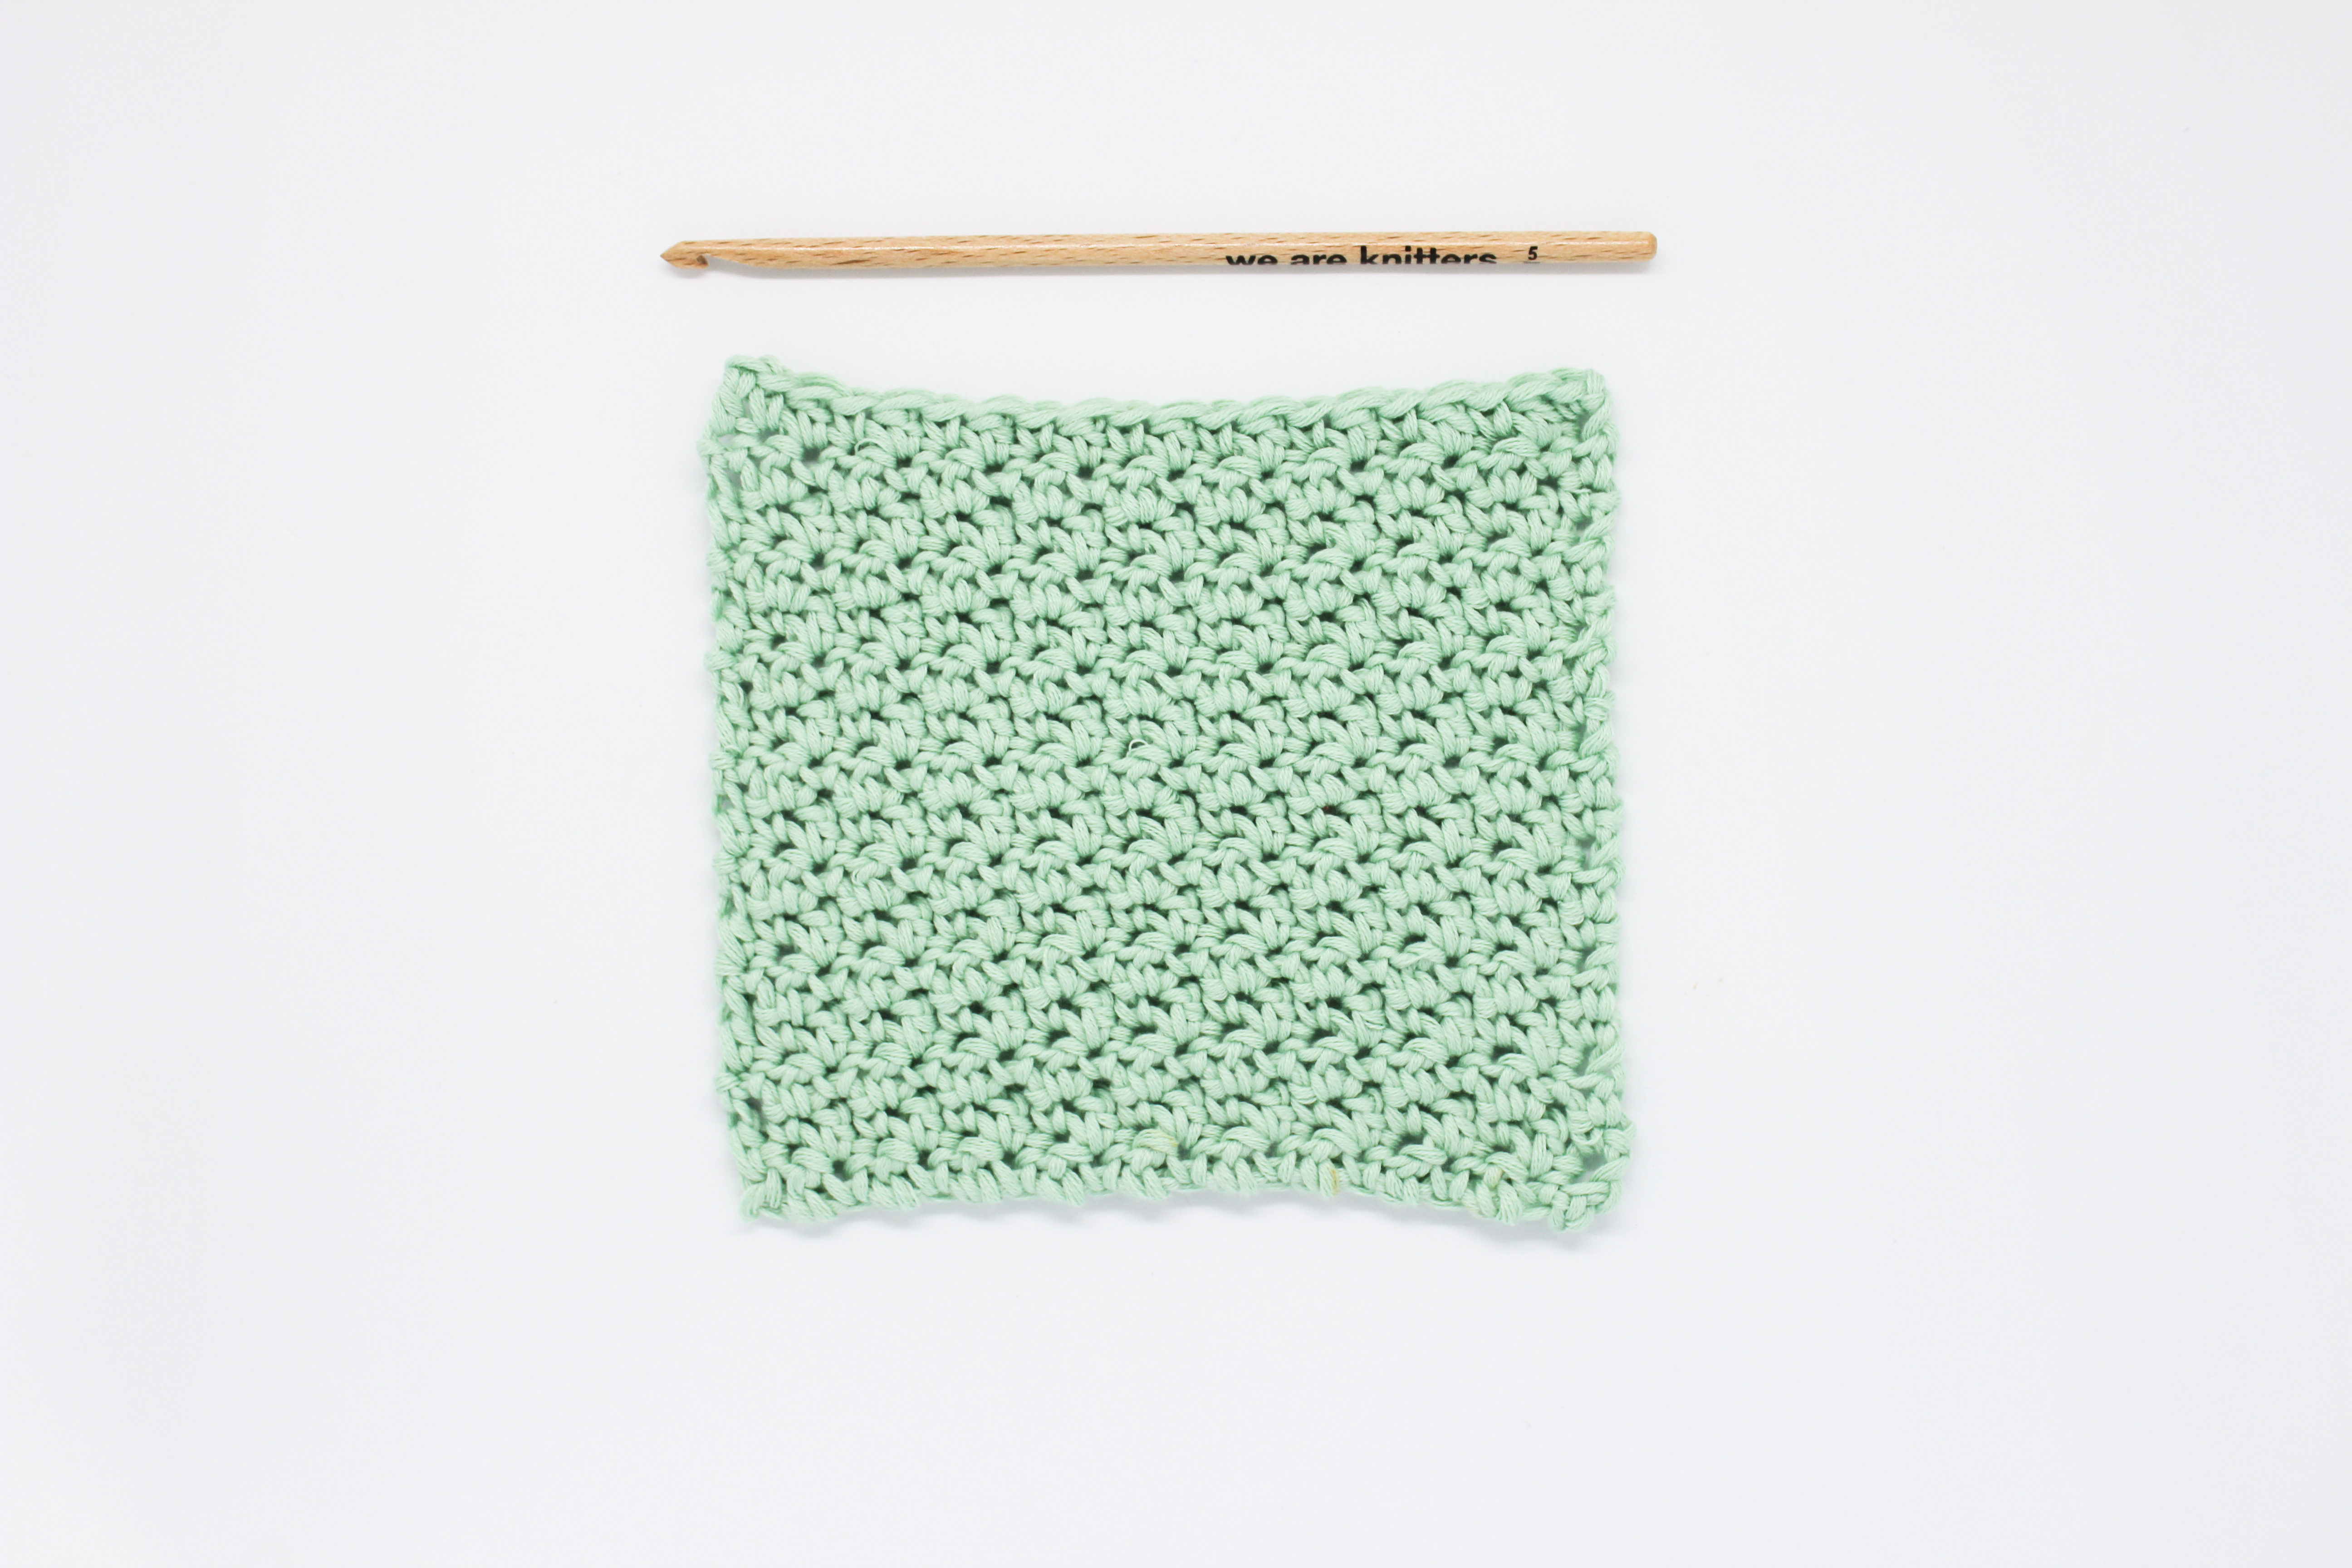
For this post, we’ve chosen to use our Pima Cotton and our 5 mm knitting needles.
Option 1. Three stitches together
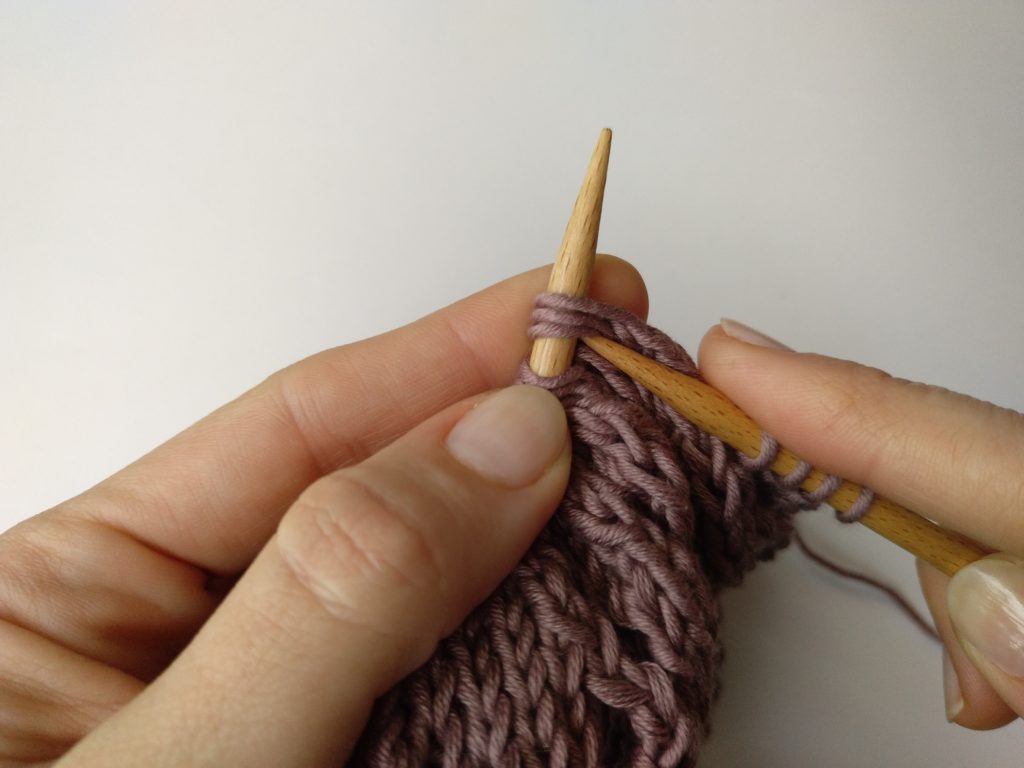
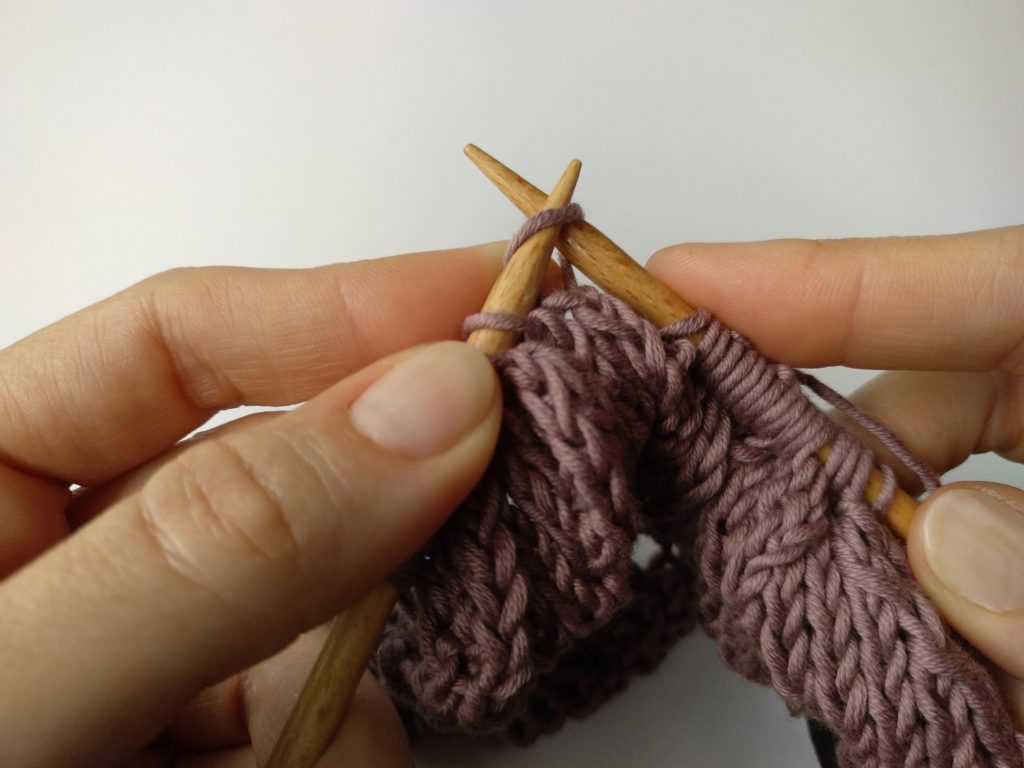
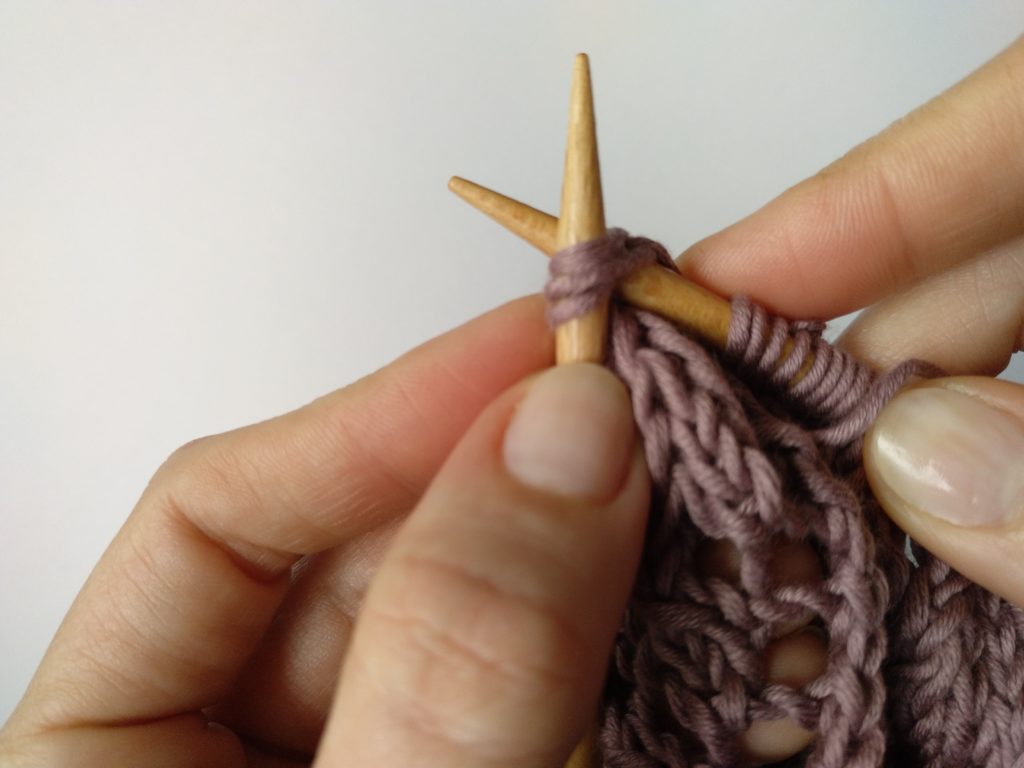
Step 1: insert the right needle through the next 3 stitches on your left needle, as if you were going to knit them.
Step 2: once you’ve got your needle through the 3 stitches, wrap the yarn around your right needle.
Step 3: pull the stitch through and leave it on the right needle.
As you can see, the stitch leans toward the right.
Option 2. Slip, slip, and knit 3 together
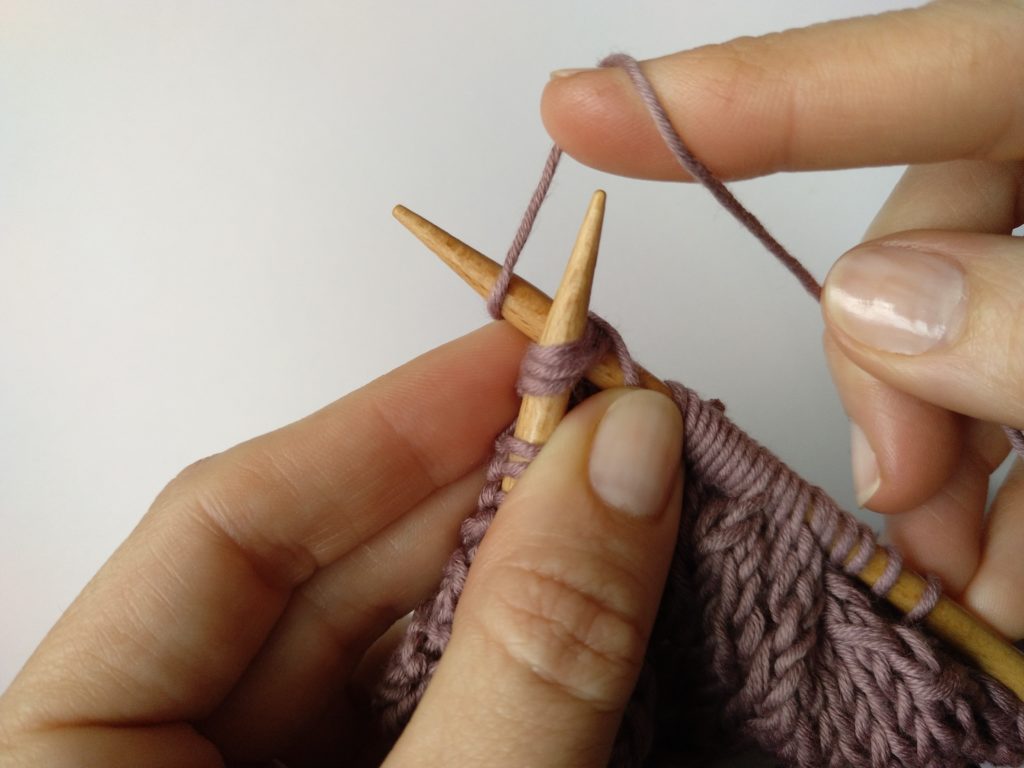
Step 1: insert the right needle into the first stitch as if to knit and slip it on to the right needle.
Step 2: repeat the last step with the second stitch
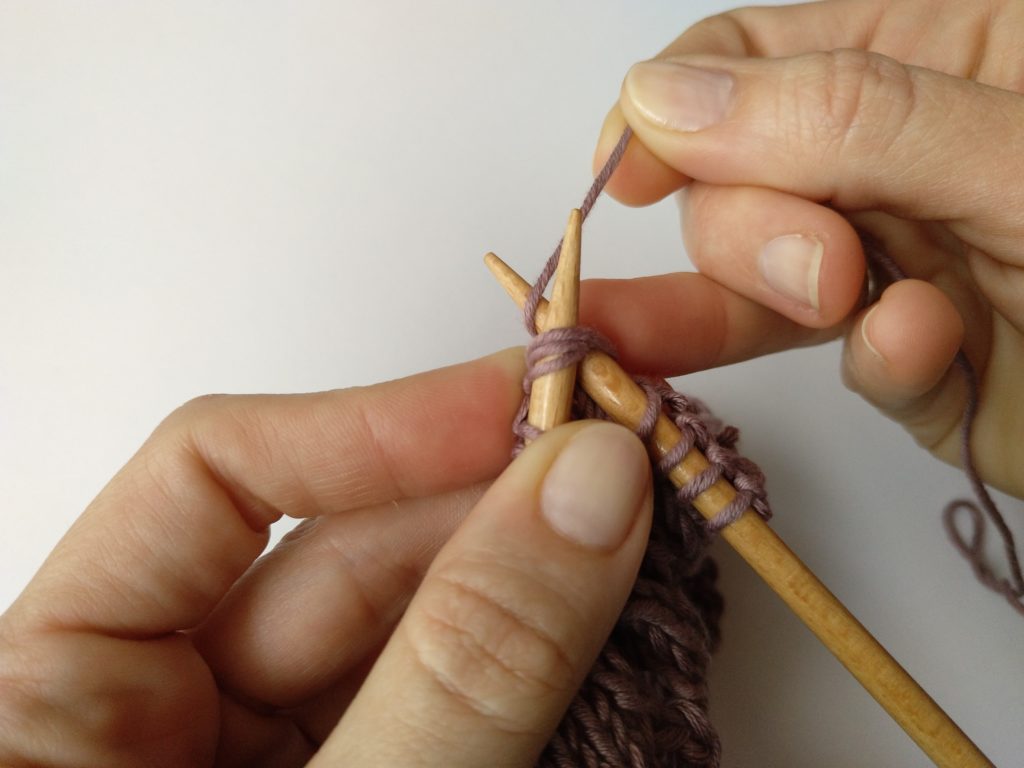
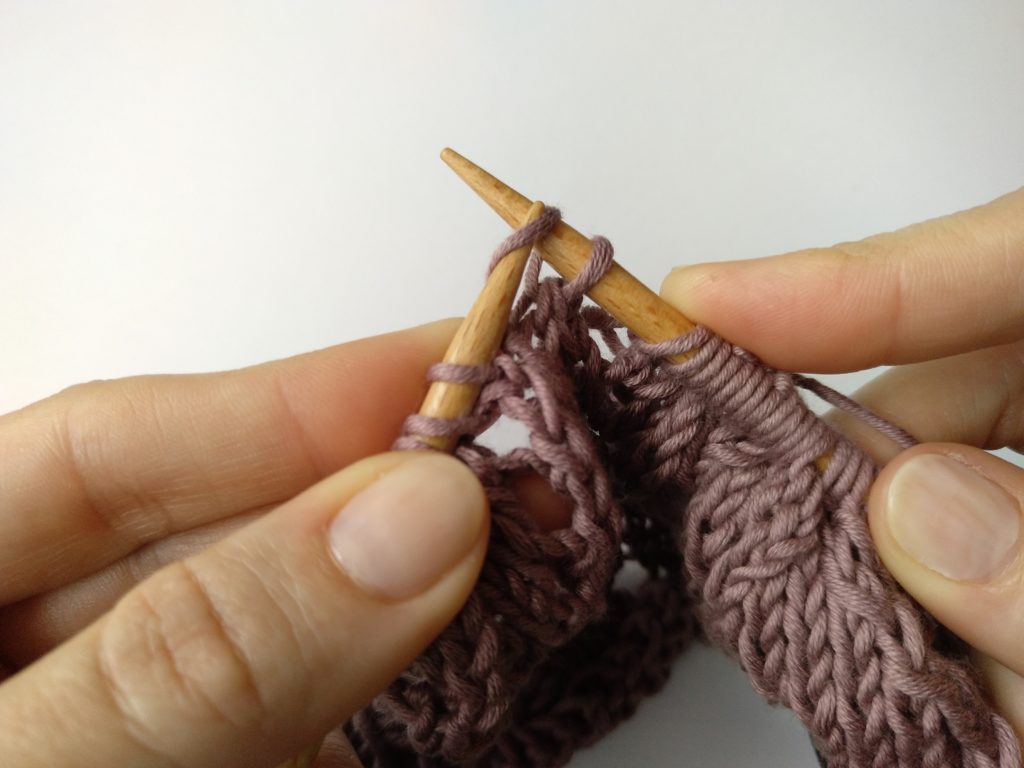
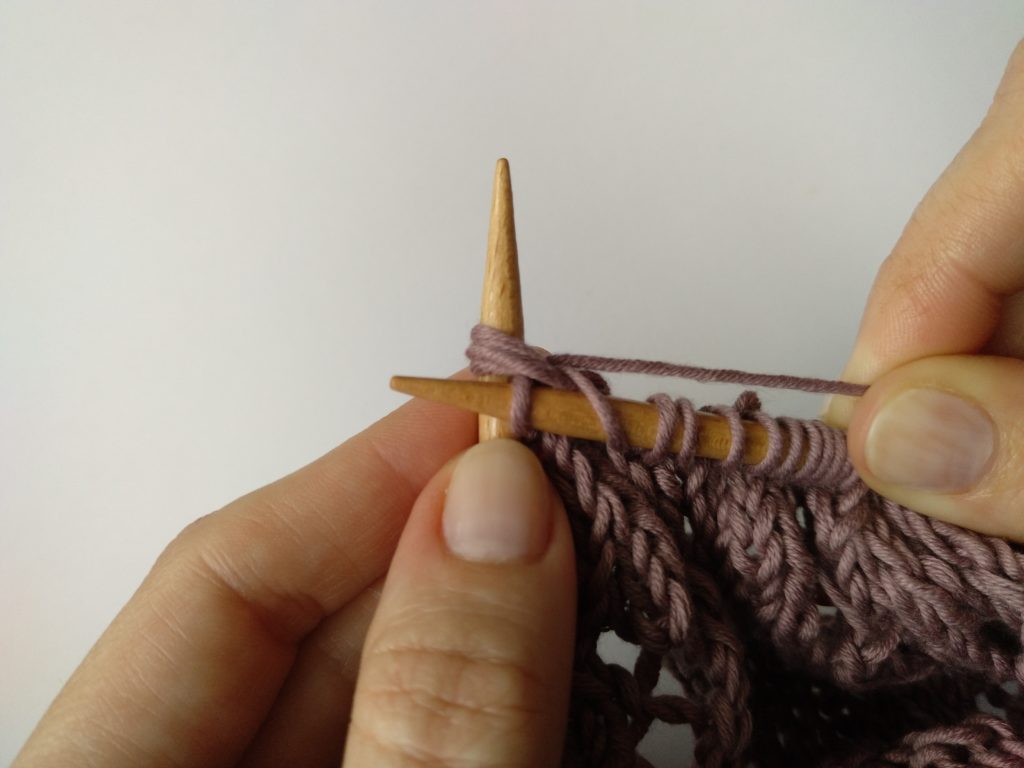
Step 3: insert the left needle into the two slipped stitches from the right to the left. Slip them onto the left needle.
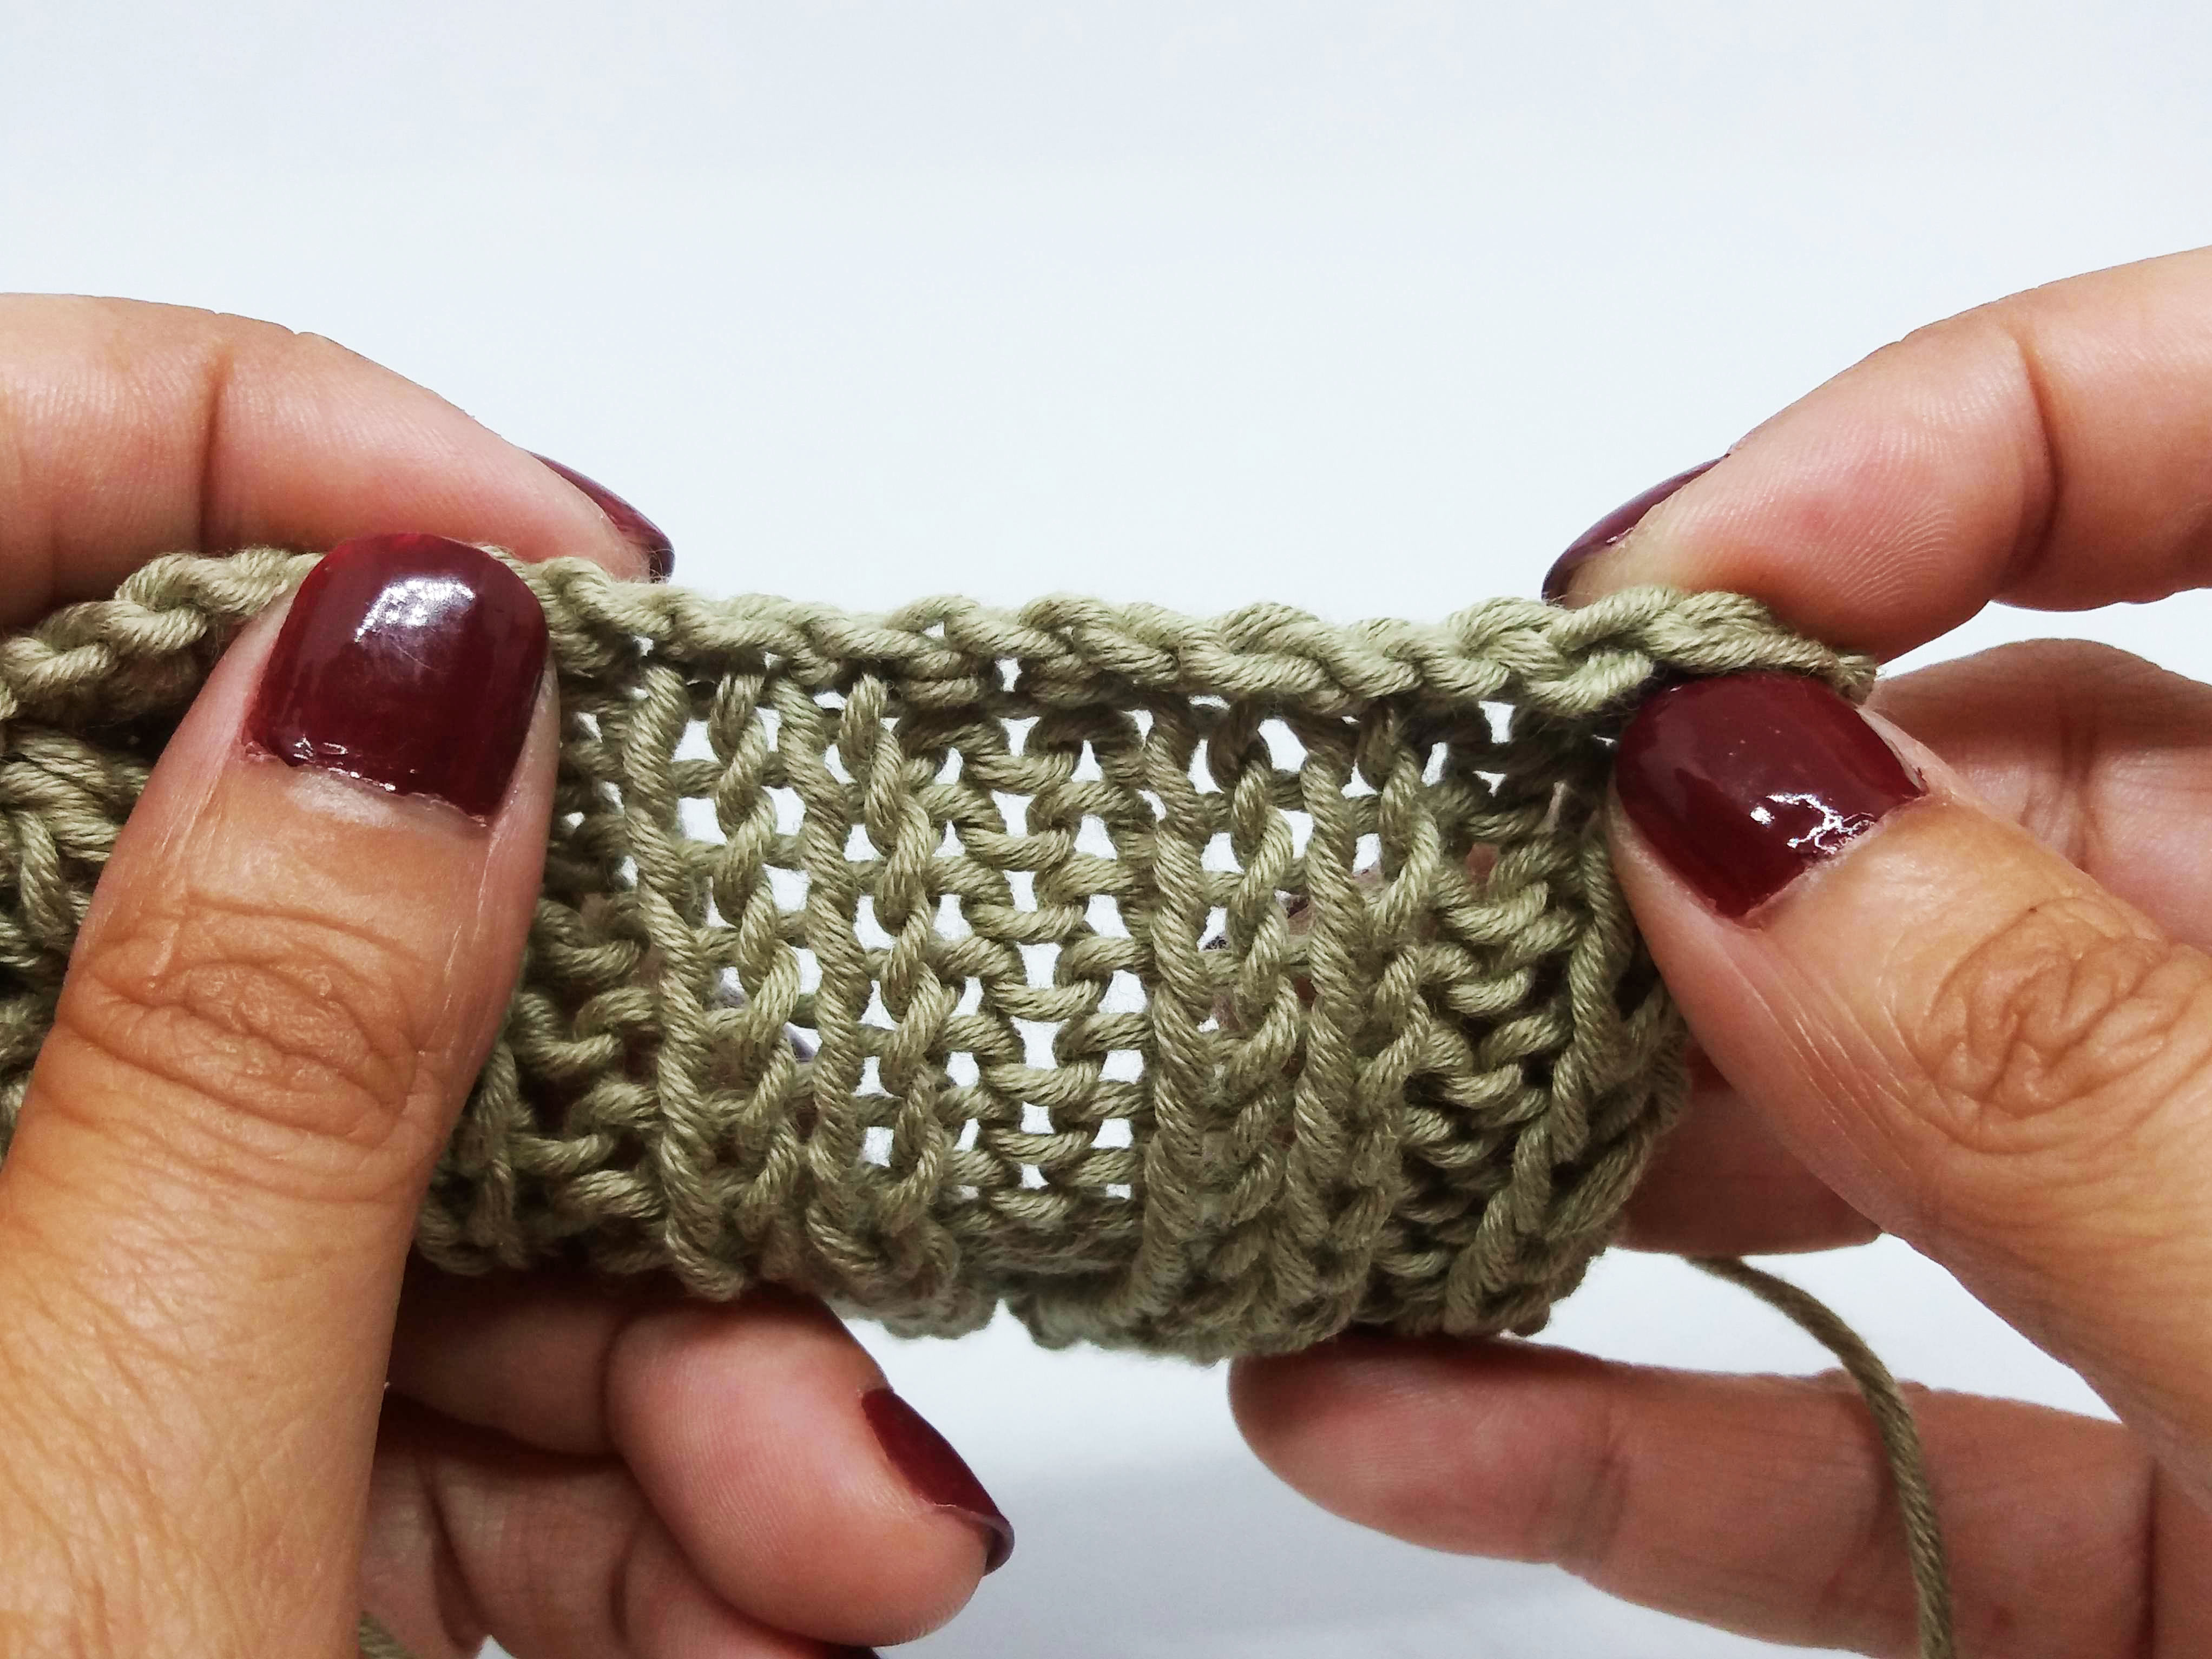
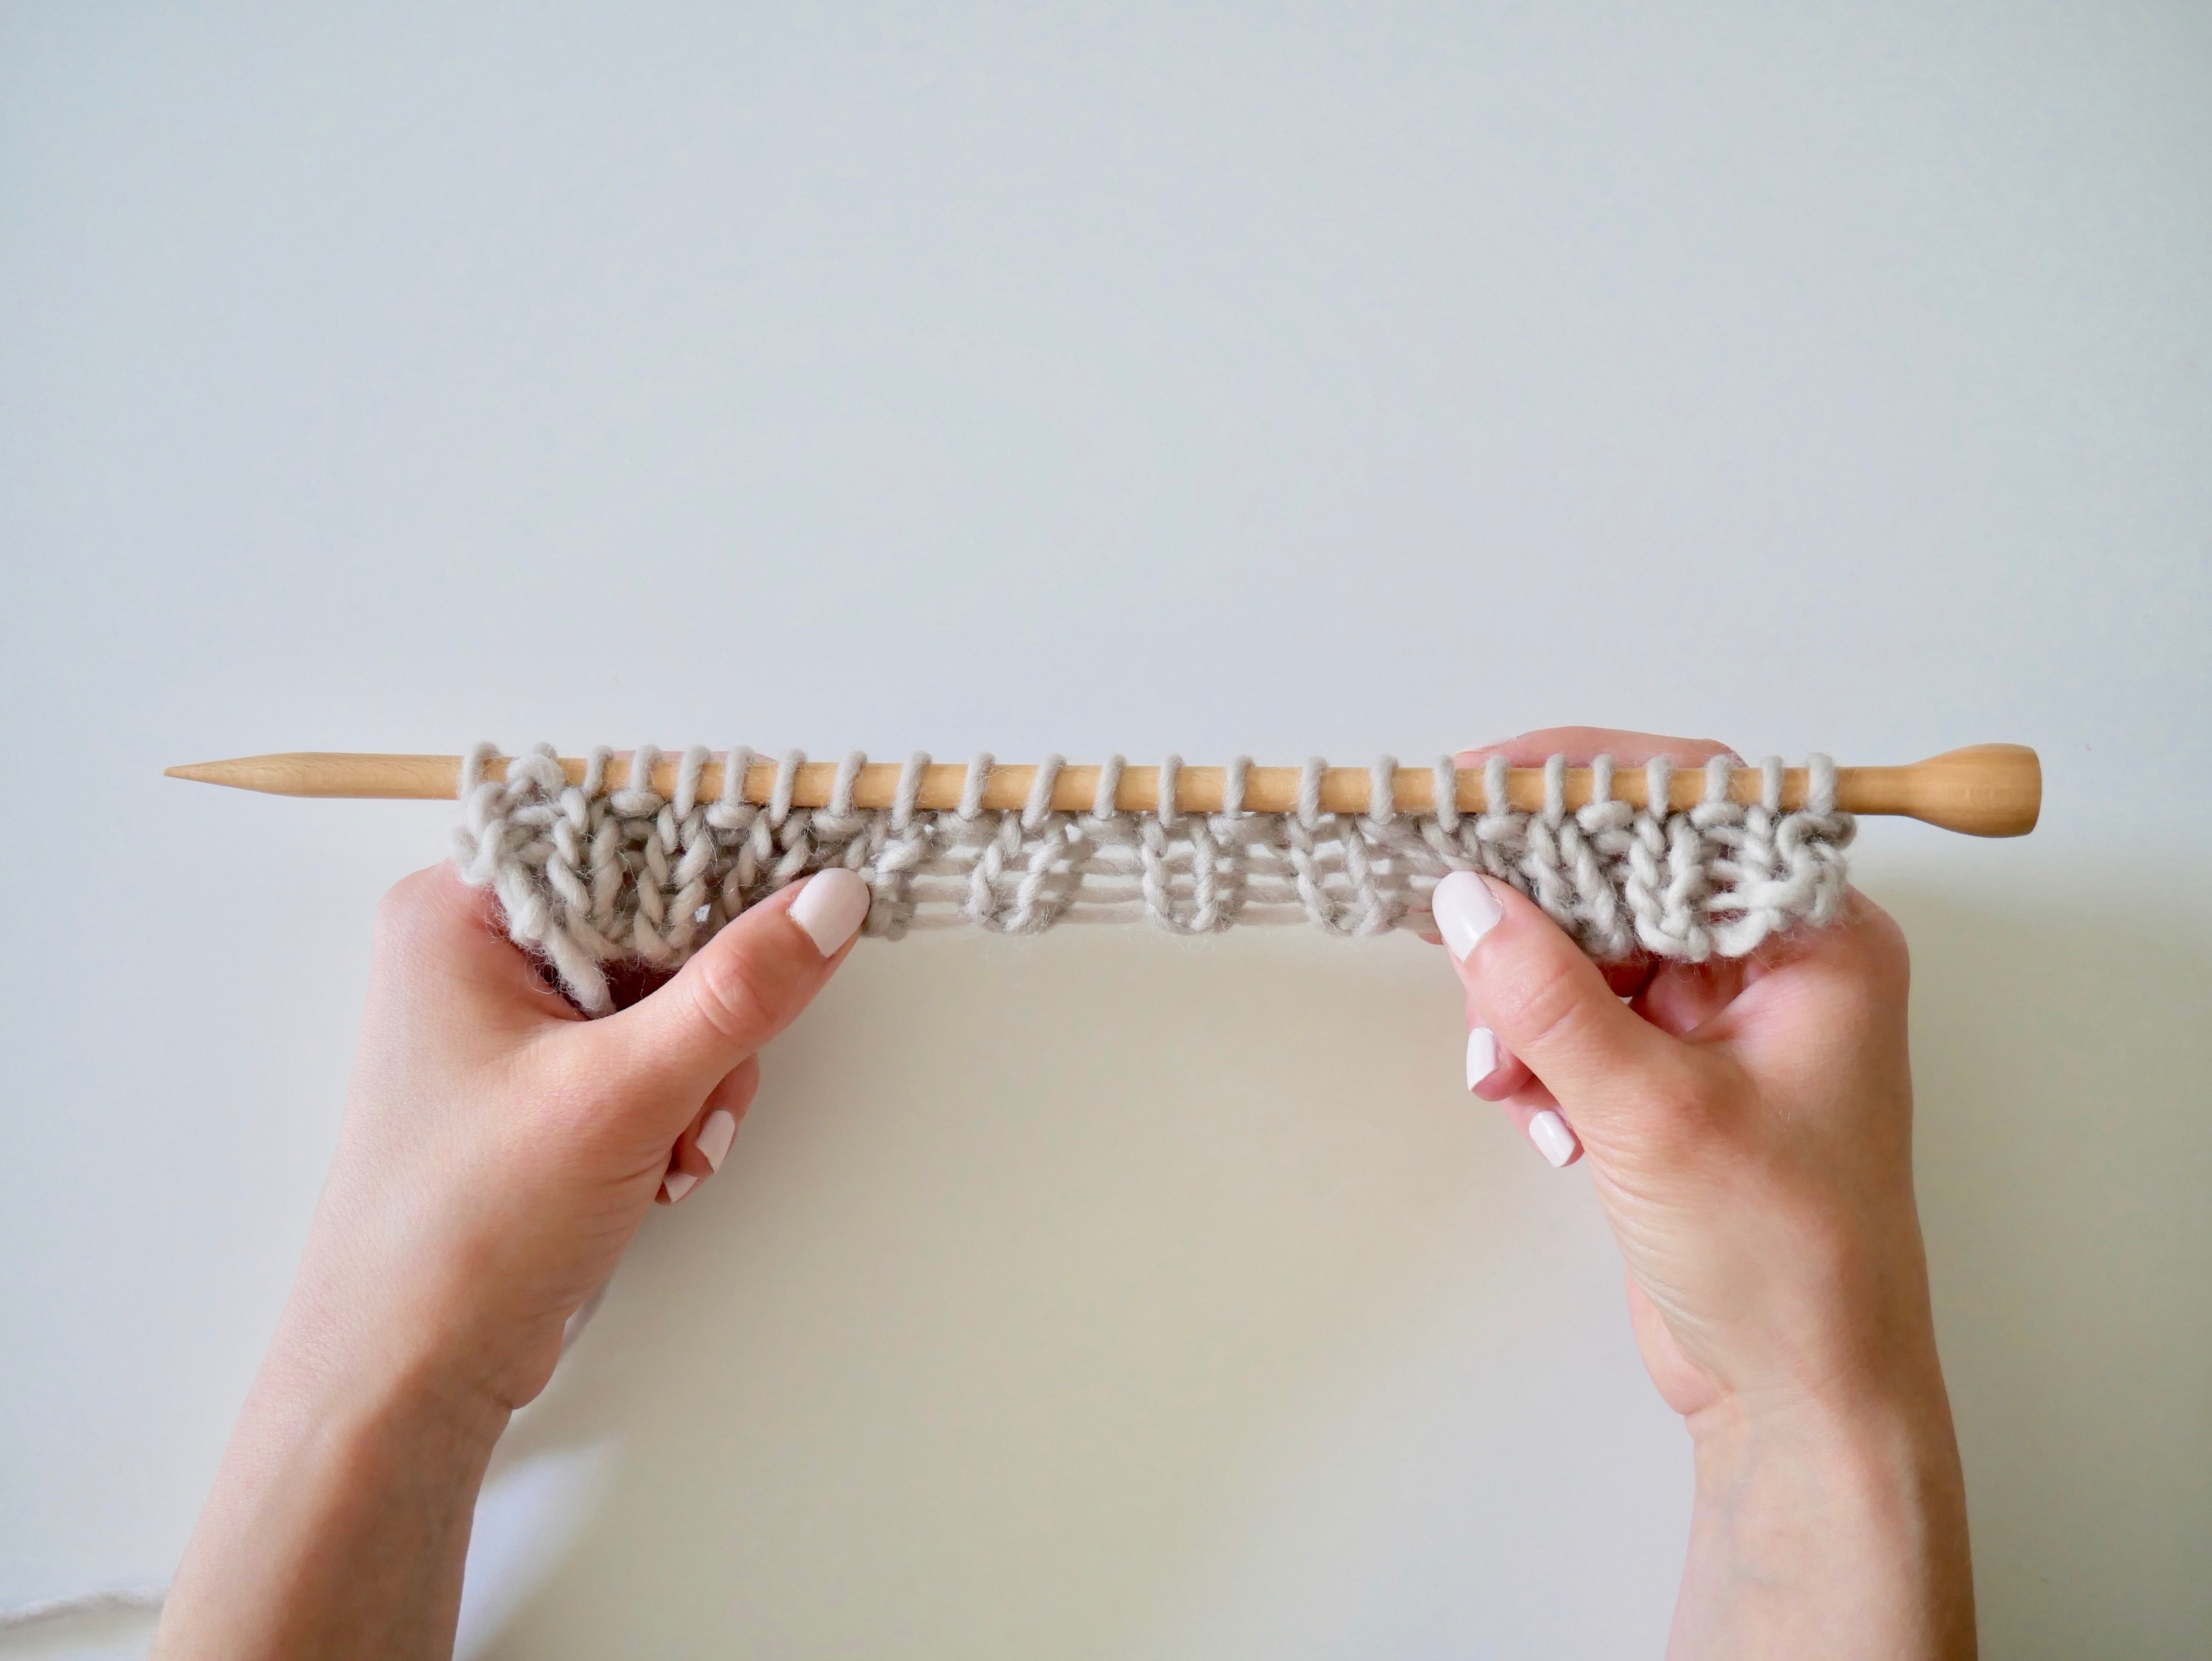
In the photo, we’ve separated the three stitches that we’re going to work in the next step, so that you can easily see them. As you see, the two stitches at the end of the been crossed—the center stitch is on the right and the right stitch is in the center, crossing above it.
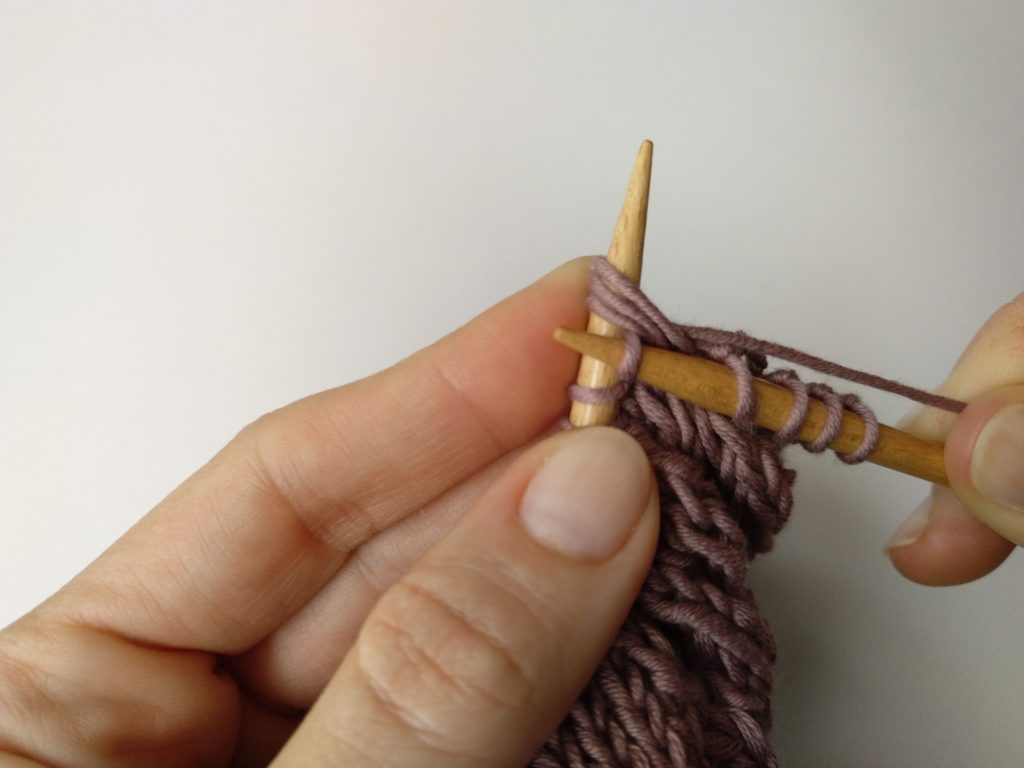
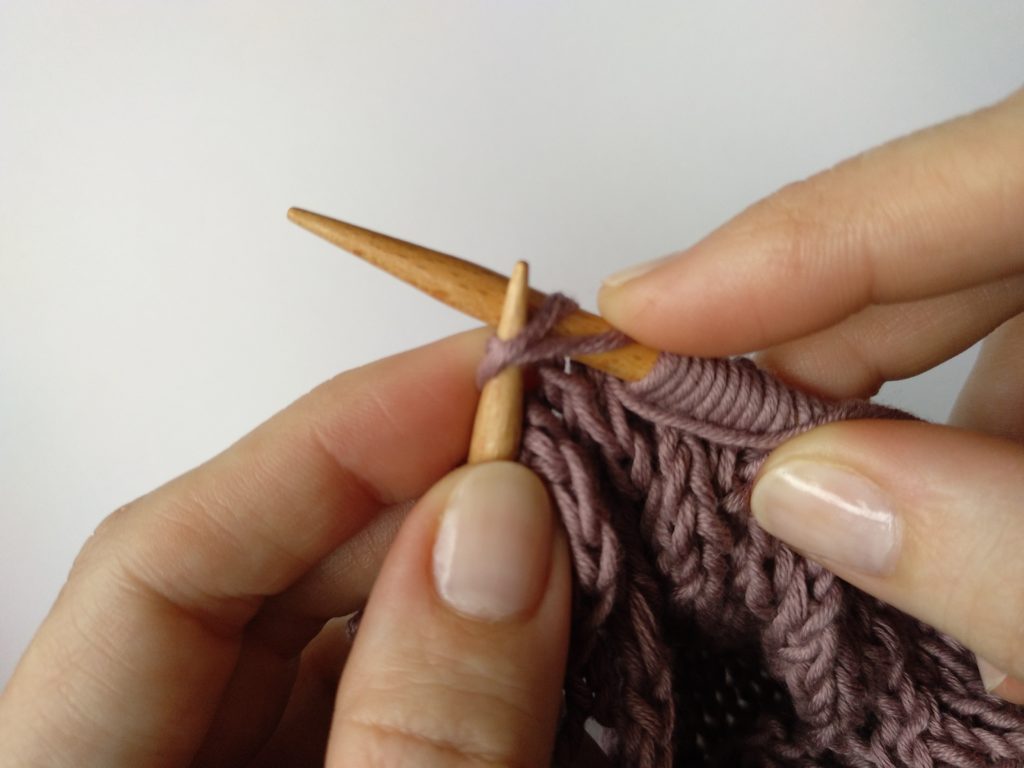
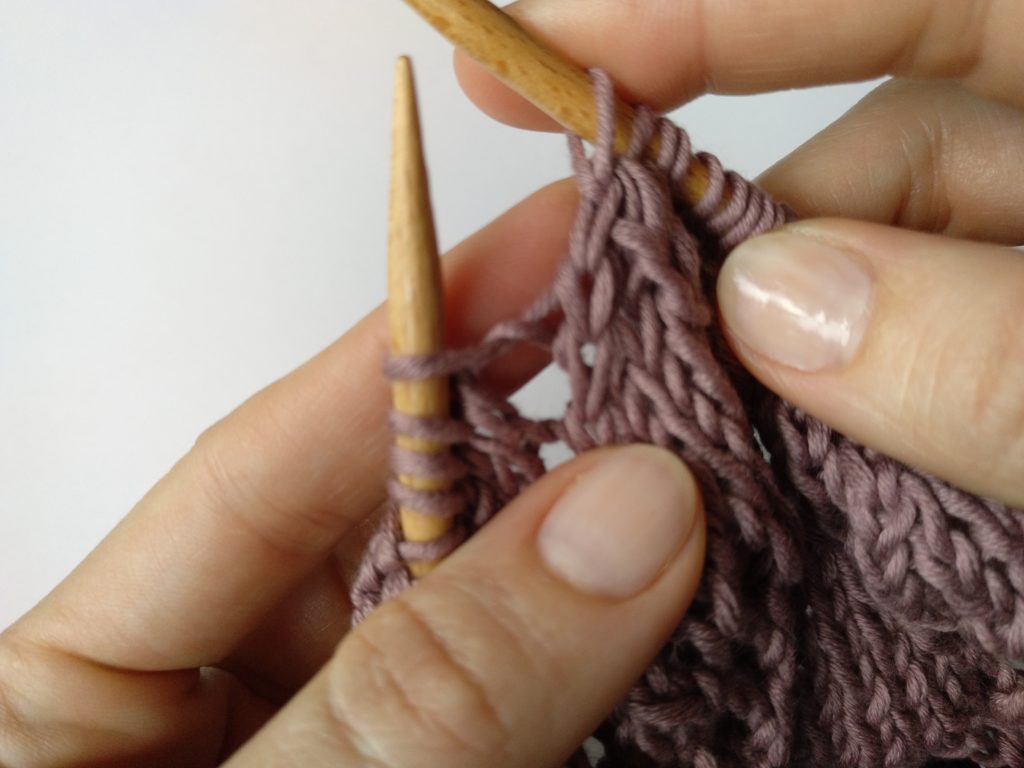
Step 4: insert the right needle through the next 3 stitches on the left needle as if to knit
Step 5: once you’ve got your needle through them, wrap your yarn around the right needle
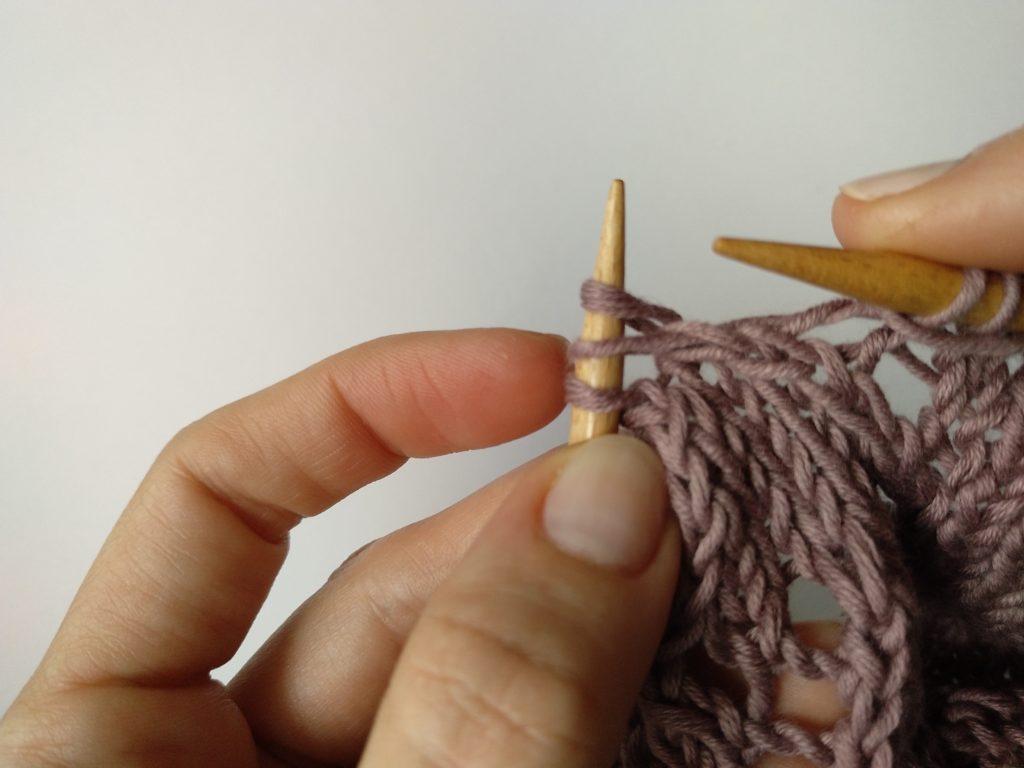
Step 6: pull the stitch through and leave it on the right needle.
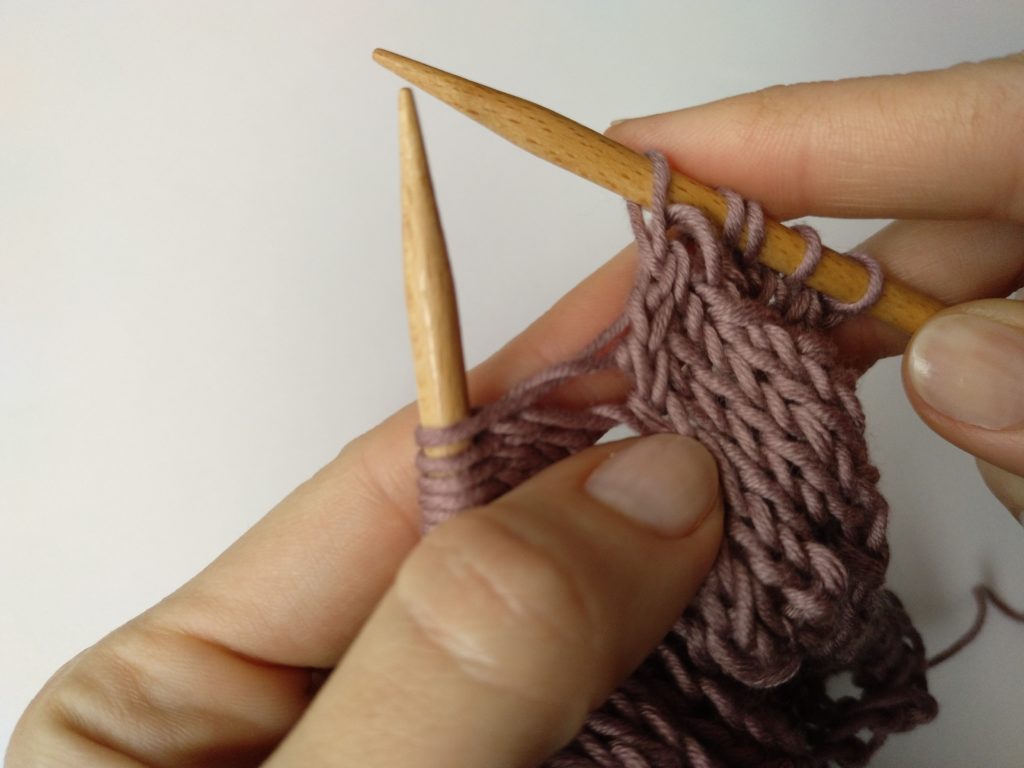
You’ll see that the stitch is leaning to the right.
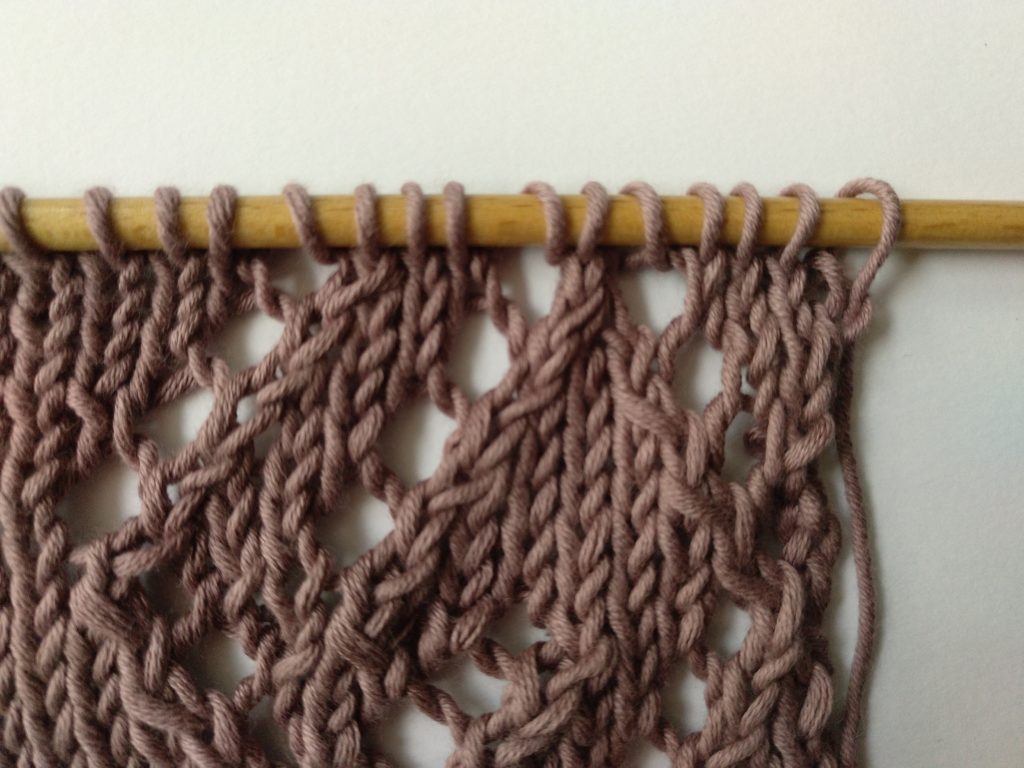
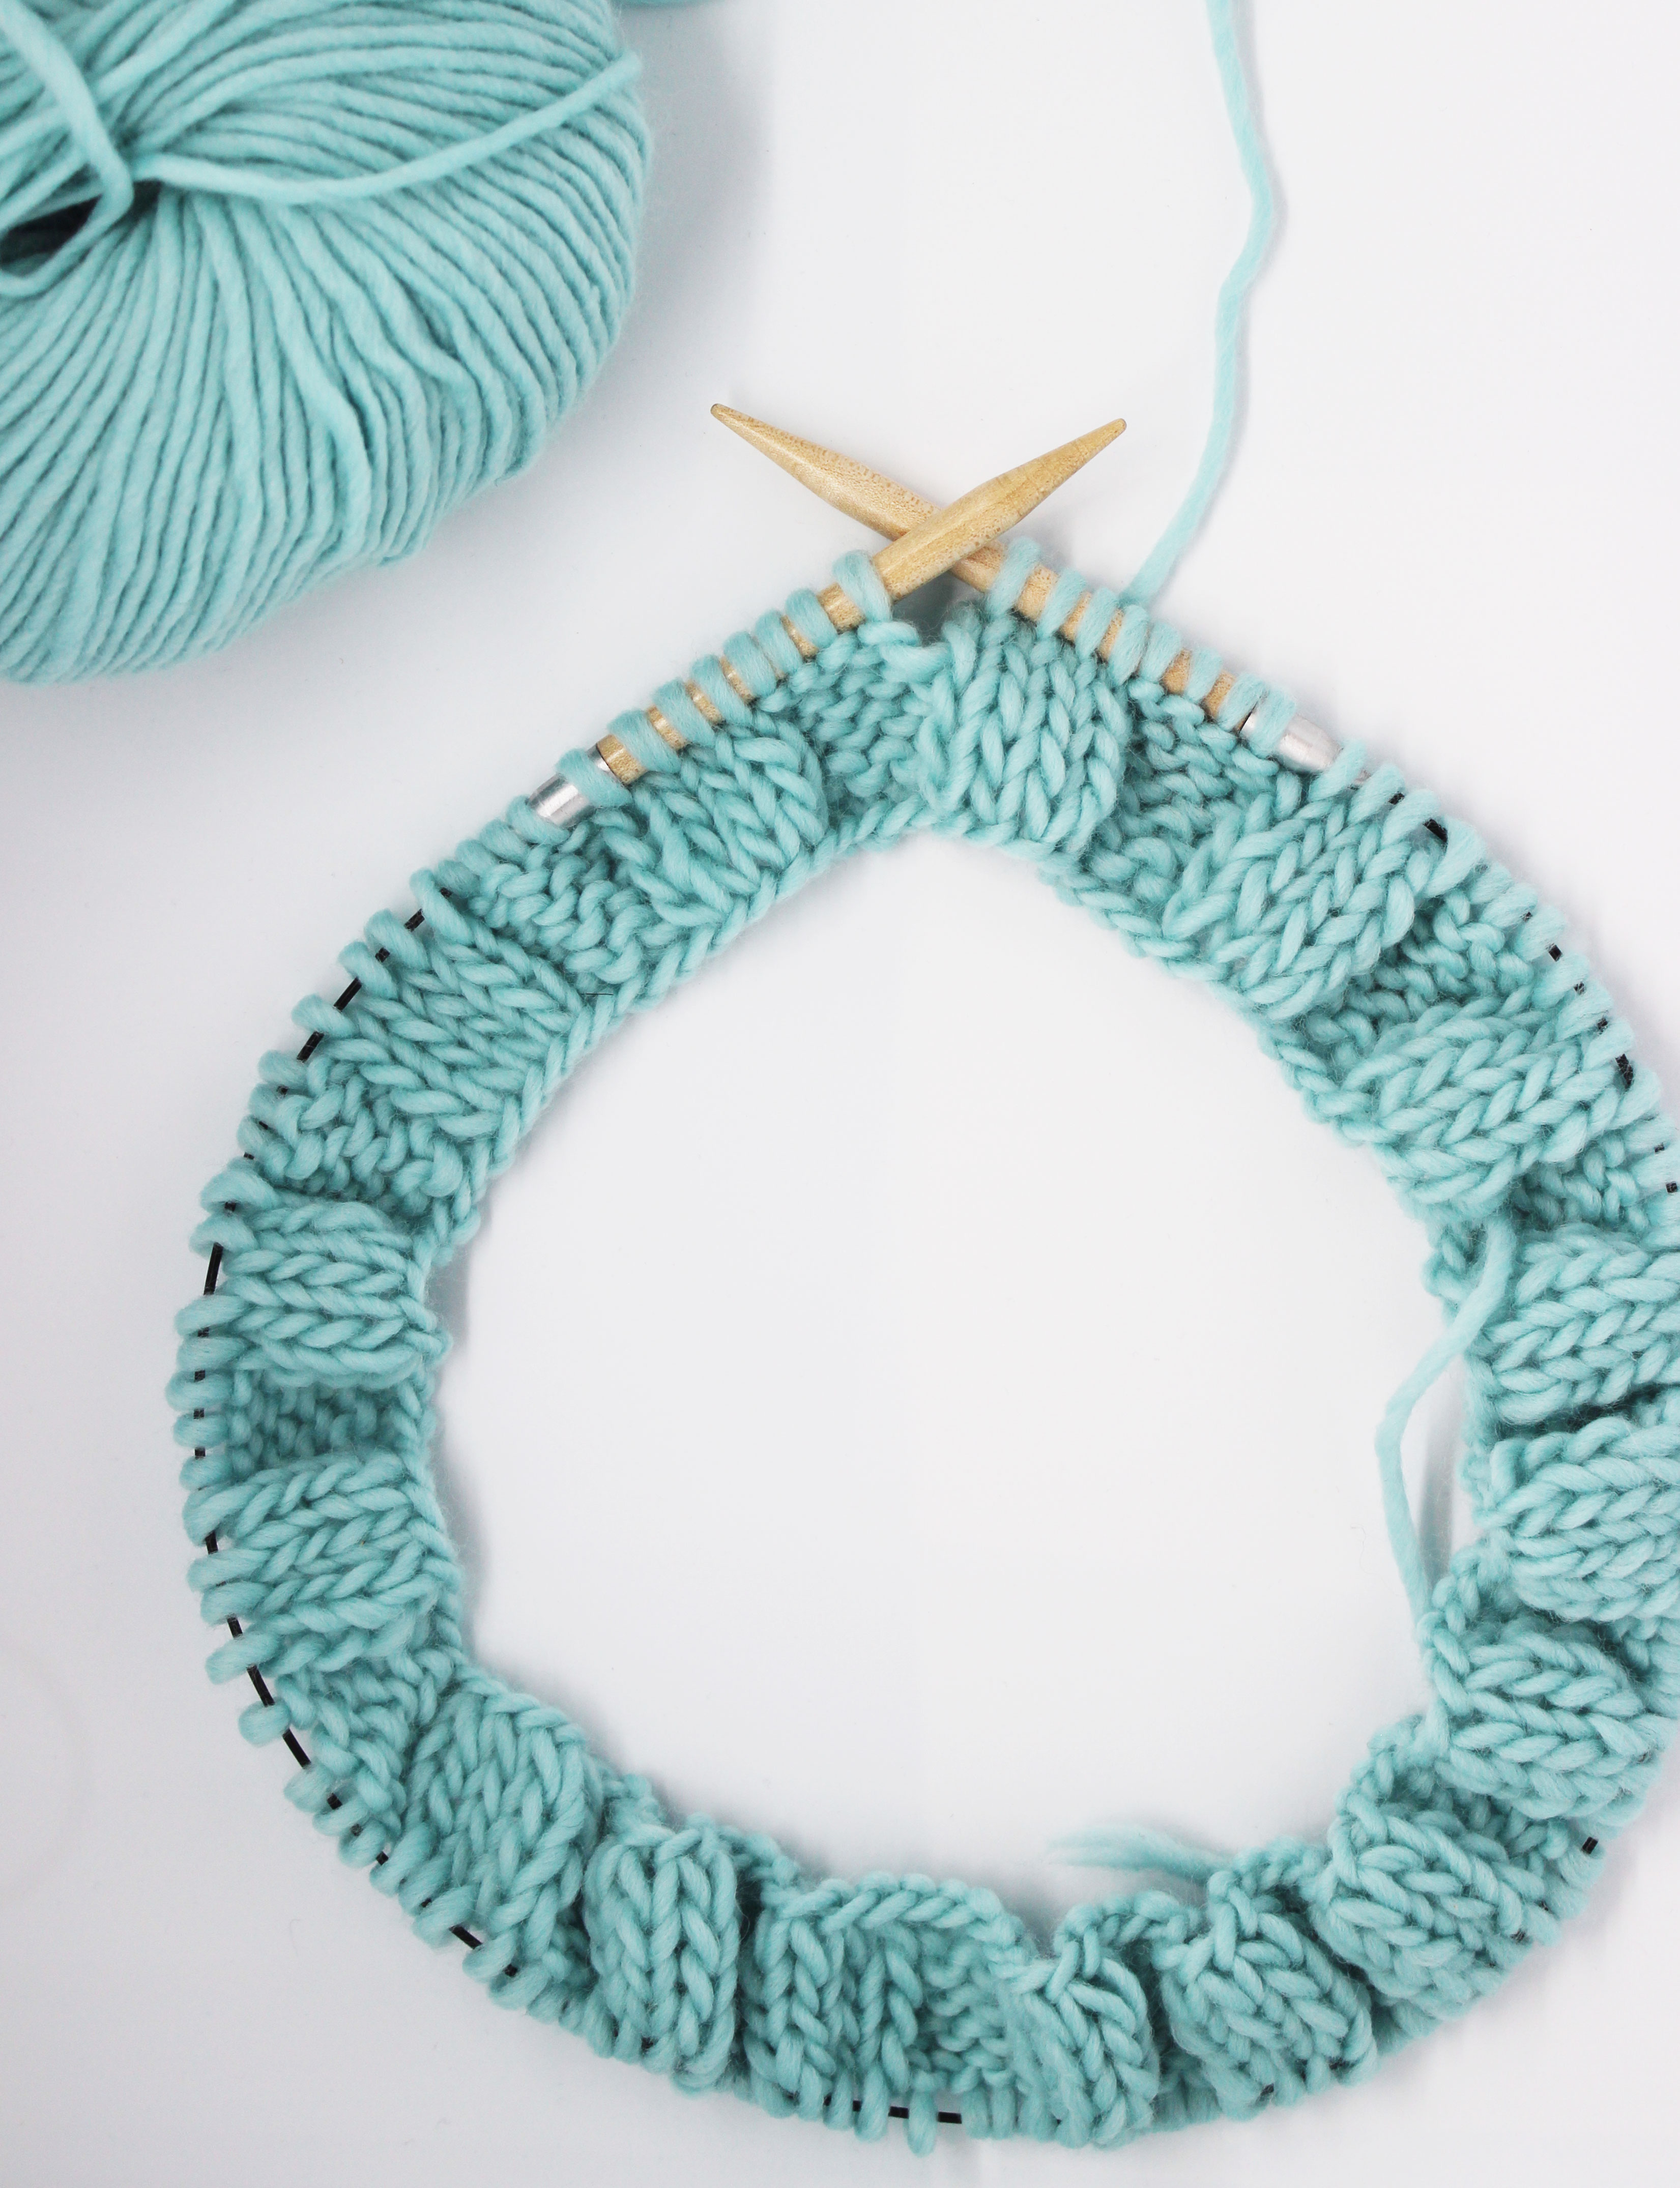
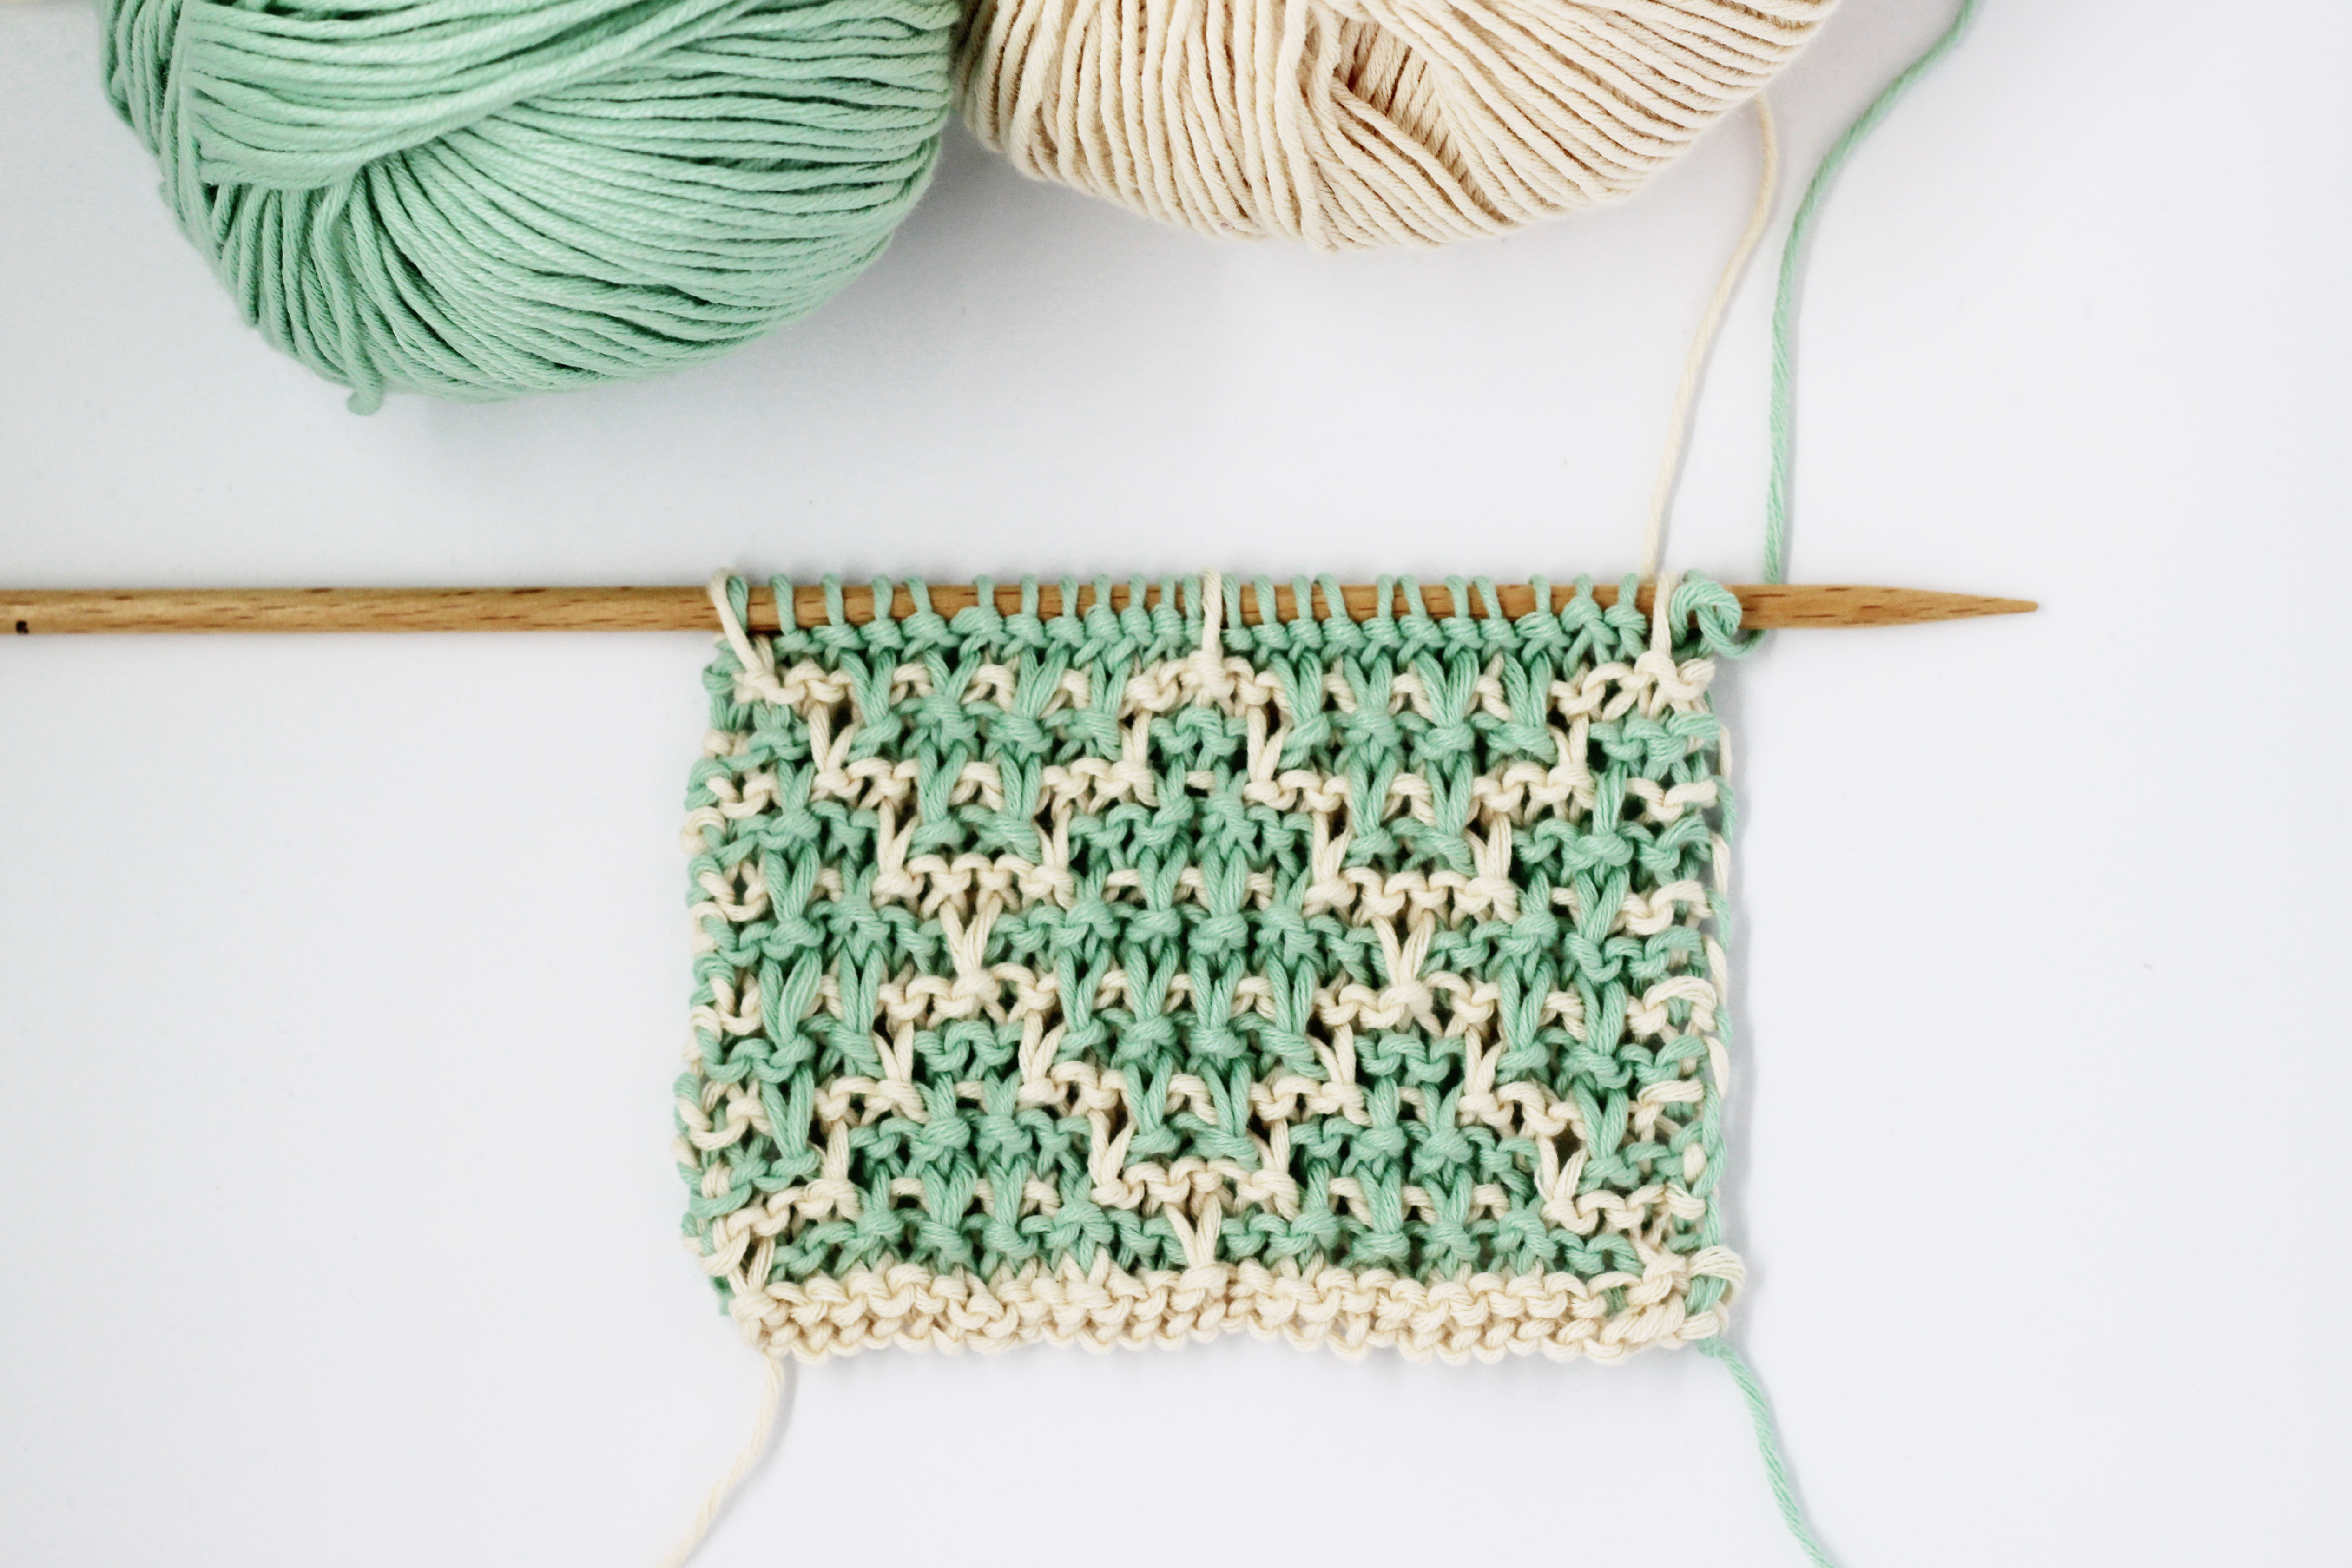
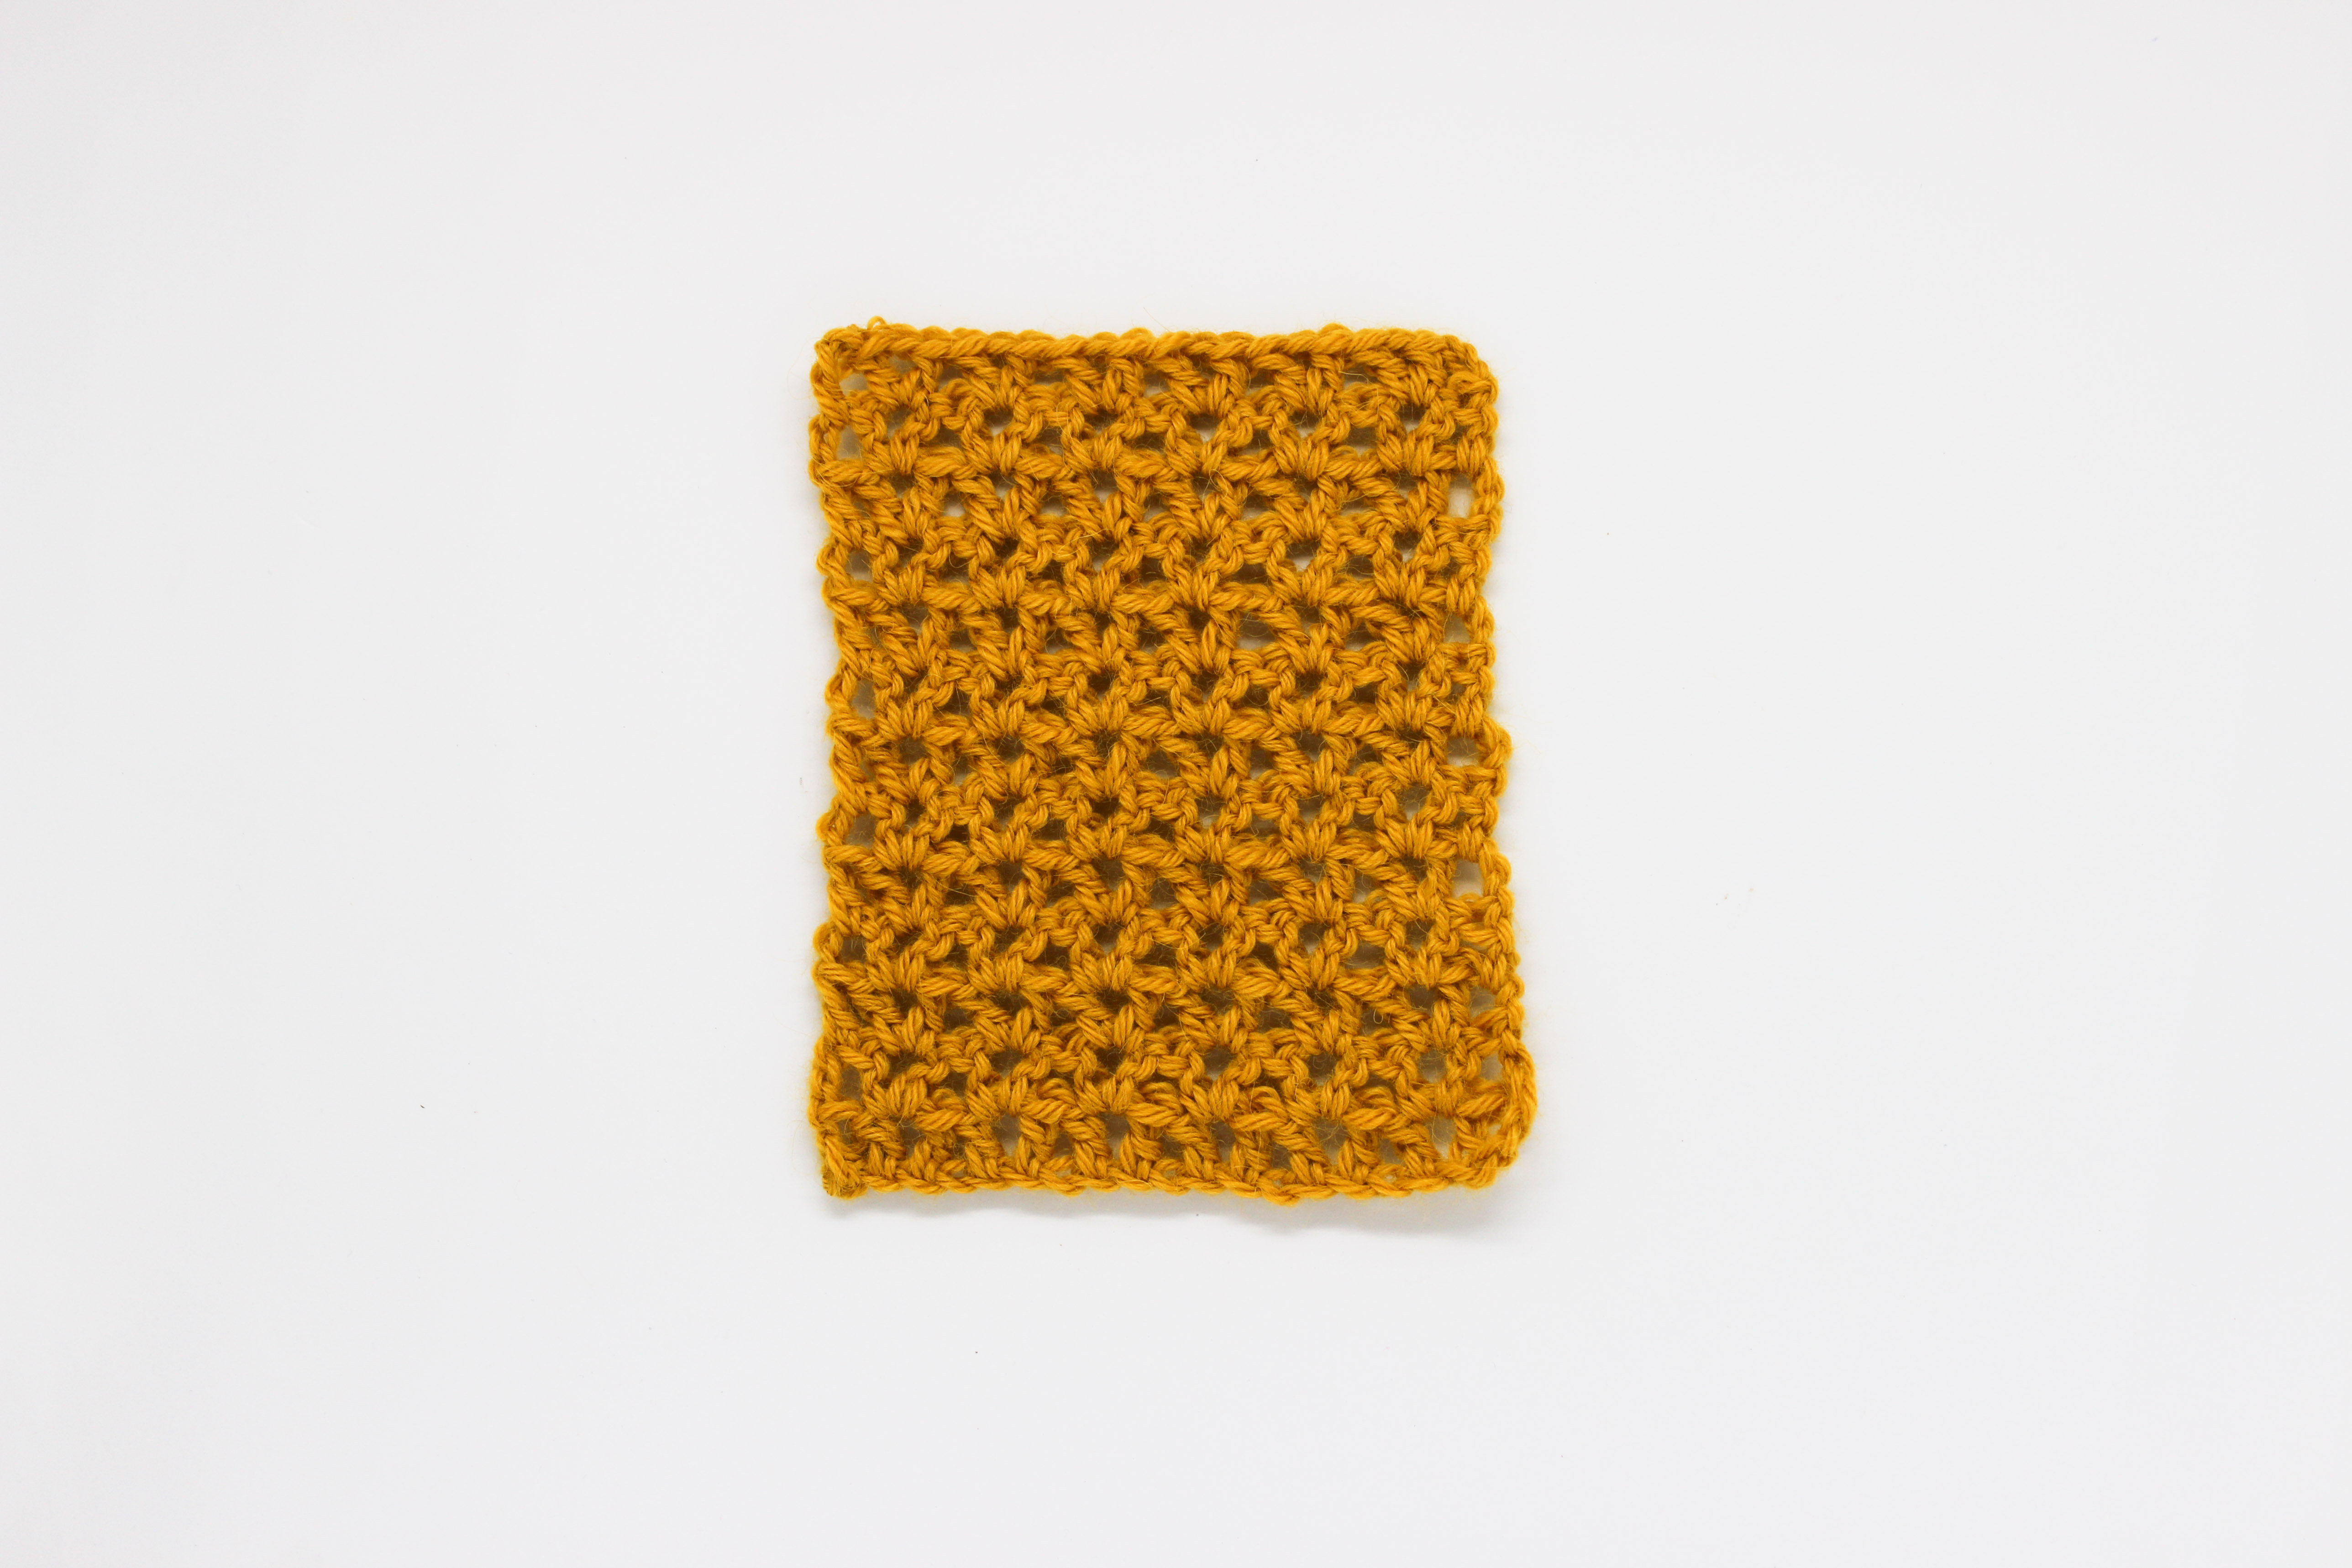
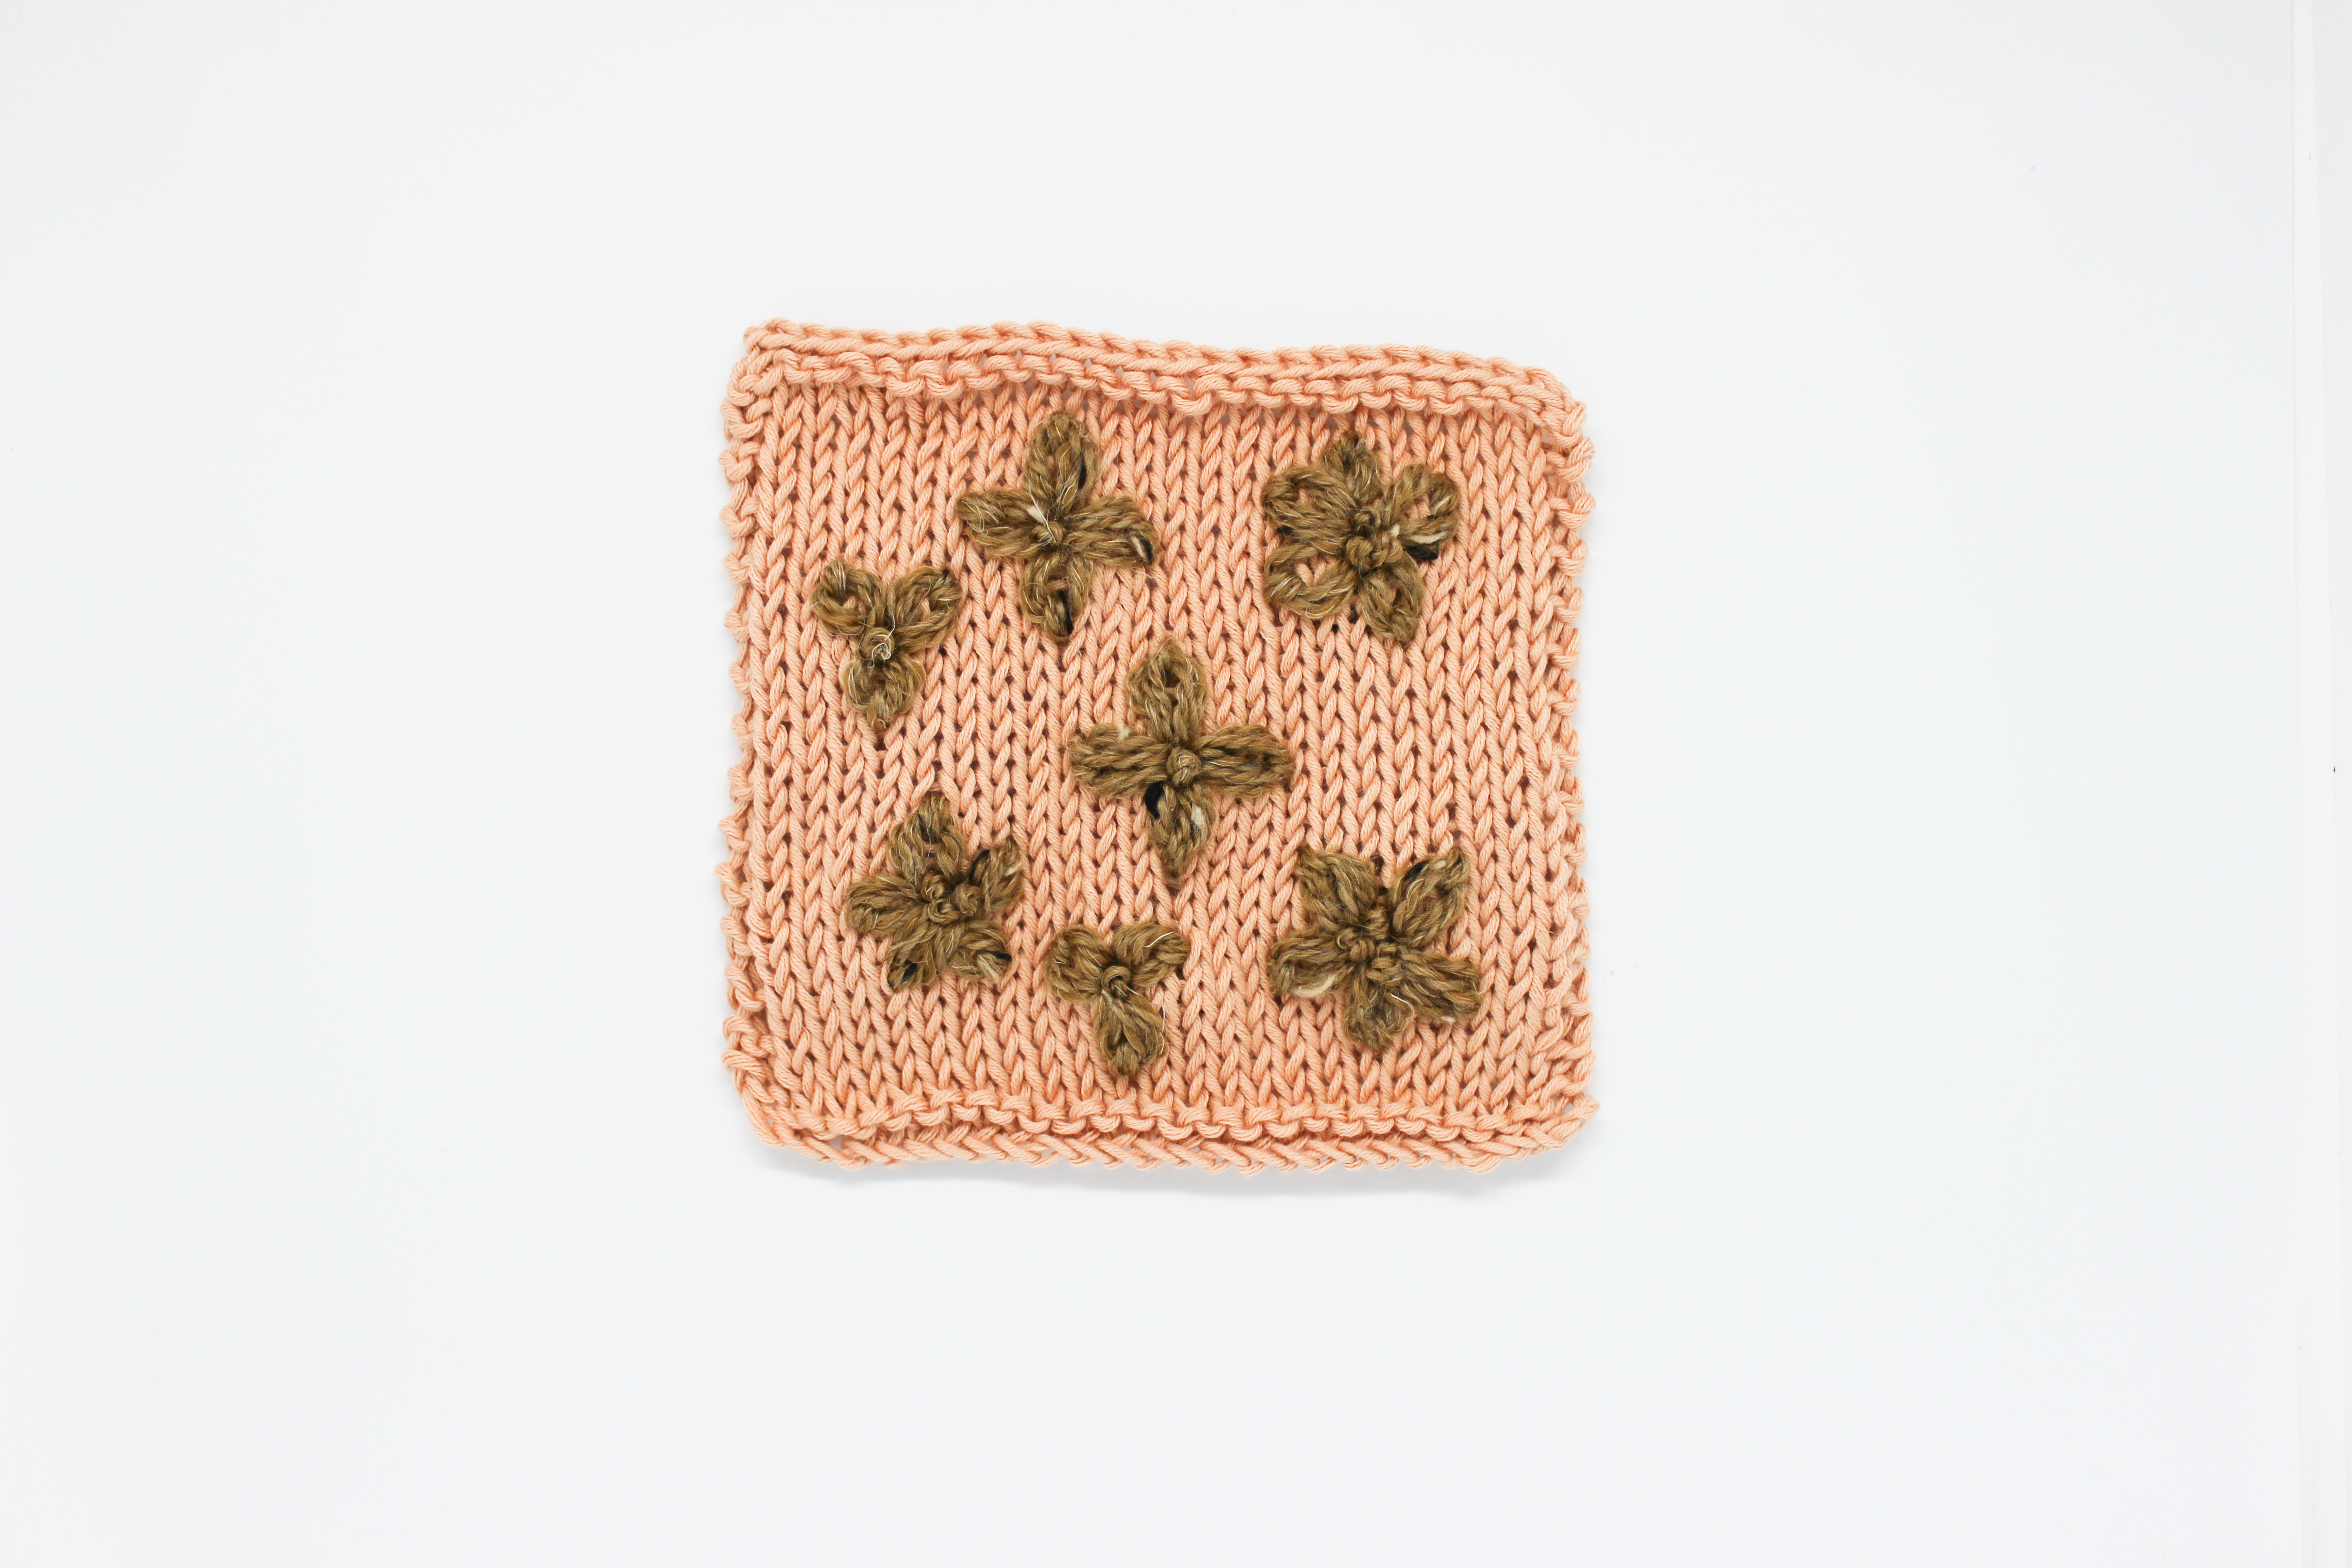
In these photos, you can see an example of each of these two decreases.
Now you’ve got no excuse! If you’re presented with a challenge, choose one of these two options, and move along on with your creation. No decrease can stop you. And you know we’re looking forward to you sharing it with us using #WeAreKnitters so, come on! We’re waiting.