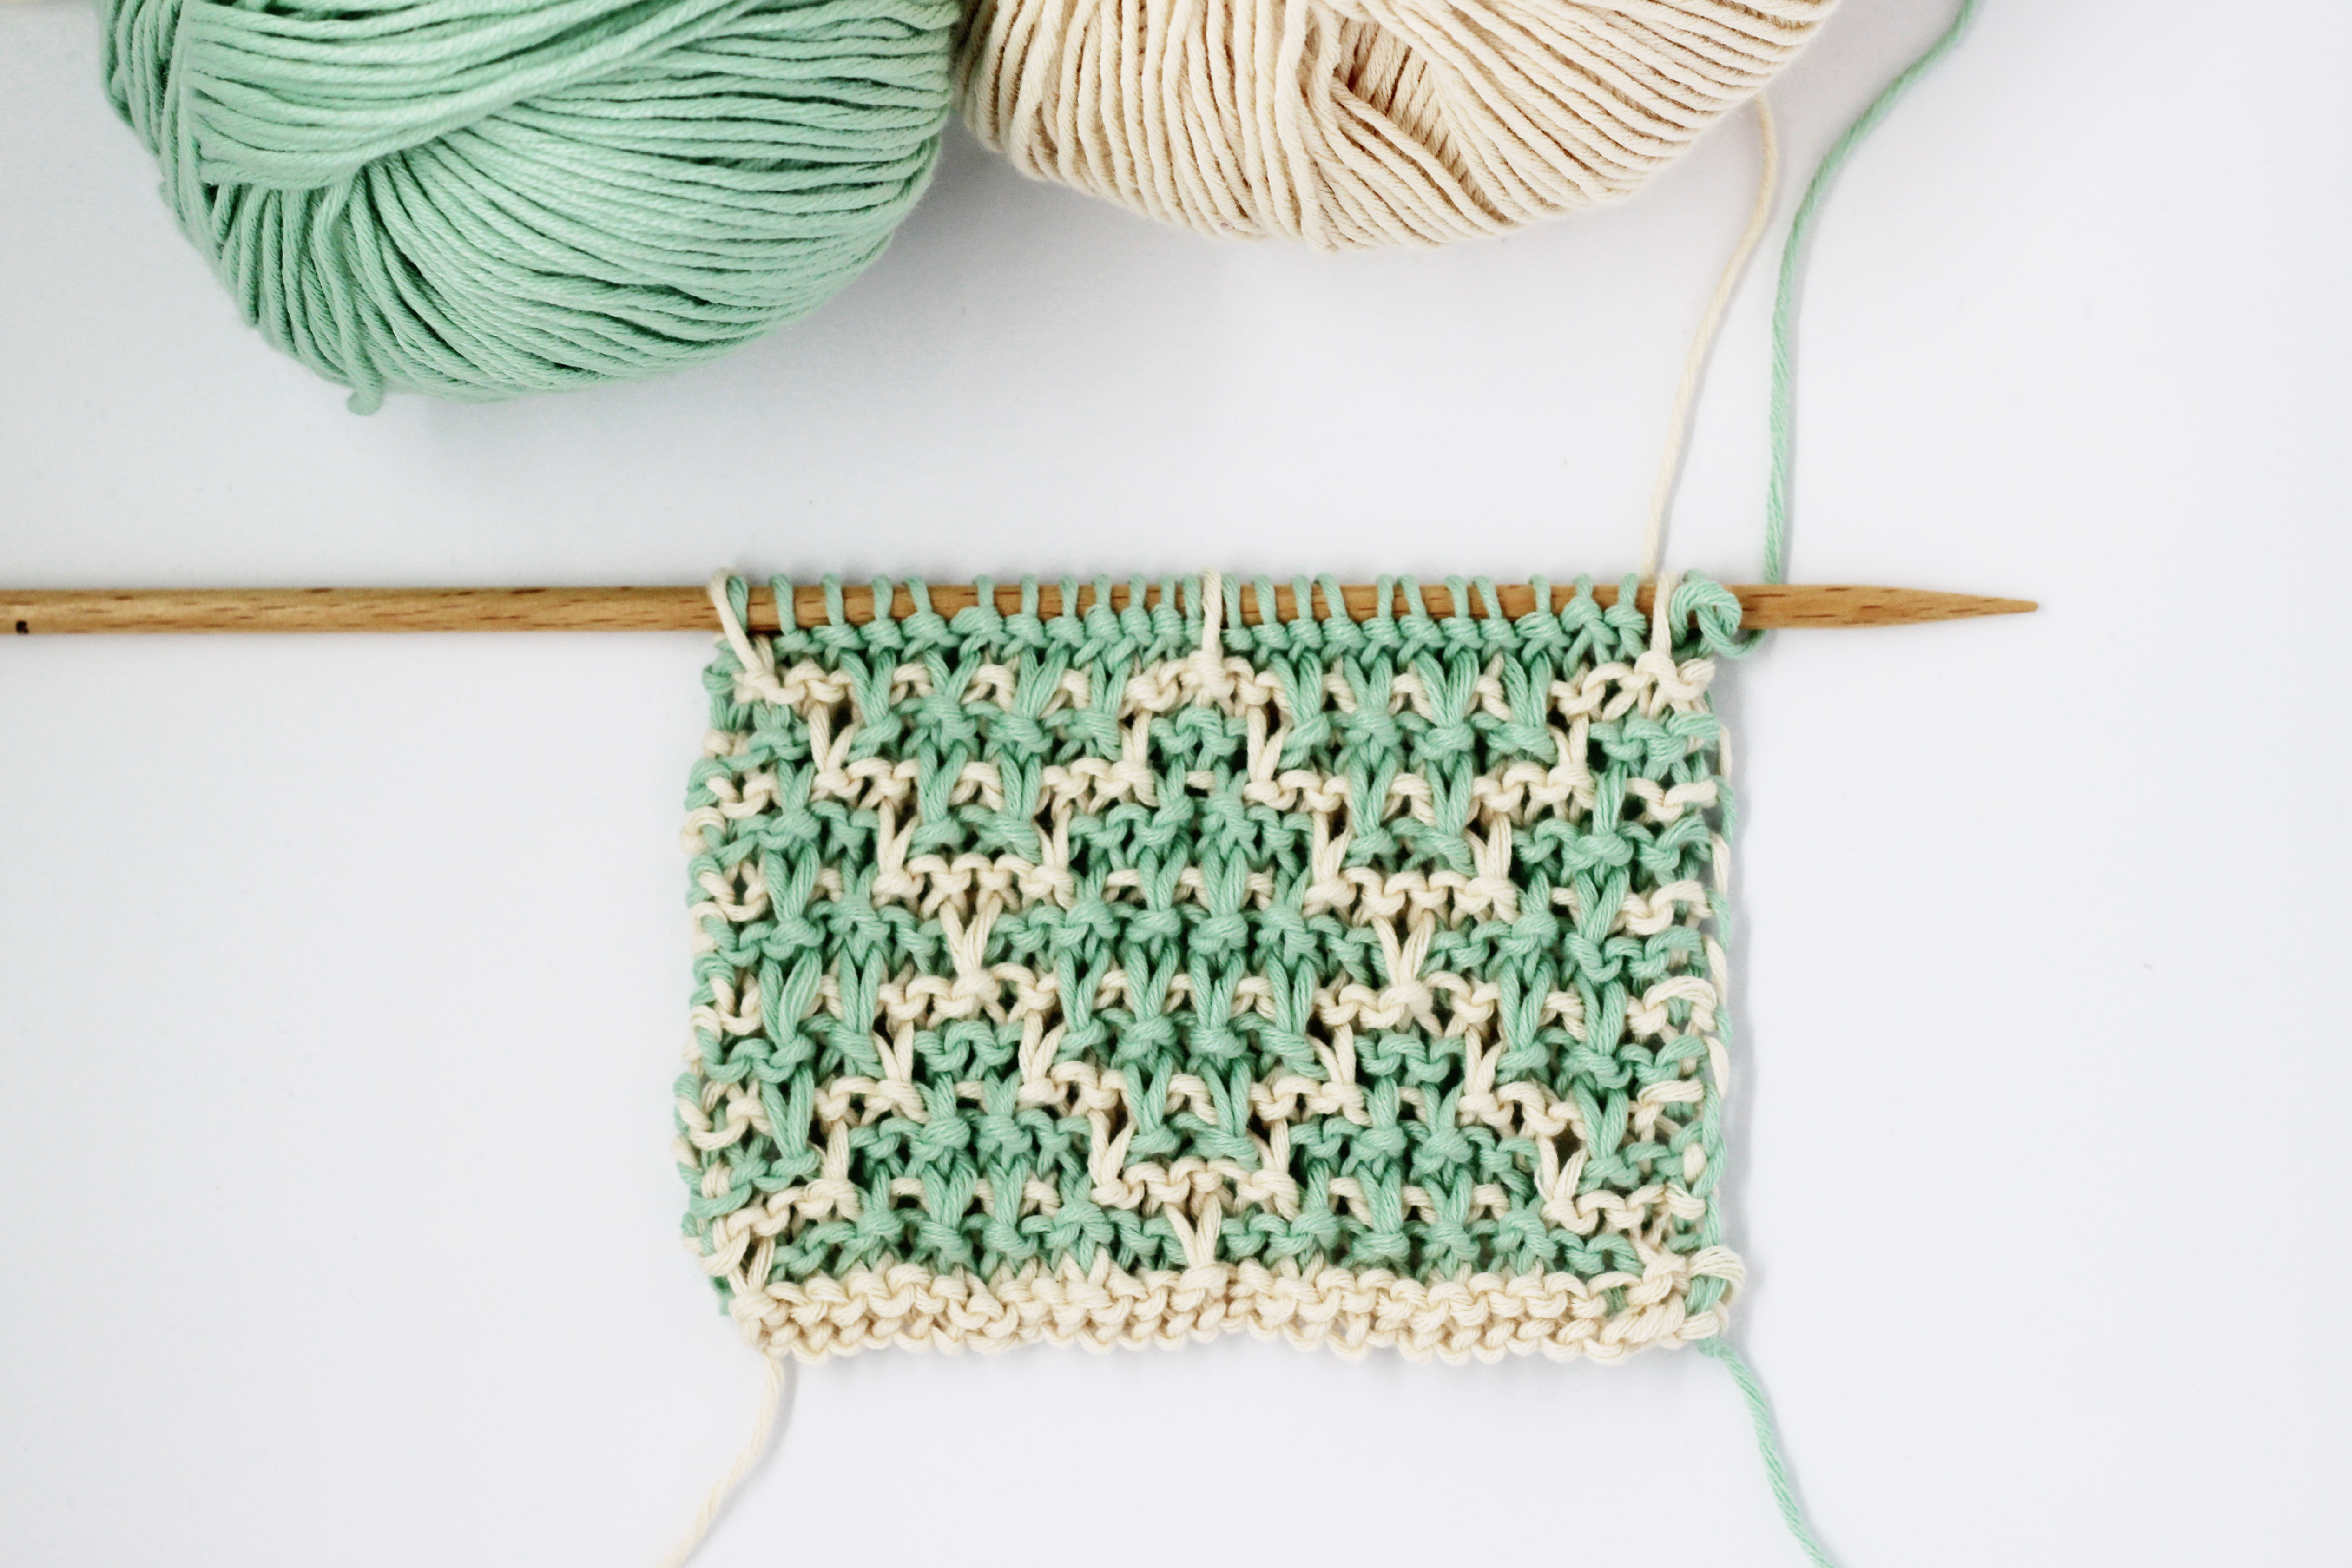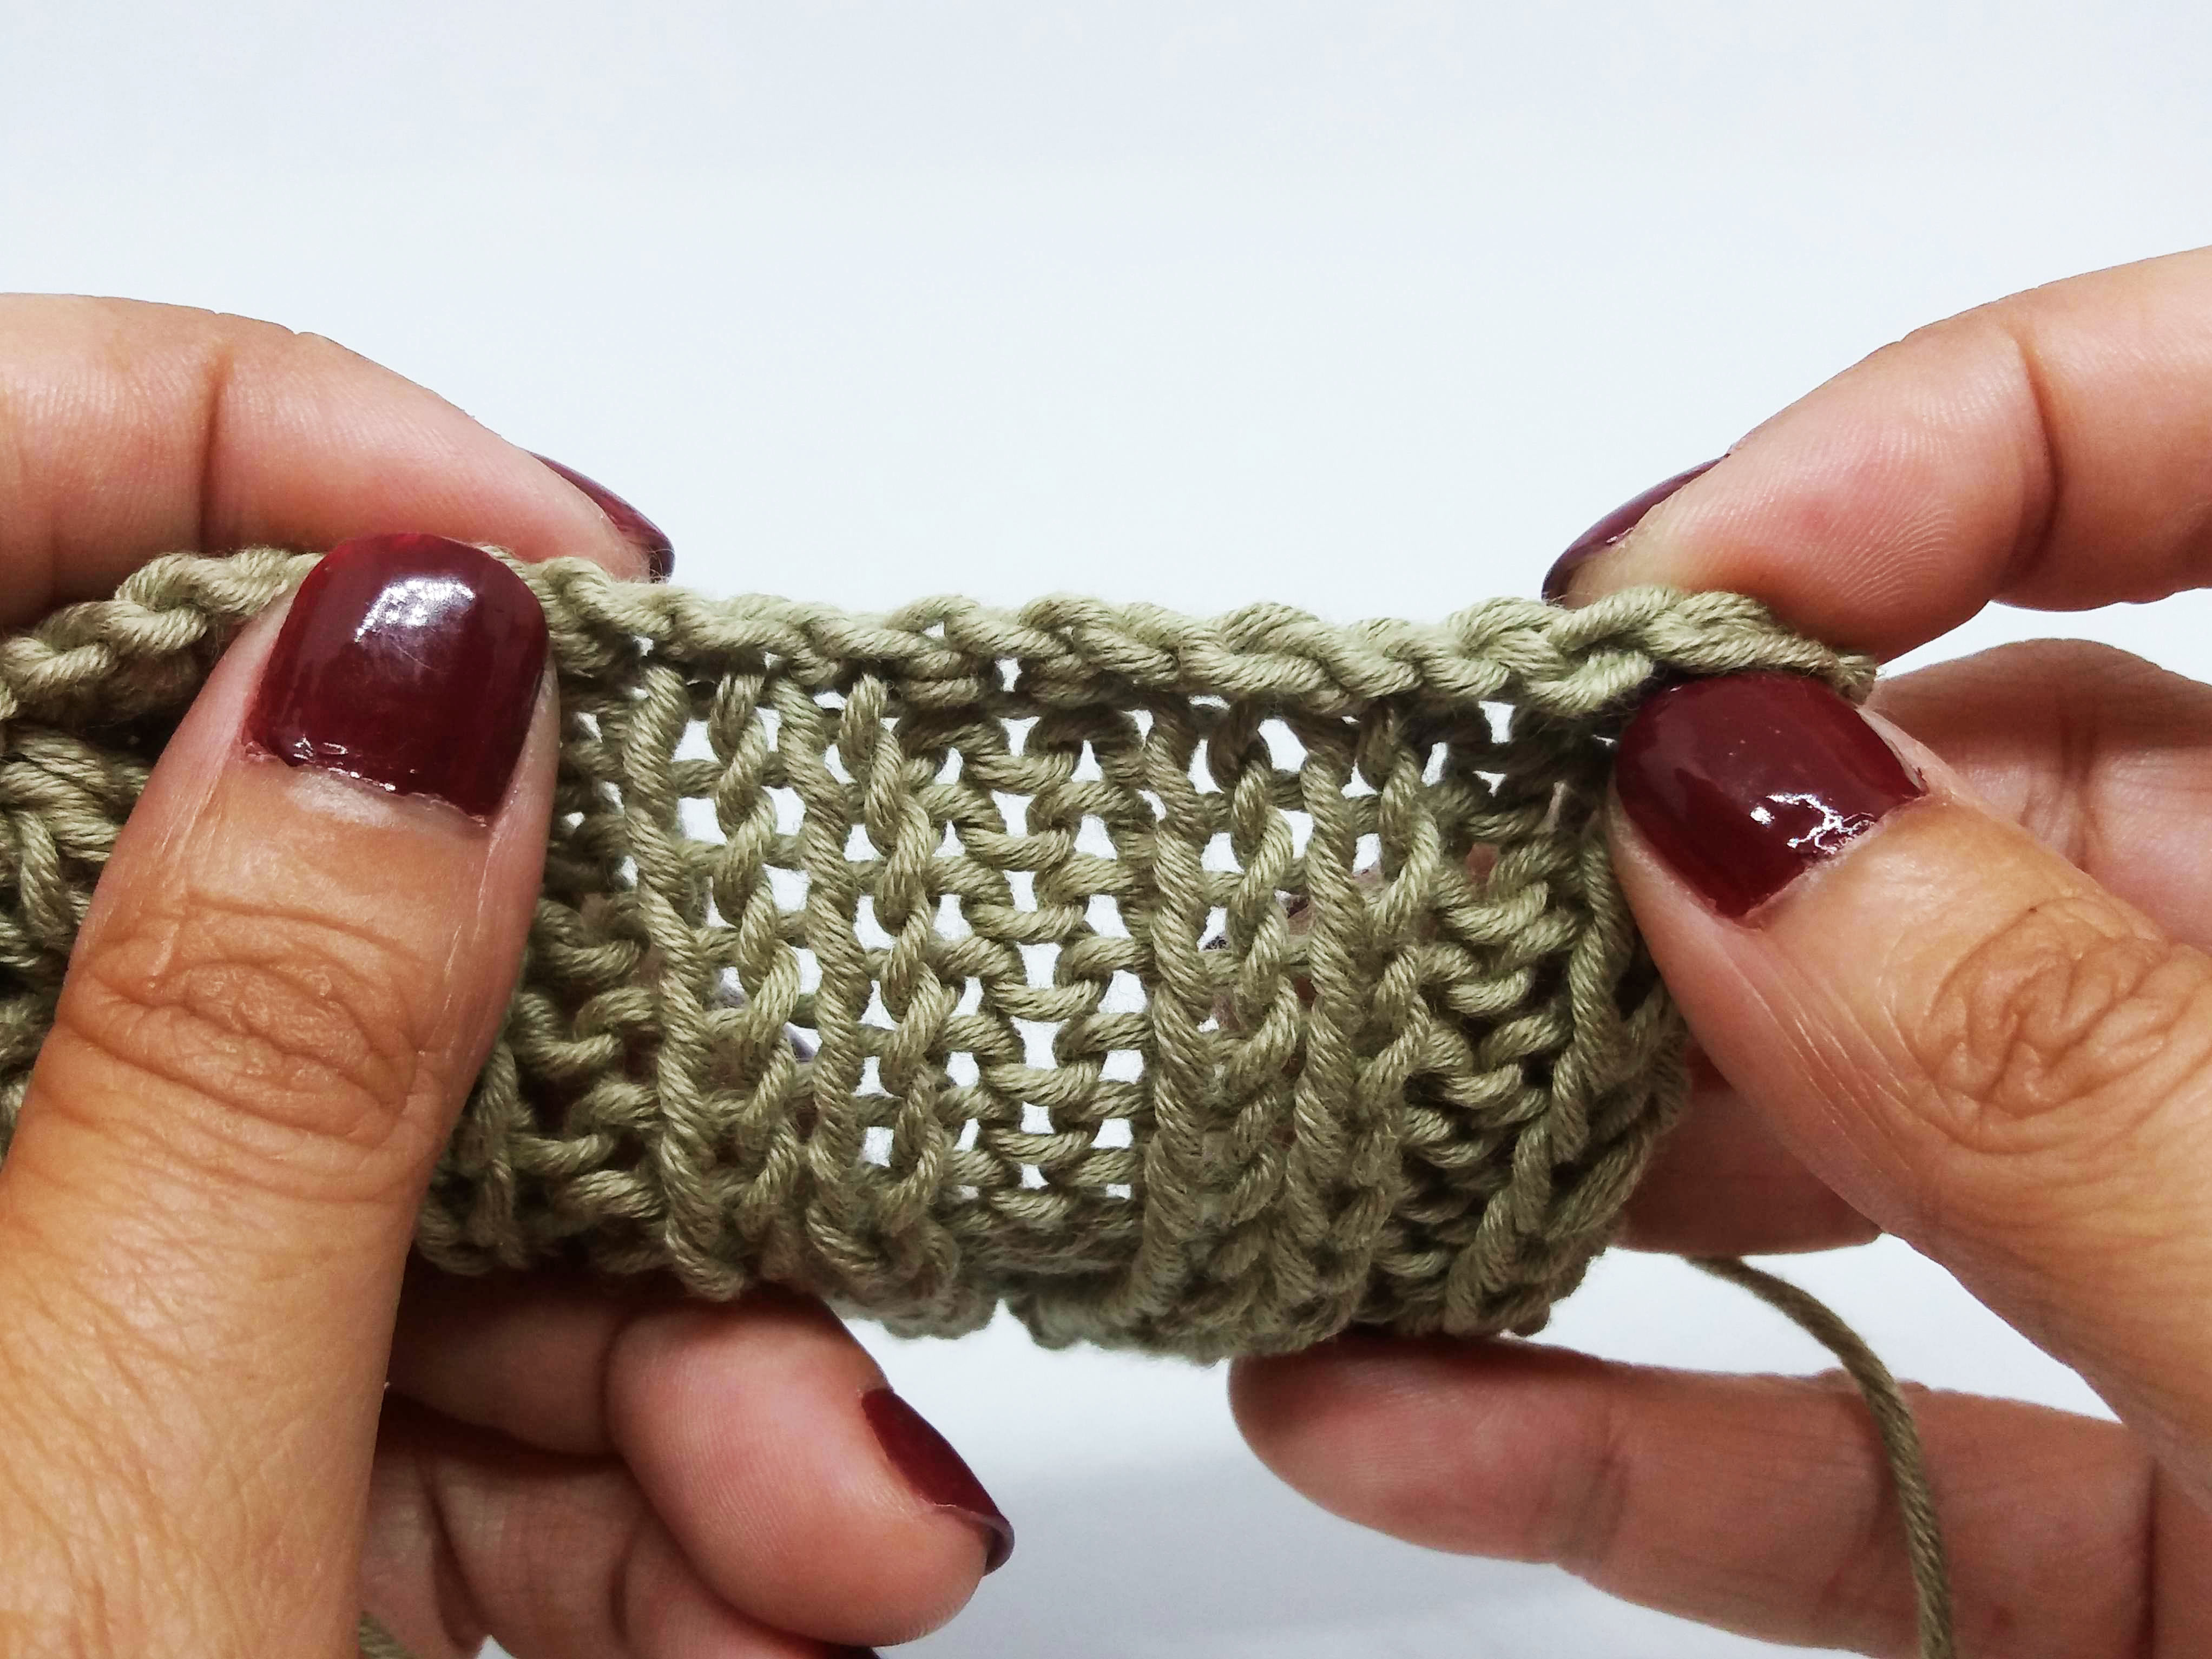
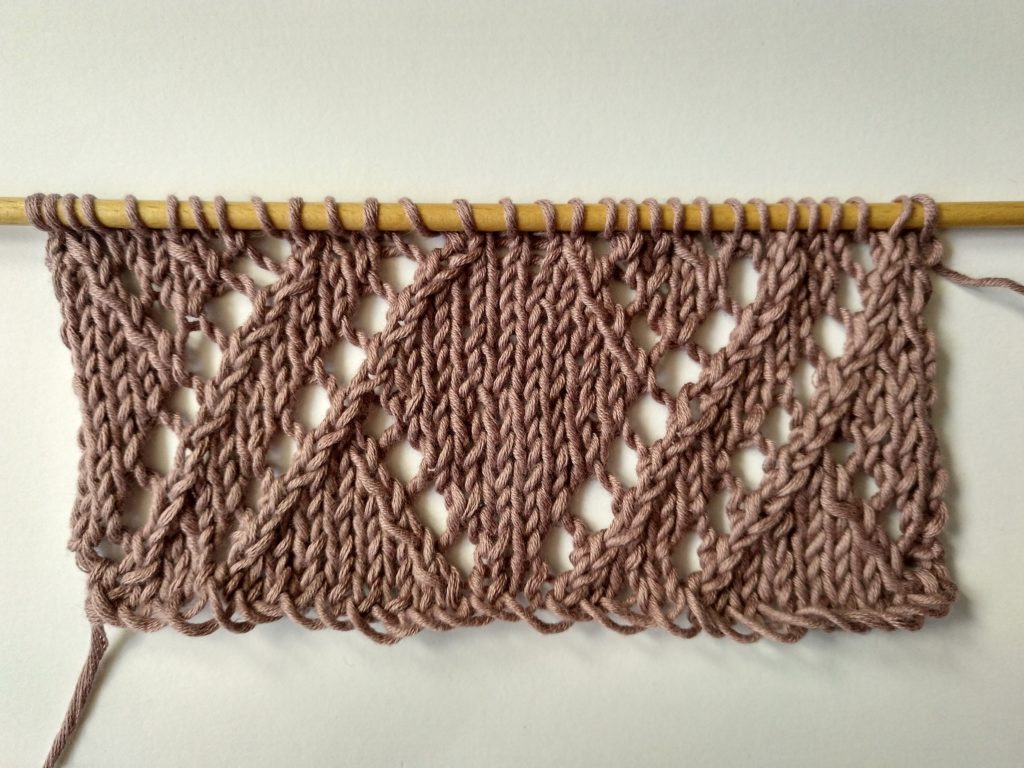
You always see other people’s projects made of beautiful, complicated stitches, and you wonder how they do it, while you’re stuck using the same old simple stitch you learned a long time ago…. well, what are you waiting for?! You just need a little patience and time to learn. We are going to show you how to knit some beautiful lace cables to use on your next sweater, or to make a baby blanket for one of your friends, to show off your knitting skills with two needles.
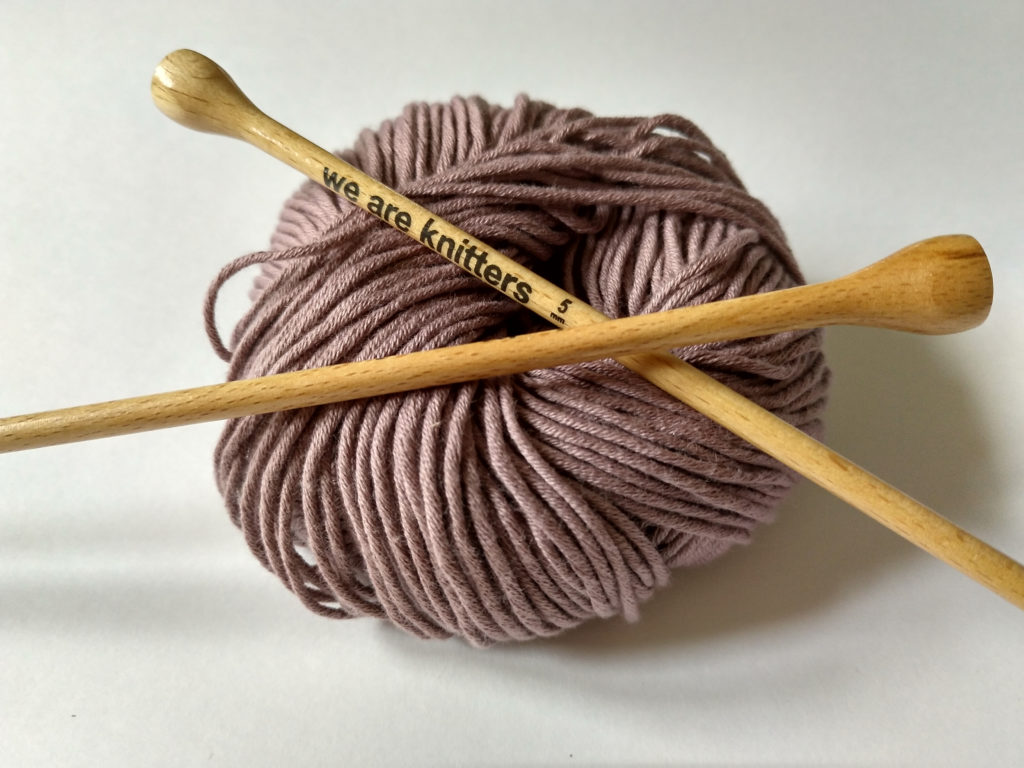
To knit this stitch we used:
Things you need to know to get started:
Cast on a multiple of 15 stitches. For this example we cast on 30 stitches so that you can see the design. You can increase the number of stitches depending on the size of the project you want to make.
On odd rows, knit all stitches (including the knit 2 together, and knit 3 together), and on even rows, purl all stitches.

Row 1. *Knit 1, yarn over, SKPO, knit 5, knit 2 together, yarn over, knit 2, knit 2 together, yarn over, knit 1*. Repeat from * to * until the end of the row.
Row 2 (and remaining even rows). Purl all stitches.
Row 3. **Knit 2, yarn over, SKPO, knit 3, *knit 2 together, yarn over, knit 2*. Repeat from * to * one more time**. Repeat from ** to ** until the end of the row.

Row 5. *knit 3, yarn over, SKPO, knit 1, knit 2 together, yarn over, knit 2, knit 2 together, yarn over, knit 3*. Repeat from * to * until the end of the row.
Row 7. *Knit 4, yarn over, knit 3 together, yarn over, knit 2, knit 2 together, yarn over, knit 4*. Repeat from * to * until the end of the row.

Row 9. *Knit 4, knit 2 together, yarn over, knit 2, knit 2 together, yarn over, knit 5*. Repeat from * to * until the end of the row.
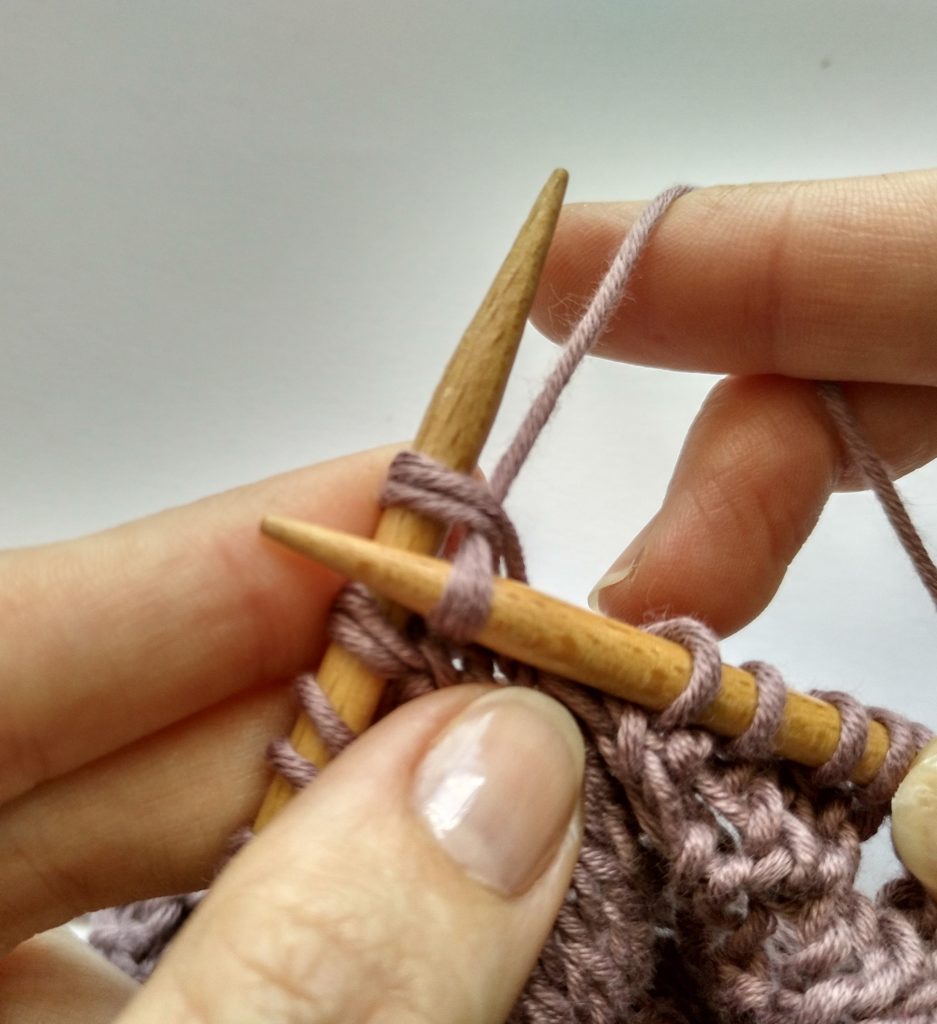
Row 11. *Knit 3, knit 2 together, yarn over, knit 2, knit 2 together, yarn over, knit 1, yarn over, SKPO, knit 3*. Repeat from * to * until the end of the row.

Row 13. **Knit *2, knit 2 together, yarn over*. Repeat from * to * one more time. Knit 3, yarn over, SKPO, knit 2 **. Repeat from ** to ** until the end of the row.
Row 15. *Knit 1, knit 2 together, yarn over, knit 2, knit 2 together, yarn over, knit 1, yarn over, SKPO, knit 2, yarn over, SKPO. Knit 1*. Repeat from * to * until the end of the row.
Repeat rows 1 to 16 as many times as needed.
As you can see, the pattern is easier than it looks; you just have to get the hang of it. Now… show off your project using this new stitch and keep practicing with us!
Don’t forget to share your creations with #WeAreKnitters on our social networks.
We love to see your work!

