Even if two knitters were to knit following exactly the same instructions, using the same needles and type of wool, they would never achieve two samples that look exactly the same. Strange, isn’t it? The size of a piece is never only influenced by factors like the material but also by the tension the knitter uses. Everyone pulls on the thread using a different strength which then results in two pieces of different sizes but knitted in exactly the same fashion.

It is of crucial importance to make a sample of tension before knitting our clothes. That way we can find out if we are knitting the stitches too tense or to loose and we can adjust the number of needles and the tension according to our observation.
To make a tension sample all you have to do is knit a square of 20cm x 20cm using the stitch indicated in your instructions and using the size of needles indicated. Wash the sample and measure it the way we show you here:

Once washed and dried, place the sample stretched out on a flat surface. You can do that with the help of some pins so that it doesn’t move.

To measure the stitches in one row, put first one needle or pin vertically into the sample, highlighting any of the stitches in the sample.

Using a ruler that is not flexible (not a flexible one because then the result will not be correct), measure 10 cm starting from the needle you just placed into the sample, taking into account that you have to follow a horizontal line of stitches. Place another needle into the sample.

You will now have a space of 10 cm between the two needles and that is the measurement we are going to use to count the stitches.

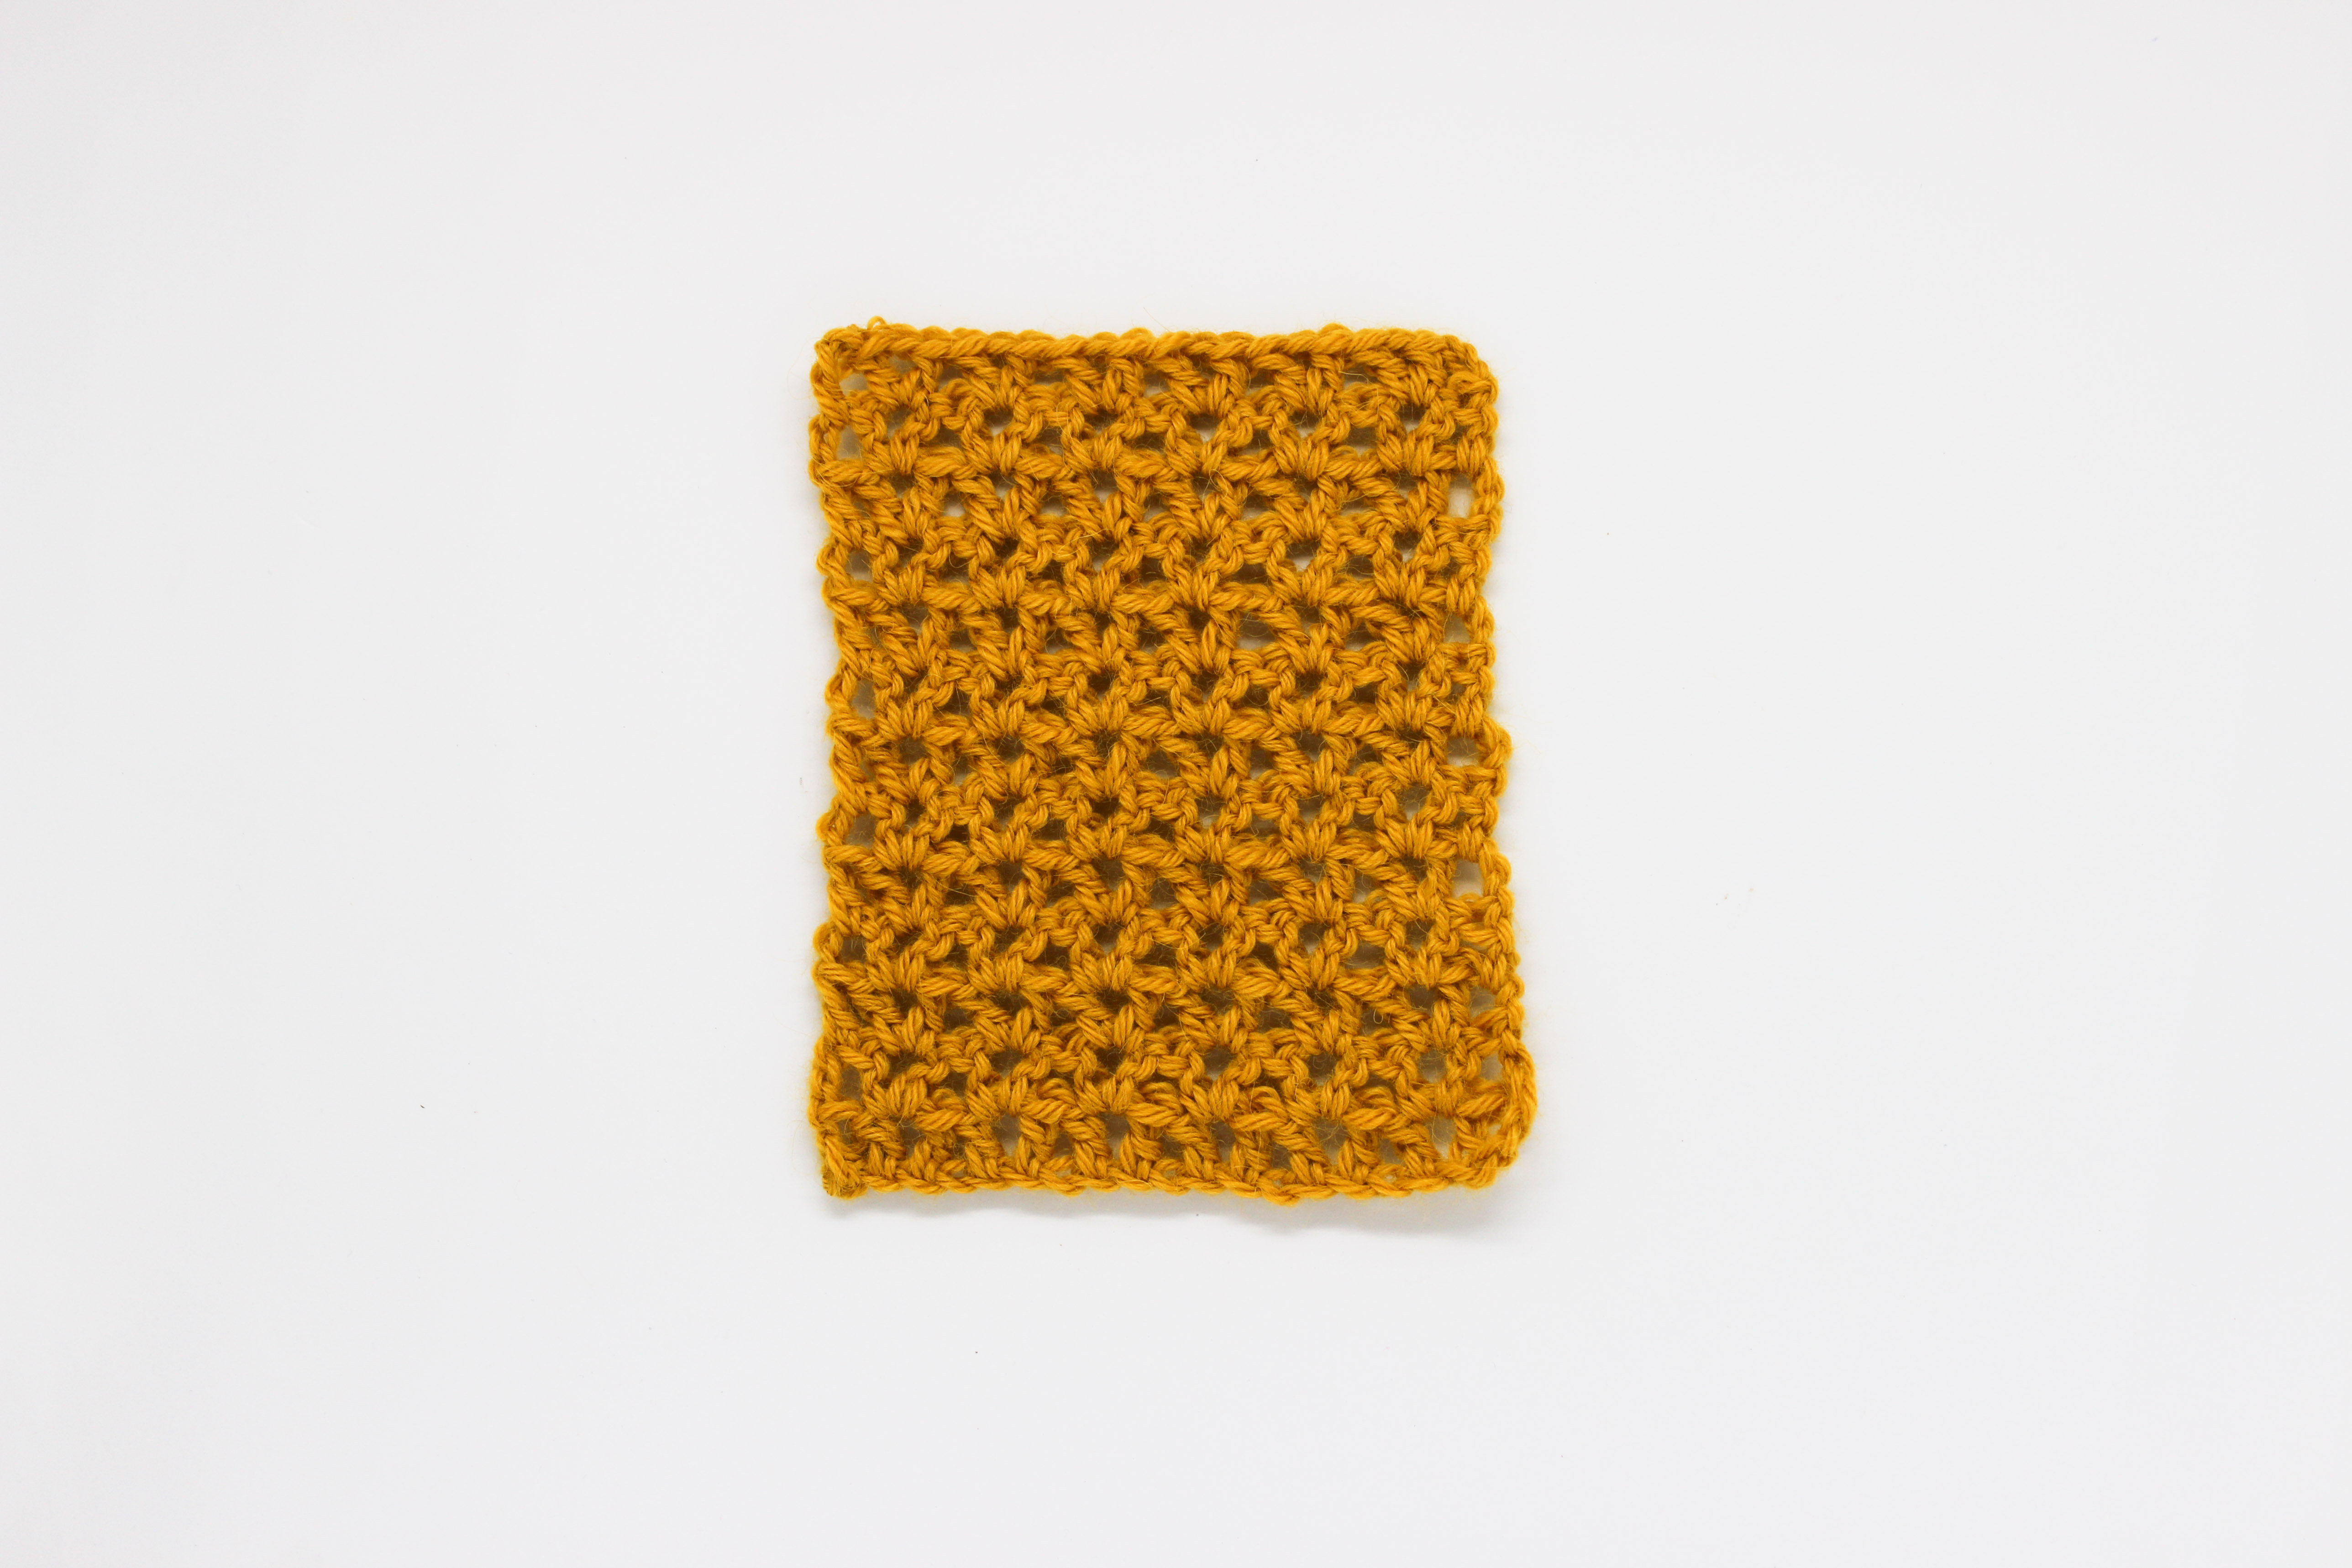
Now you have to count all the little “V”s that form the stitches. You can do that with the help of a knitting needle so that you don’t lose count.
In the picture we have highlighted every stitch so that it is easier for you to count them. The stitches that enter half into the measurement also count! According to the sample we would have 15 stitches and a half in 10cm.

Use the same method to measure the rows that you have in 10 cm, highlighting the stitches vertically.

Again, every “V” indicates a stitch, in this case, a row. In the sample we would have 20 rows.
Can you see how easy it all is?
To orient yourself, remember that your tension sample has to correlate with the one that comes with your ball of wool or your pattern. This information about the tension is usually indicated in a little square, where the number of stitches and the number of rows in 10 cm is listed.

When we compare the sample in the example with the information on a ball of Pima cotton, you can see that we are actually supposed to have 22 rows and not 20. So what do we do now? There are a few options:
– You can increase or decrease the size of needles until the sample fits.
– You can knit using more or less tension.
– You can continue with your number of needles and your tension and use the rule of three to adjust the number of stitches that you need to obtain the same measurement as indicated in the pattern (this is something rather advanced that we only recommend for professional knitters, because it means you also have to adjust the increases and decreases in the instructions).
Now you are ready to measure your samples the best way possible! Of course we know that it can be quite annoying to always knit a sample before you start knitting, but it is really important to achieve a perfect result in the end!
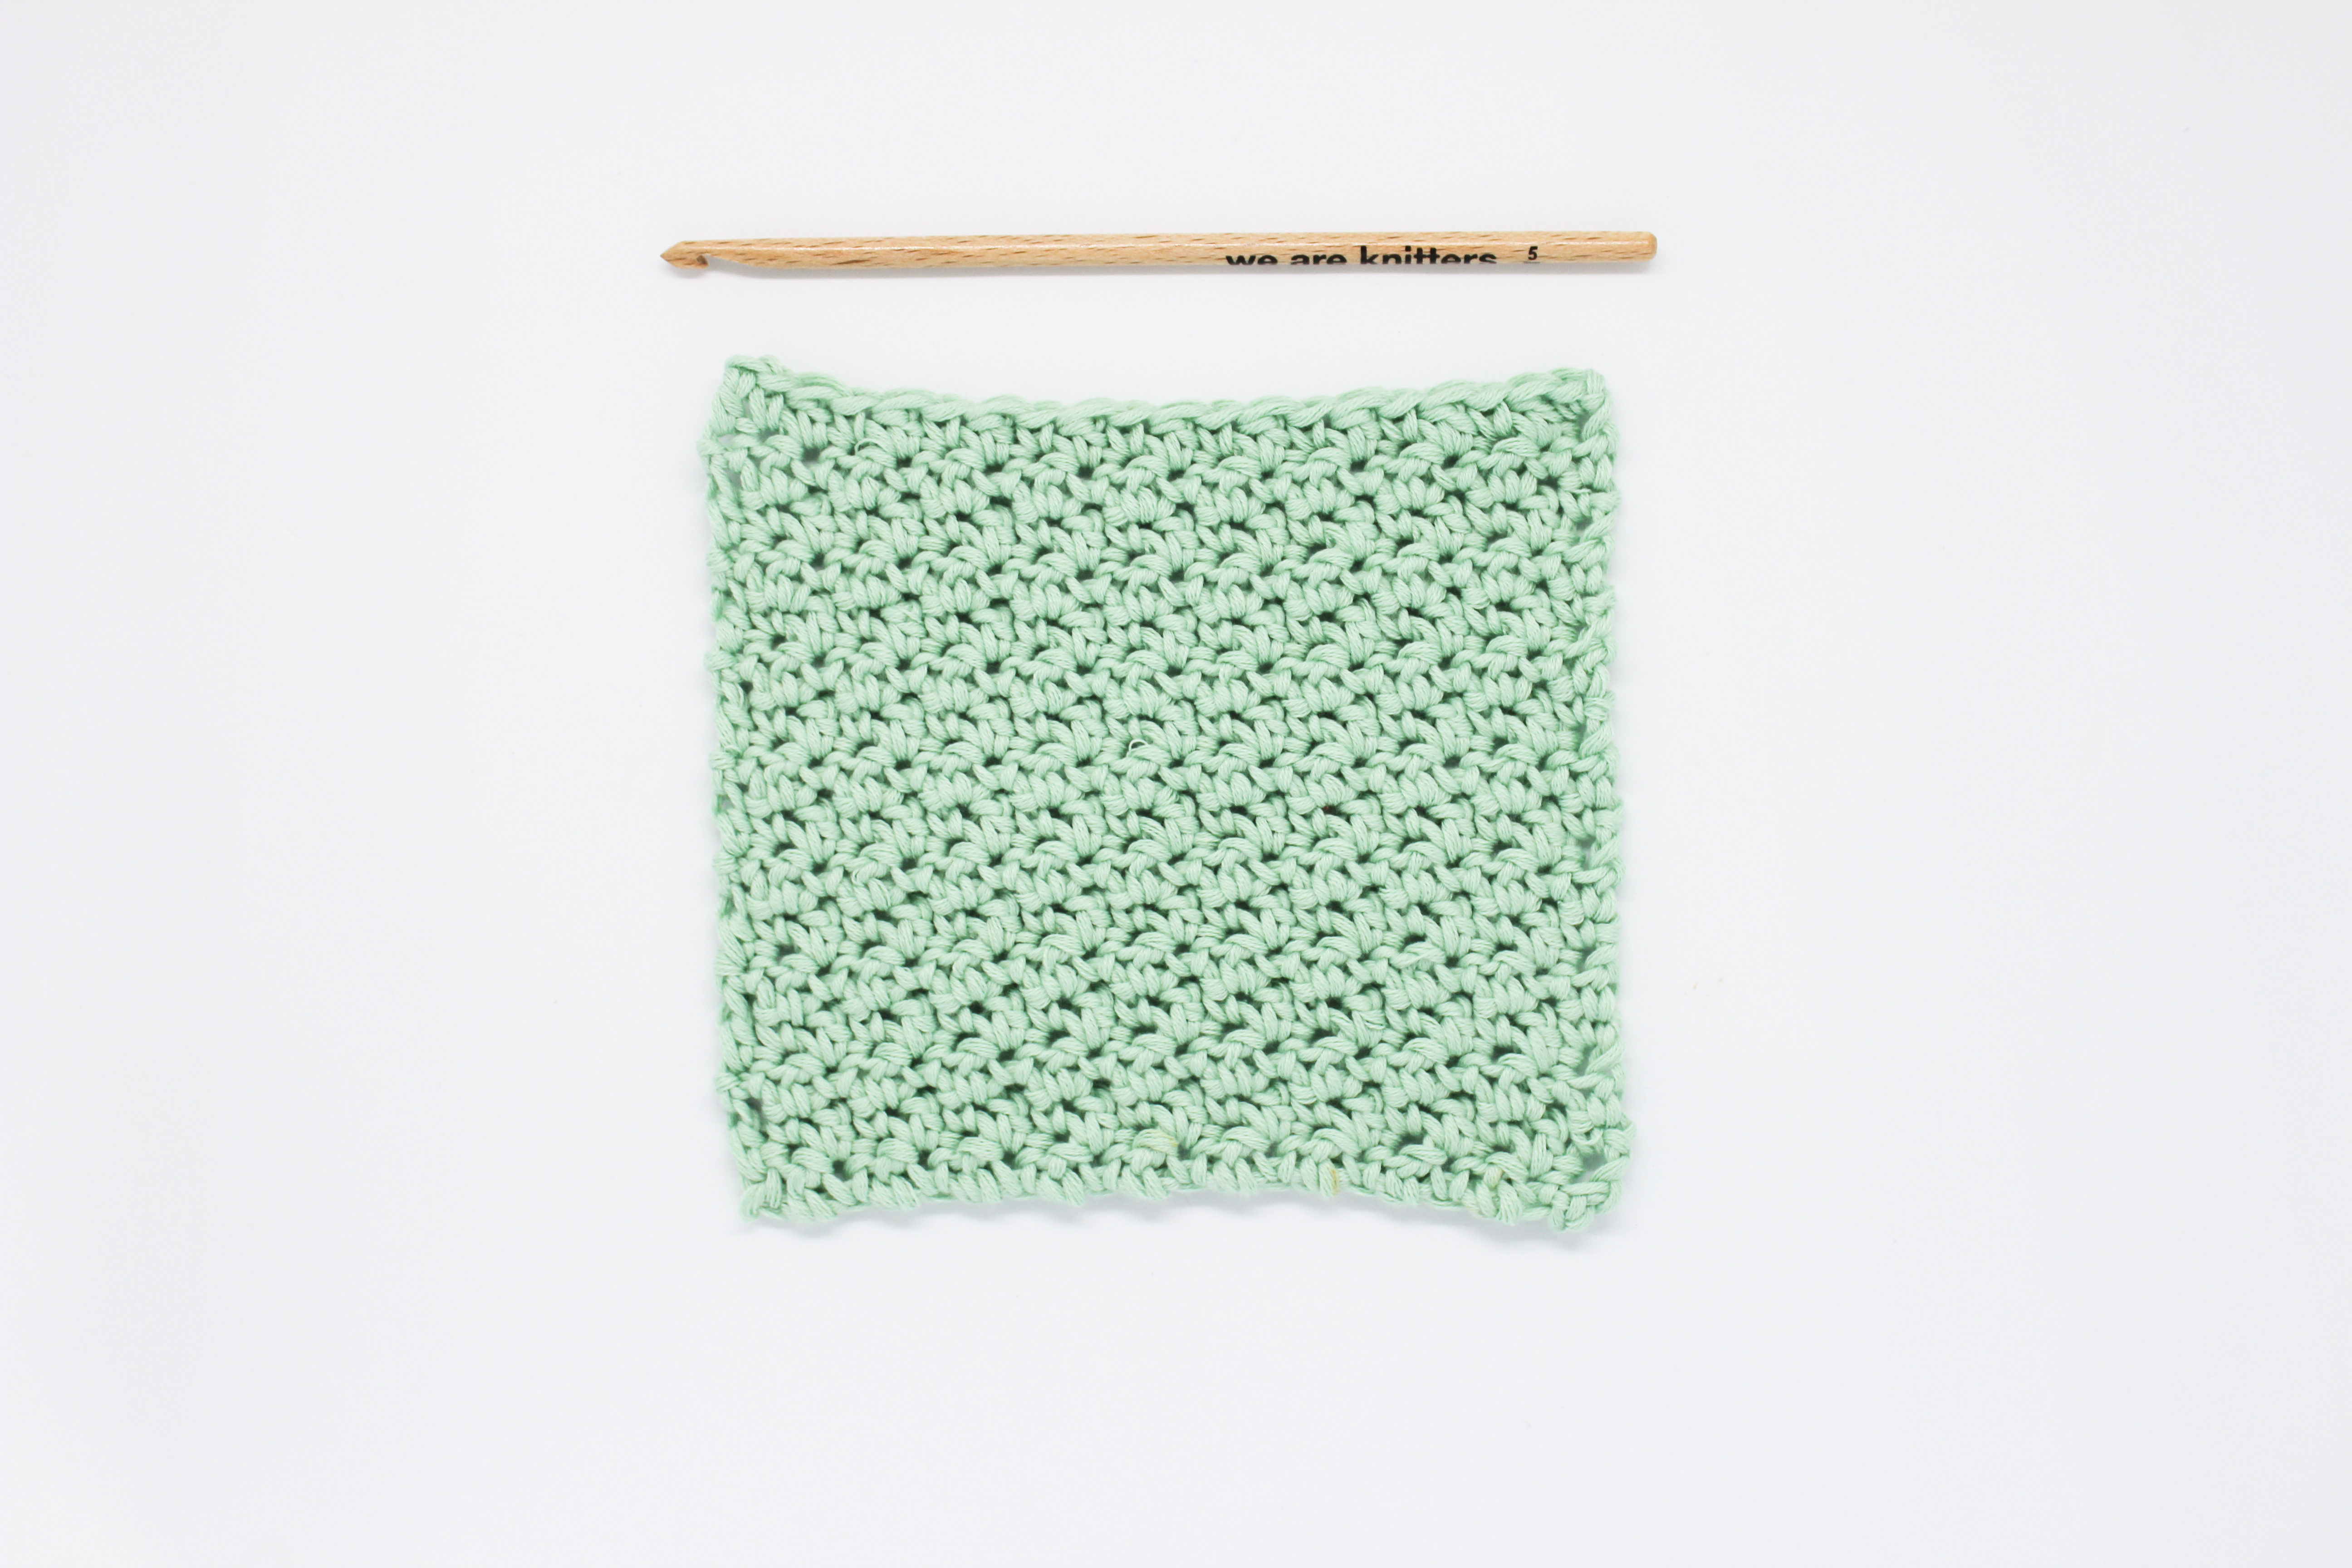
In our example we have used the cotton in yellow and 5mm wooden needles. See all of our colors in cotton, and pick your preferred shade!
We want to see how your projects turn out, so don’t forget to share them with us on Instagramusing the hashtag #weareknitters!