Fringe is in! We have seen it on bags, jackets and shorts, and the best part is that it is incredibly easy to add fringe to your knit or crochet clothes. Today we are going to show you how it’s done so that you can personalize everything that you want with them.

For this tutorial, apart from something that you want to put the fringes on you will need a crochet hook, scissors and a hard piece of cardboard (or a book or booklet), where you can wrap the yarn around. Ready?

Start wrapping the yarn around the piece of cardboard or the book to form the fringes. The tool that you use has to have exactly the same length as the fringes that you want to make. Wrap the yarn around it a lot of times, the more the better, but take care to keep all the threads straightand without overlapping each other.
If you don’t have a hard cover tool to help yourself with, you can cut each fringe separately, but keep in mind that you will have to do that a lot of times.


Using the scissors, cut the fringes at the upper end of the carton, so that they all have the same length.

Now you will have a lot of threads. We are going to insert them into the project in pairs of two, but if you want you can also make groups of three.


Insert the crochet hook from the front to the back into the rim of the project (start in the center and then go on working towards the sides so that the fringes get evenly distributed). Take two threads of yarn and place them onto the tip of the crochet hook, folding them in the middle. Pull the crochet hook and the threads out of the stitch.


The two threads form a sling on the right side of the project. With a lot of care, slip them off the crochet hook and pass the loose end through the sling, forming a knot.

Pull on the ends of the threads to tighten the knot and finish the fringe. Ready!

Repeat the process along the whole rim of the project, until you have inserted all the fringes. You can leave spaces of about three stitches between them or you can put them directly besides each other. It all depends on the look you want.

Even though we cut all the threads to the same length there are always small irregularities. When you have finished inserting the fringes, pull them to the same length and then afterwards use your scissors to cut them so that they really have the same length.
Making fringes is really extremely easy, but it takes a lot of patience to insert them, so it might be easier to do the job in various sessions. You can give it a more fashionable look by braiding various groups of fringes together; there are a thousand possibilities.
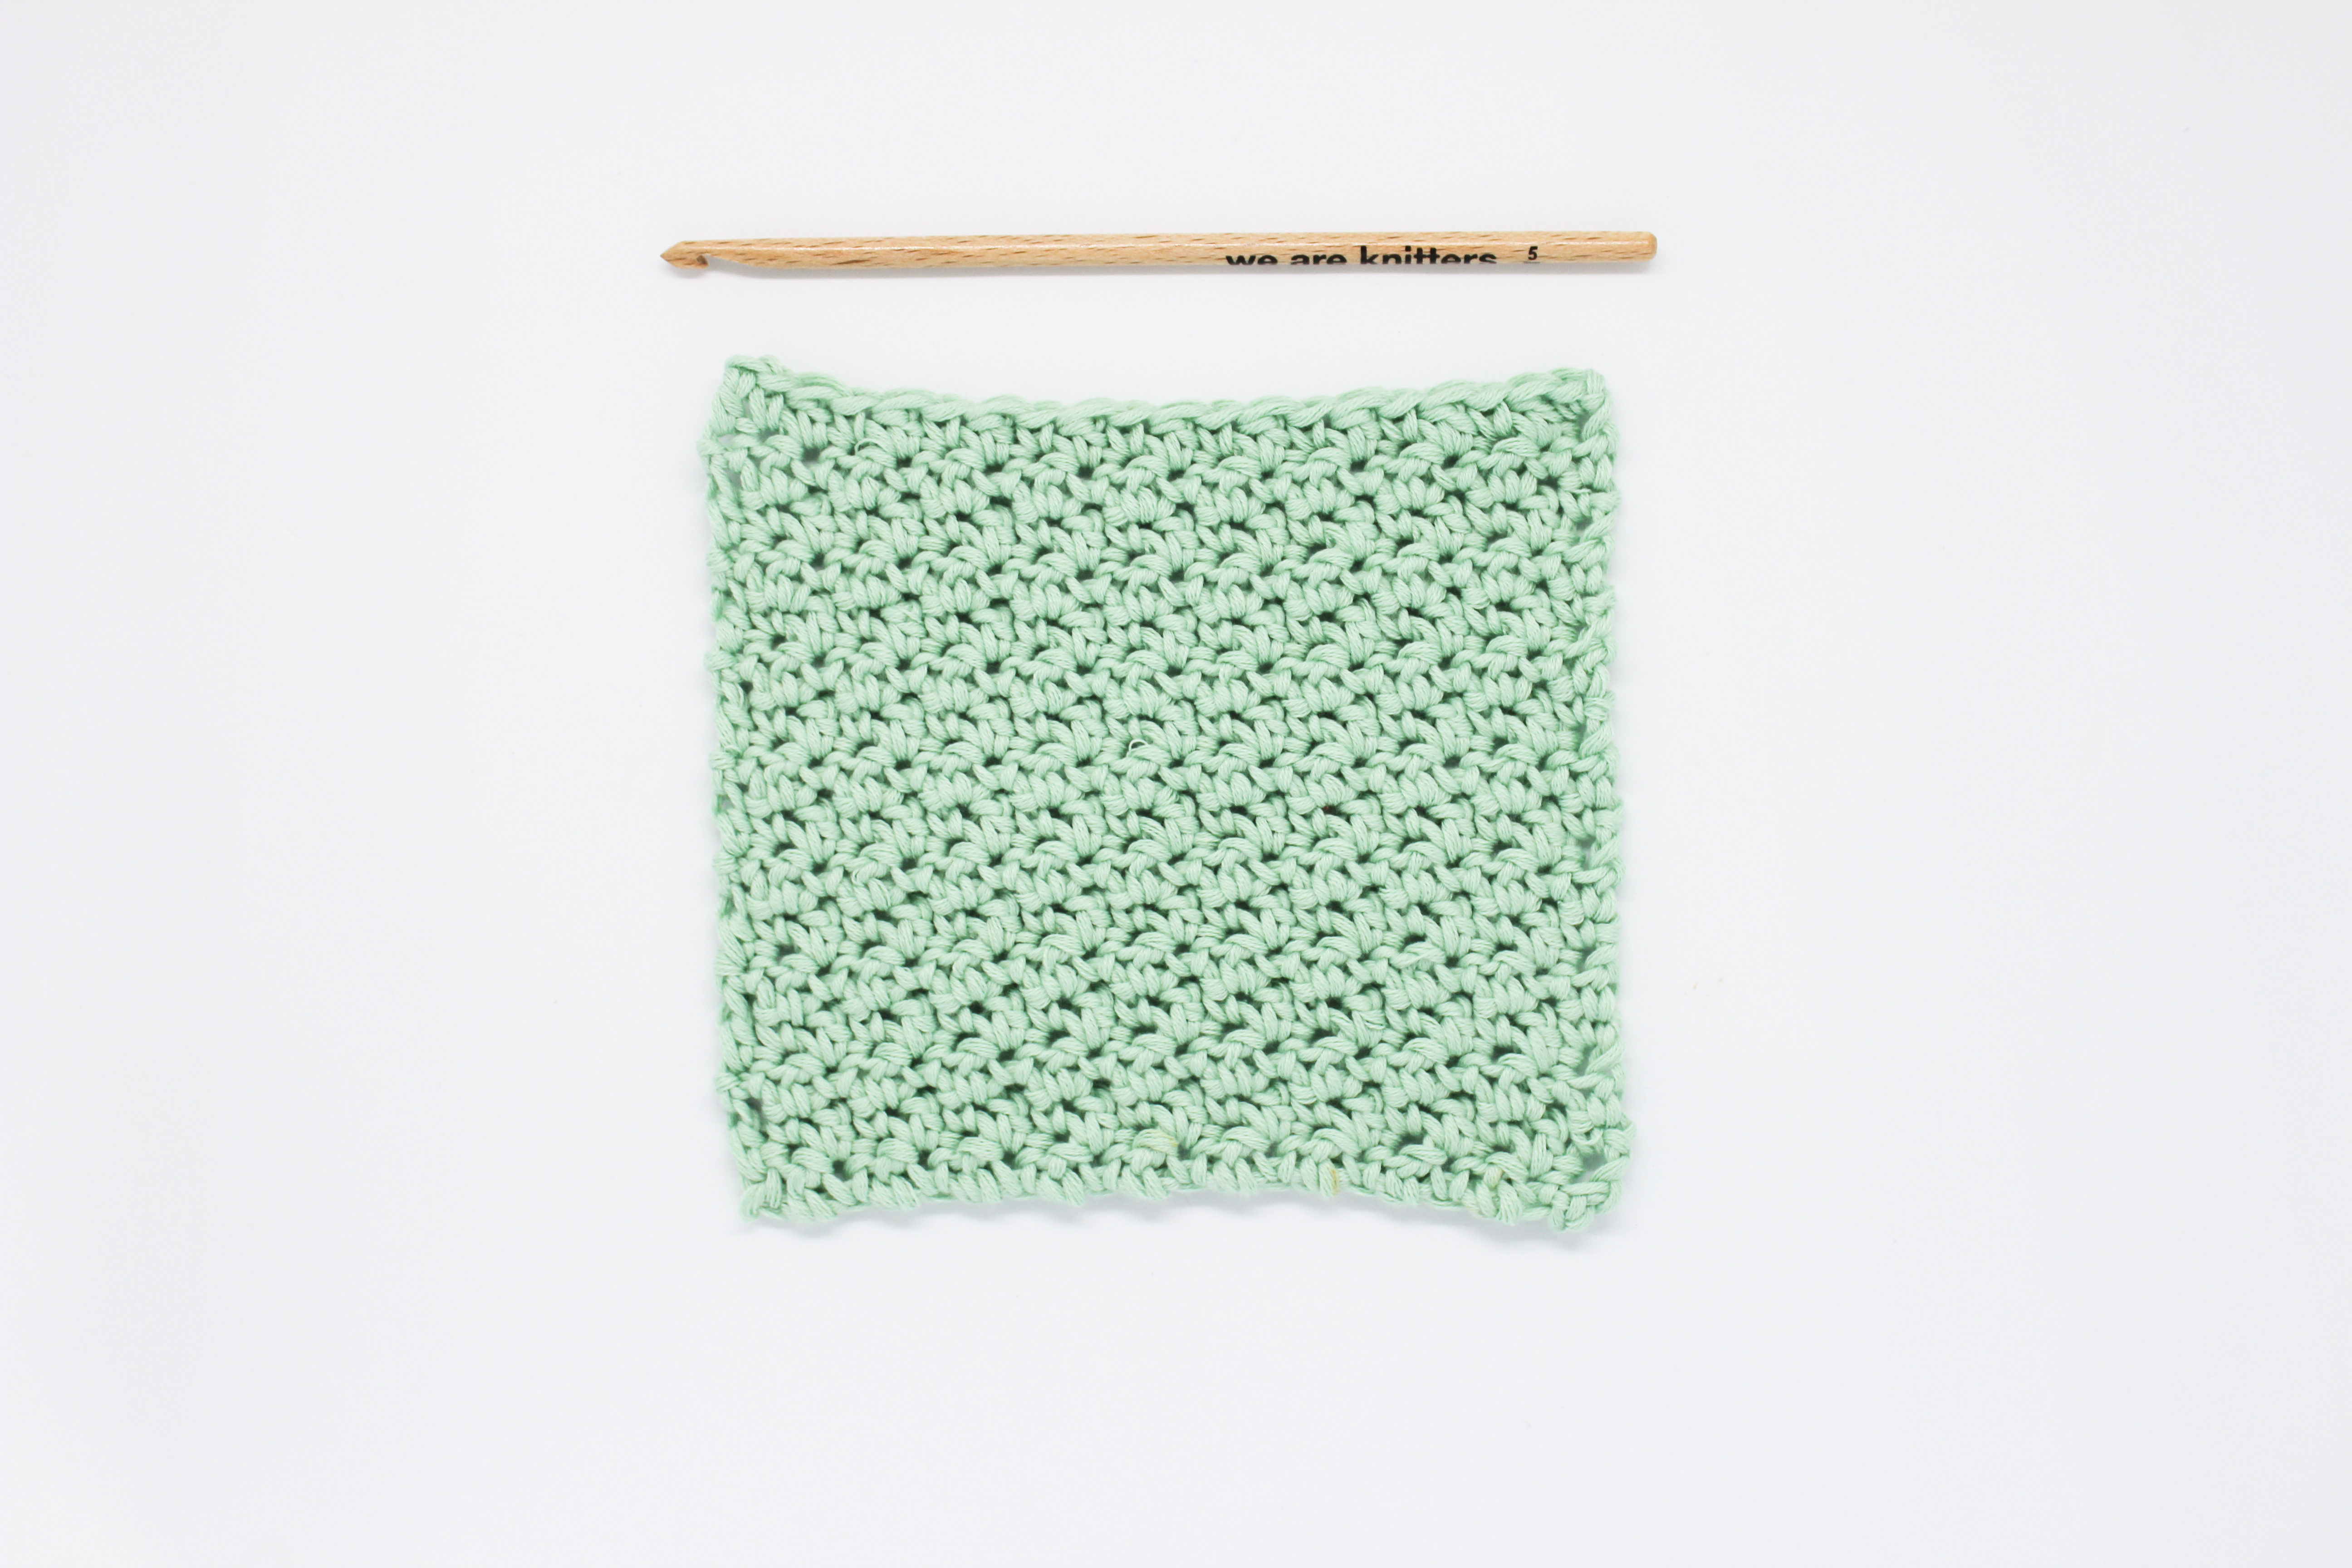
We used a 5mm wooden crochet hook and the cotton in yellow, check out all the other colors here!
What projects will you add fringe to? Show us on Instagram with the hashtag #weareknitters!